

.09 Slow Motion
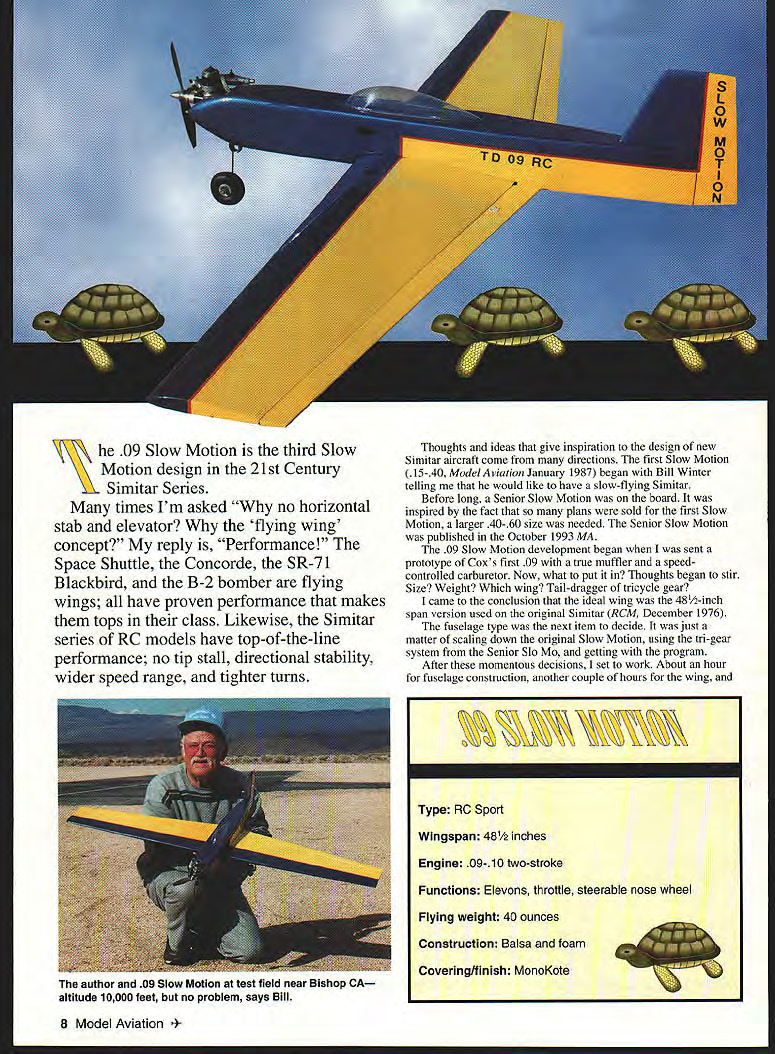
The .09 Slow Motion is the third Slow Motion design in the 21st Century Simitar Series.
Many times I'm asked, "Why no horizontal stab and elevator? Why the 'flying wing concept'?" My reply is, "Performance!" The Space Shuttle, the Concorde, the SR-71 Blackbird, and the B-2 bomber are flying wings; all have proven performance that makes them tops in their class. Likewise, the Simitar series of RC models have top-of-the-line performance: no tip stall, directional stability, a wider speed range, and tighter turns.
Thoughts and ideas that inspire new Simitar designs come from many directions. The first Slow Motion (.15–.40) began when Bill Winter told me he would like a slow-flying Simitar (Model Aviation, January 1987). A larger Senior Slow Motion (.40–.60) followed, published in October 1993 MA.
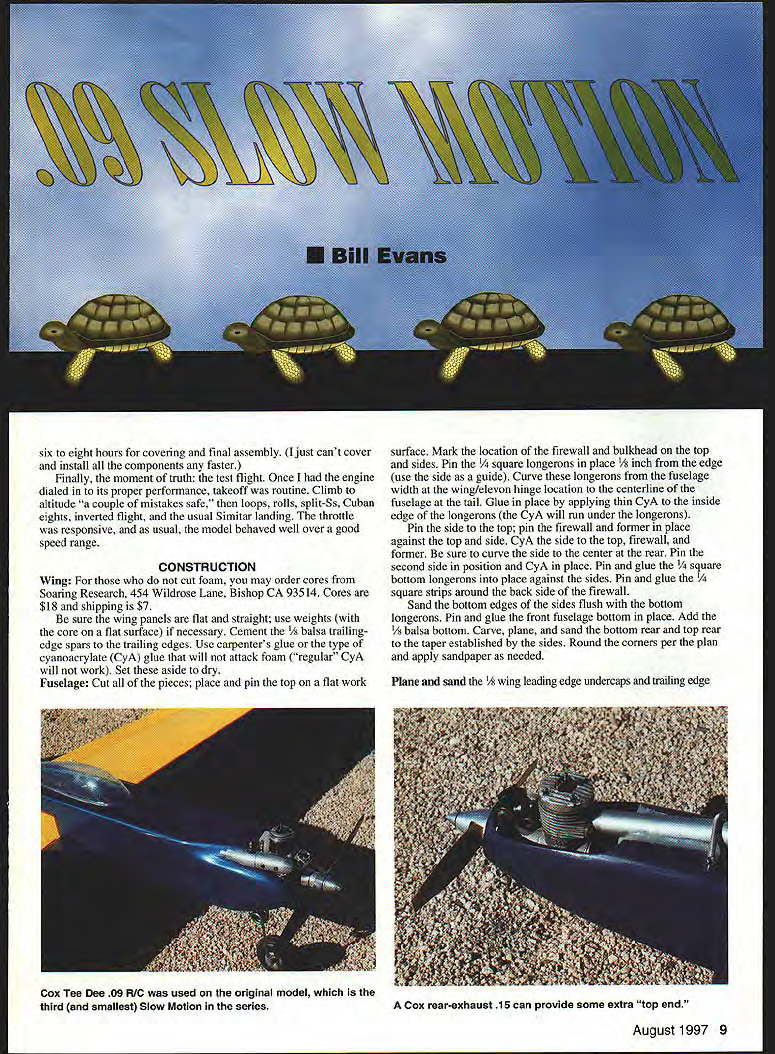
The .09 Slow Motion development began when I was sent a prototype of Cox's first .09 with a true muffler and a speed-controlled carburetor. Size, weight, wing, and landing gear—taildragger or tricycle—were considered. I settled on the 48-1/2-inch span wing used on the original Simitar (RCM, December 1976), scaled the original Slow Motion fuselage, used the trike-gear system from the Senior Slow Mo, and got to work.
Construction took me about an hour for the fuselage, another couple of hours for the wing, and six to eight hours for covering and final assembly. Once the engine was dialed in, takeoff was routine. The model climbed and performed loops, rolls, split-Ss, Cuban eights, inverted flight, and smooth Simitar landings. The throttle was responsive, and the model behaved well over a wide speed range.
.09 Slow Motion — Quick Specs
- Type: RC sport
- Wingspan: 48-1/2 inches
- Engine: .09–.10 two-stroke
- Functions: Elevons, throttle, steerable nose wheel
- Flying weight: 40 ounces
- Construction: Balsa and foam
- Covering/finish: MonoKote
CONSTRUCTION
Wing
- If you do not cut foam, cores may be ordered from Soaring Research, 454 Wildrose Lane, Bishop CA 93514. Cores are $18 and shipping is $7.
- Be sure the wing panels are flat and straight; use weights on a flat surface if necessary.
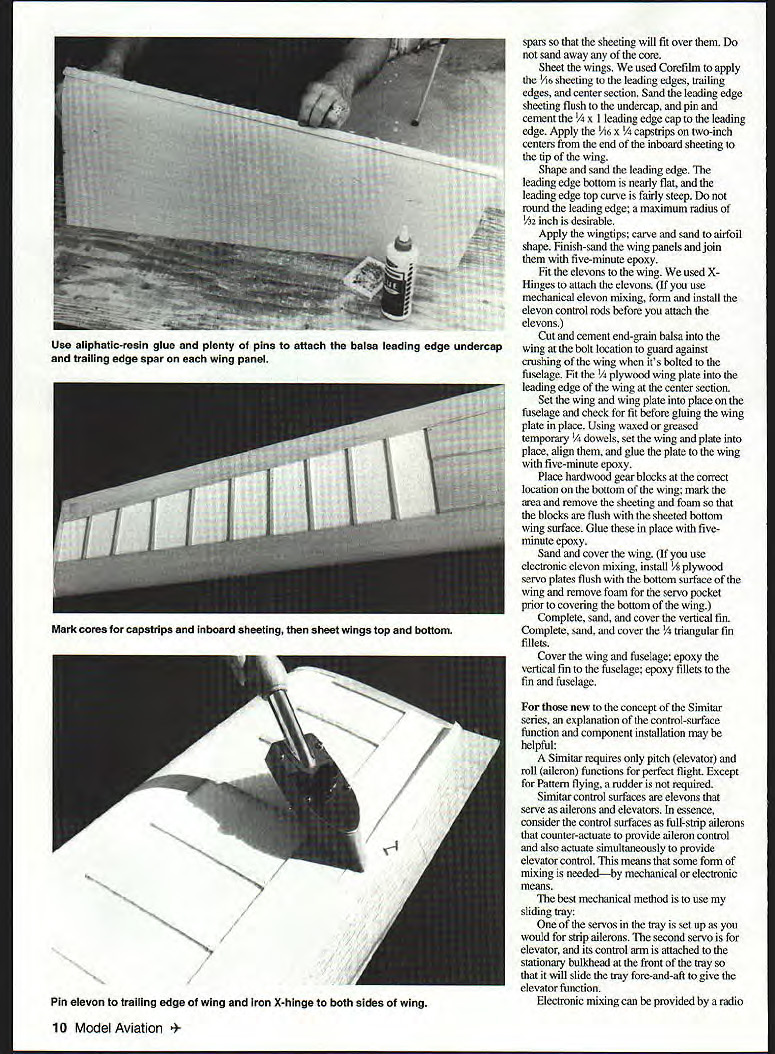
- Cement the 1/8-inch balsa trailing-edge spars to the trailing edges. Use carpenter's glue or a type of cyanoacrylate (CyA) that will not attack foam ("regular" CyA may damage foam). Set aside to dry.
- Sheet the wings using CoreFilm. Apply 1/16-inch sheeting to the leading edges, trailing edges, and center section. Sand the leading-edge sheeting flush with the undercap.
- Cement the leading-edge cap in place. Apply 1/16 x 1/4 capstrips (or 1/4 x 1/8 strips) on two-inch centers from the end of the inboard sheeting to the tip of the wing.
- Shape and sand the leading edge. The leading-edge bottom is nearly flat; the top curve is fairly steep. Round the leading edge to a small radius (maximum about 1/32 inch).
- Apply the wingtips; carve and sand to airfoil shape. Finish-sand the wing panels and join them with five-minute epoxy.
- Fit the elevons and attach with X-hinges. If you use mechanical elevon mixing, form and install elevon control rods before attaching elevons.
- Cut and cement end-grain balsa into the wing at the bolt location to guard against crushing when the wing is bolted to the fuselage.
- Fit a 1/4-inch plywood wing plate into the leading edge of the wing center section. Check fit on the fuselage before gluing.
- Using waxed or greased temporary 1/4-inch dowels, set wing and plate in place, align, and glue the plate to the wing with five-minute epoxy.
- Place hardwood gear blocks at the correct location on the bottom of the wing; remove sheeting and foam so the blocks are flush with the sheeted bottom. Glue these in place with five-minute epoxy.
- If using electronic elevon mixing, install 1/8-inch plywood servo plates flush with the bottom surface of the wing and remove foam for servo pockets prior to covering the bottom of the wing.
- Sand and cover the wing.
Fuselage
- Cut all fuselage pieces. Pin the top on a flat work surface and mark firewall and bulkhead locations on the top and sides.
- Pin the 1/4-inch square longerons in place 1/8 inch from the edge (use the side as a guide). Curve these longerons from the fuselage width at the wing/elevon hinge location to the centerline at the tail.
- Glue longerons by applying thin CyA to the inside edge of the longerons (the CyA will run under the longerons).
- Pin the side to the top; pin firewall and former in place against the top and side. CA the side to the top, firewall, and former. Be sure to curve the side to the center at the rear. Pin the second side and CA in place.
- Pin and glue the 1/4-inch square bottom longerons into place against the sides. Pin and glue the 1/4-inch square strips around the back side of the firewall.
- Sand the bottom edges of the sides flush with the bottom longerons. Pin and glue the front fuselage bottom in place. Add the 1/8-inch balsa bottom.
- Carve, plane, and sand the bottom rear and top rear to the taper established by the sides. Round the corners per the plan and sand as needed.
- Plane and sand the 1/8-inch wing leading-edge undercaps and trailing edge.
- Complete, sand, and cover the vertical fin and the 1/4-inch triangular fin fillets.
- Cover the wing and fuselage; epoxy the vertical fin to the fuselage and epoxy fillets to the fin and fuselage.
Control Surfaces and Mixing
A Simitar requires only pitch (elevator) and roll (aileron) functions. Except for Pattern flying, a rudder is not required.
Simitar control surfaces are elevons that serve as both ailerons and elevators. Consider the elevons as full-strip ailerons that counteract to provide aileron control and move together to provide elevator control. Some form of mixing is needed—mechanical or electronic.
- The best mechanical method is the sliding tray mixer.
- Electronic mixing can be provided by a radio with built-in mixing or by external mixers (e.g., Ace's Christy Mixer or the Quillan Mixer), which plug in between the servos and the receiver. Both mixers work well and are in the $25–$45 range.
- Many newer radio systems have built-in elevon or flaperon mixing (examples: Futaba 6VA, 7NFK, 7UAF, 7UAP, 9VP models).
Sliding Tray Mixer Control Setup
- The sliding tray fore-and-aft formers are 1/4-inch plywood. Drill the 1/8-inch holes for the dowel through both formers at the same time so the holes are parallel.
- Cut the 1/8-inch plywood tray to fit both aileron and elevator servos.
- Push the dowels into one former, slide the red outer Nyrod over each dowel, then push the other former onto the dowels.
- Cement the tray in place onto the Nyrods (avoid getting cement inside the Nyrods), then install the servos as shown on the plans.
- One servo in the tray is set up as for strip ailerons. The second servo is for elevator; its control arm is attached to the stationary bulkhead at the front of the tray so it will slide the tray fore-and-aft to provide elevator function.
Electronic Mixer Control Setup
- Use 1/8-inch plywood trays to mount servos in the wing; epoxy the trays flush on the bottom of the wing after sheeting.
- Grind a hole in the top center of the wing and use a piece of piano wire with a hook bent on one end to tunnel out for each servo lead. Fish the lead through with a piece of string.
Final Assembly
- Install landing gear, engine, fuel tank, and all radio components.
- Hook up all controls and ensure there is no binding.
- Check the center of gravity: the aircraft should balance level to slightly nose down at the location indicated on the plans (approximately one inch behind the leading edge of the wing) with no fuel in the tank.
- Control throws: I install as much as I can get, then use what I need. 3/8–1/2 inch of up, down, left, and right is fine. Remember control is like a dimmer switch—use only as much stick as needed.
- Set nose-wheel height so that while resting on a flat surface, the leading edge of the wing is 1/4 inch higher than the trailing edge, measured at the hinge line.
- Set the trailing edge of the elevons 3/8 inch up with the transmitter trim at neutral.
- Check all surfaces for proper motion. Remember: left aileron command results in the left elevon going up and the right going down; up-elevator command results in both elevons going up.
FLYING
Flight performance is very smooth and graceful; the model gives the feeling it's an extension of yourself in the air—it often seems to do the right thing before you command it. Bill Winter once said, "Why does my Simitar do what I want it to before I tell it to? Does it read my mind?"
Remember to be safe, be courteous to other fliers, and have fun—and tight turns!
Bill Evans 454 Wildrose Ln. Bishop, CA 93514
Transcribed from original scans by AI. Minor OCR errors may remain.

