

Budget Simulator
— E.H. Schoenberg
Background
The first seed was planted last February, when members of the Bend Aero Modelers (BAM) club sponsored and taught a six-week class for youngsters building a radio-controlled glider. The class, run under the Bend, Oregon Metro Park and Recreation Department, was a hands-on way to stir young people's interest in the hobby. My article describing our experience appeared in the September 1987 Model Aviation.
After the magazine came out, Barry Kurath, president of PASS (Portland Area Sailplane Society), called to congratulate us and suggested the PASS members join our club for a fly-together or a Gentle Lady contest. Barry also sent the latest PASS newsletter, which included Filbert Stump’s column "For the Beginners," discussing tethered flight tests. Stump’s ideas dovetailed with my concerns about teaching student pilots to coordinate hand-and-eye movements with the RC transmitter controls.
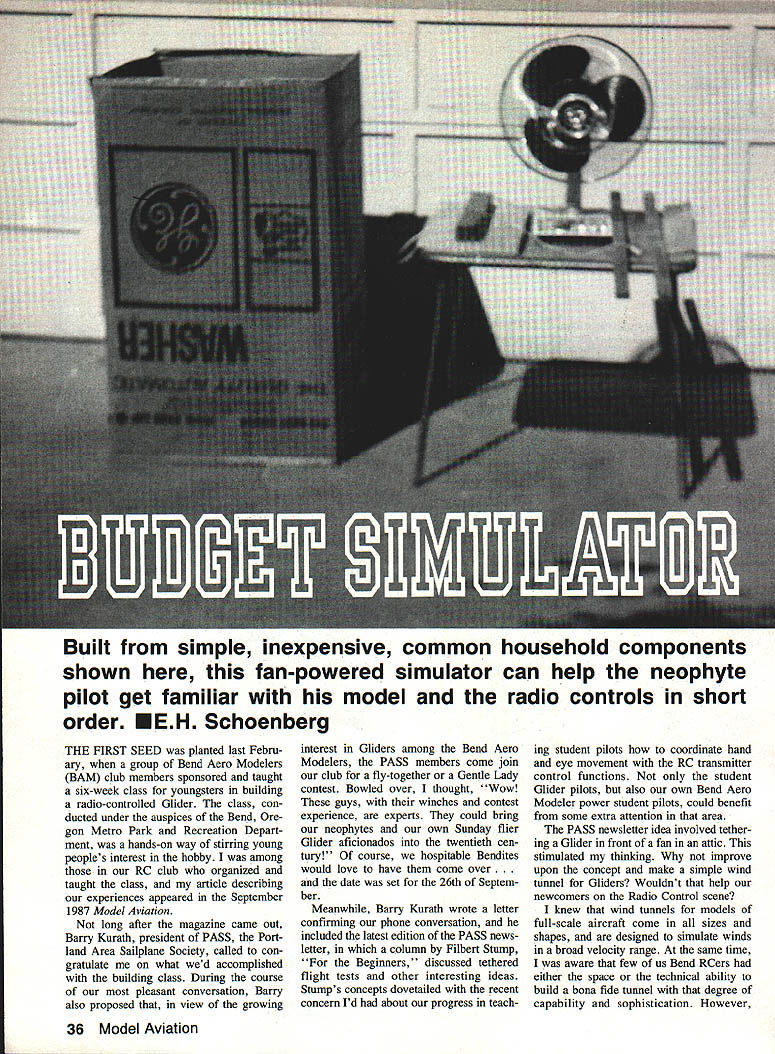
The PASS concept—tethering a glider in front of a fan in an attic—triggered a thought: why not improve that into a simple wind tunnel for gliders? It wouldn’t be a full-scale wind tunnel, but a basic, inexpensive setup to direct an airstream over a glider’s movable surfaces and train beginners safely.
Purpose
The simulator was designed to:
- Familiarize newly graduated students with transmitter stick functions and turns.
- Teach anticipation and how to stop an overcontrolled turn.
- Help students overcome the disorientation of reversed controls when a plane is coming toward the pilot.
- Practice tricky maneuvers such as turning the downwind leg into the base leg (traveling clockwise, right turn) and the final approach.
Materials
We improvised with common household and scrap items:
- Large cardboard carton (dryer box; about 21 in. high × 29 in. long × 45 in. wide)
- 18 in. attic fan
- Card table (for support height)
- Scrap 1/2 × 2 lathes (1 × 2 × 48 in. laths)
- 2 × 4 board
- 1 × 12 × 24 in. scrap base board
- Monofilament line for hanging the glider
- Tape
- Baffle dividers (egg-crate type) to straighten airflow
- Paint (optional, cosmetic finish)
Construction
- Fit the fan into the dryer carton so the fan blows through one end of the box. The carton dimensions worked well with the 18 in. fan.
- Cut a hole in the bottom/front of the carton to form the exit: approximately 12 in. high by 21 in. wide.
- Use pieces of another box to form a shroud around the opening.
- Build a portable stand from 1 × 2 laths, a 2 × 4 upright, and a 1 × 12 × 24 in. base so the glider can hang at the correct height. Cut slots in the shroud so the stand can be positioned for maximum turning ability at different locations.
- Tape extensions to the shroud sides to limit excessive roll/turn and keep the rudder in the airstream.
- Add egg-crate–type baffle dividers (two side-by-side fitted into the exit) to straighten and smooth the airstream. Tape them in place.
- Paint and finish the carton and stand as desired.
Initial Testing and Refinements
- We first hung a glider from the garage ceiling at its center of gravity about eight inches from the shroud. Right and left turns produced adequate movement, but large turns could pull the rudder out of the airstream and leave the glider locked in a turned position.
- To prevent that, we taped four-inch extensions to the shroud sides so the wing’s leading edge would block excessive movement while the rudder remained in the airstream to return the plane to its yaw axis. Pitch movements were minimal and would need to be learned in real flight.
- Turn response improved further after adding the baffle dividers to straighten the airflow. The dividers smoothed rotating, tumbled air and produced crisper turning action.
Training Trials
- Dave Gough, a club member who had not yet used an RC transmitter, served as our first novice test pilot. With a few minutes of practice doing right and left turns, correcting stops to straight flight, and stop-and-go S turns, he learned how the glider’s yaw behaved when it was going away from him.
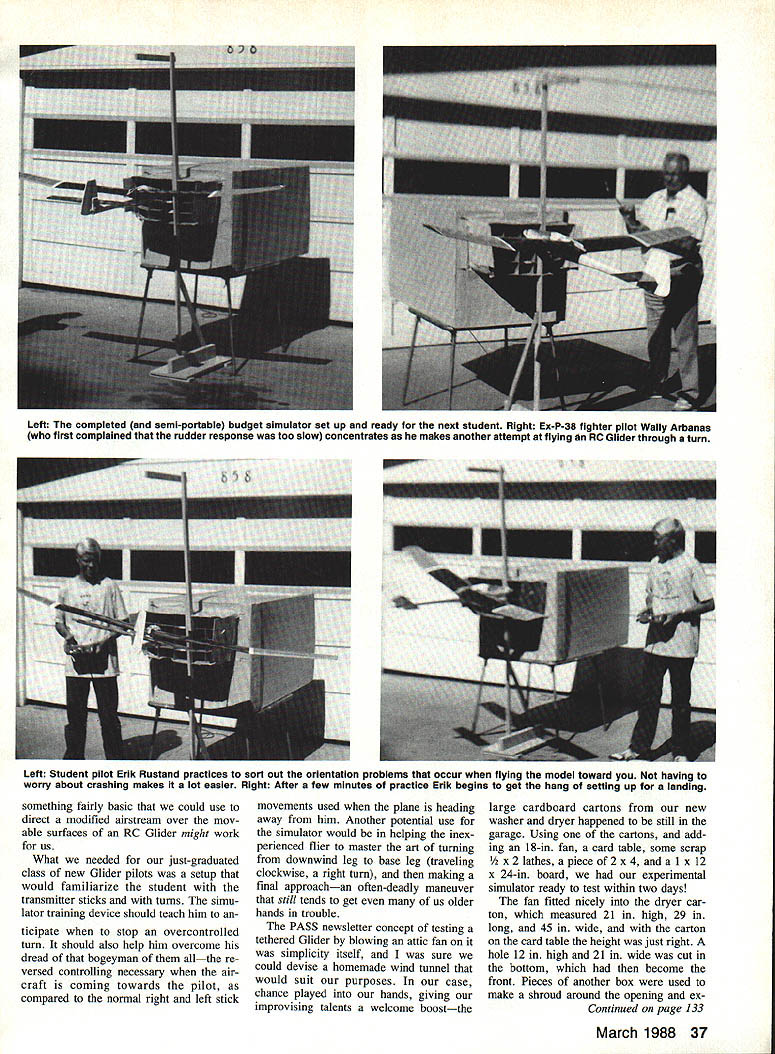
- To practice reversed controls, we moved him to the back of the carton so he faced the glider. After a short time he adapted to left/right reversal when the glider was coming toward him. The slow-turning glider gave him time to react and reduced the fear of a hard landing or crash. After about 20 minutes he reported greater comfort with the transmitter and felt he could start and stop turns with the glider both going away and coming toward him.
- Wally Arbanas, an experienced military pilot who flew P-38s in World War II but was a novice at RC, found the initial response slow. We increased the rudder throw at both the servo and control horn to maximum and achieved a noticeably peppier response, which suited his reflexes and helped him adapt to the transmitter controls.
Portable Setup and Club Demonstration
To make the simulator portable (transportable in a station wagon or van), we mounted the carton and fan on the wooden stand and ensured the stand could be positioned through the shroud slots for consistent setup at different locations.
At the next club meeting, the reaction shifted from mild curiosity to enthusiasm once the simulator was set up and running. Members queued for turns. Notable reactions:
- Ed Verboort (club president), who had flown Mode I for years, found the simulator helpful for transitioning control modes and admitting it would help his instruction.
- Guests Jack Turrunun and Jack Emerson (both newcomers in their sixties; Emerson a retired Navy aviator) quickly grasped stick functions. Both wanted more simulator time to handle the disorientation when the glider came toward them.
- Loren Anderson (an experienced pilot) felt the simulator would have been useful for his early training and for visualizing traffic patterns and approaches.
- Some experienced pilots suggested improvements: elevator response, a bigger fan, a larger box with a glazed viewing window, or other refinements. The common refrain was that the device was exactly what it claimed to be—a Simple Simulator for beginners that costs little to build.
Conclusion
The Simple Simulator proved to be an inexpensive, effective training aid to bridge the gap between classroom glider-building experience and real-world RC flying. It reduces risk and anxiety while giving students time to learn the necessary coordination and the reversed-control feel without the immediate consequences of a field crash.
Why not build a Simple Simulator for your club, line shack, hobby store, or garage (even an attic)? It offers the next-best thing to actual flight practice, and your non‑RC friend can enjoy learning without buying insurance first.
Transcribed from original scans by AI. Minor OCR errors may remain.

