
CO2 PBY
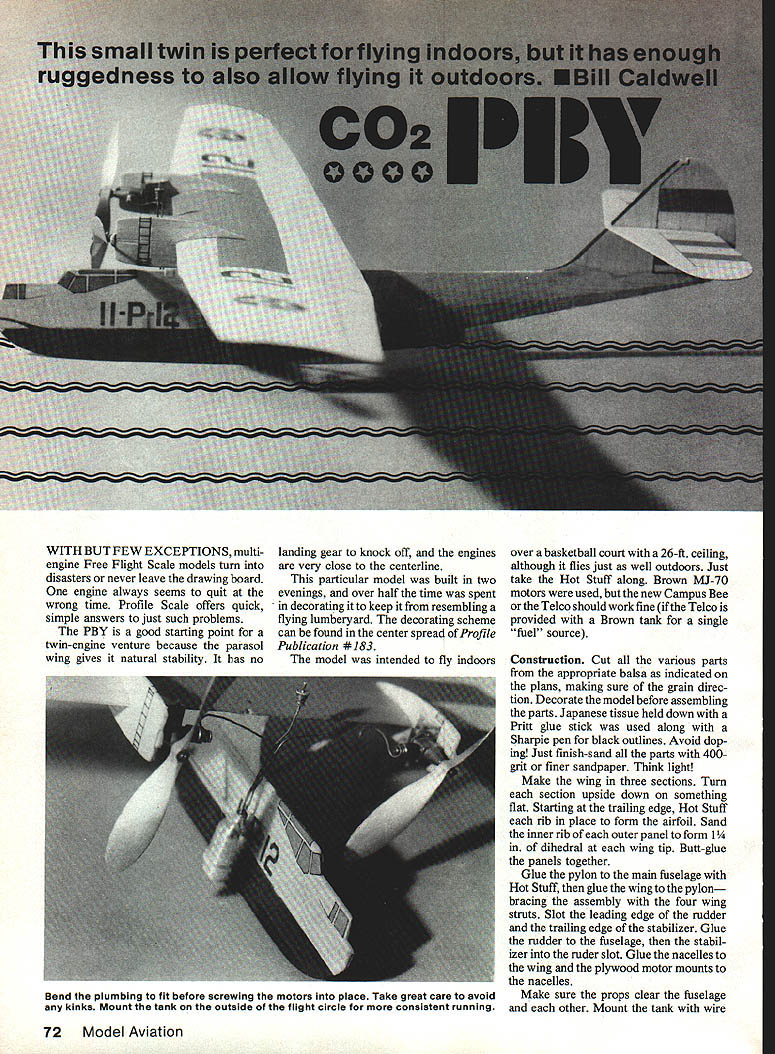
With but few exceptions, multiengine free-flight scale models turn into disasters or never leave the drawing board because an engine always seems to quit at the wrong time. Profile Scale offers quick, simple answers to just such problems. The PBY is a good starting point for a twin-engine venture because the parasol wing gives it natural stability, it has no landing gear to knock off, and the engines are very close to the centerline.
This particular model was built in two evenings — over half the time was spent decorating it so it wouldn't resemble a flying lumberyard. The decorating scheme can be found in the center spread of Profile Publication #183. The model was intended to fly indoors over a basketball court with a 26-ft. ceiling, although it flies just as well outdoors. Brown MJ-70 motors were used, but the new Campus Bee or the Telco should work fine (the Telco requires a Brown tank when using a single "fuel" source).
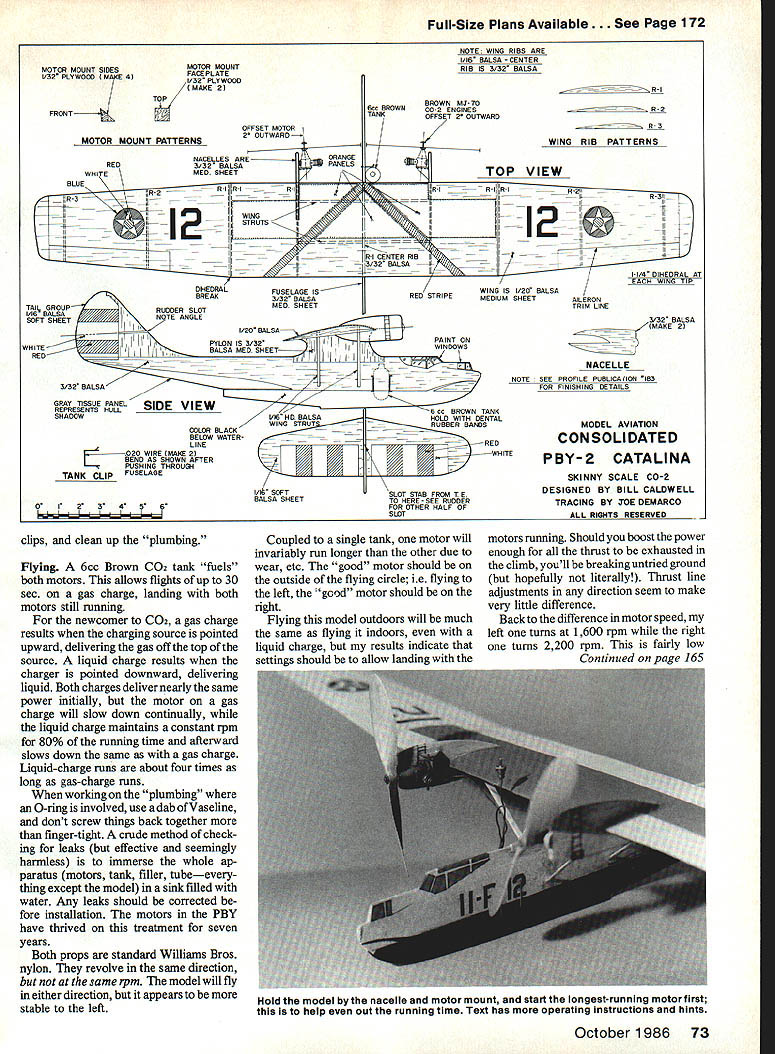
Full-size plans available. See Page 172.
Construction
Cut all parts from the appropriate balsa indicated on the plans, making sure of the grain direction. Decorate the model before assembly. The original used Japanese tissue held down with a Pritt glue stick and black outlines drawn with a Sharpie pen. Avoid doping; finish-sand all parts with 400-grit or finer sandpaper. Think light.
- Make the wing in three sections. Turn each section upside down on something flat. Starting at the trailing edge, Hot Stuff each rib in place to form the airfoil.
- Sand the inner rib of each outer panel to form 1 1/4 in. of dihedral at each wing tip. Butt-glue the panels together.
- Glue the pylon to the main fuselage with Hot Stuff, then glue the wing to the pylon and brace the assembly with the four wing struts.
- Slot the leading edge of the rudder and the trailing edge of the stabilizer. Glue the rudder to the fuselage, then glue the stabilizer into the rudder slot.
- Glue the nacelles to the wing and glue plywood motor mounts to the nacelles. Make sure the props clear the fuselage and each other.
- Mount the tank with wire on the outside of the flight circle for more consistent running.
- Bend the plumbing wire before screwing the motors in place and take great care to avoid kinks.
Flying
A 6 cc Brown CO2 tank will fuel both motors and allows flights up to about 30 seconds. There are two basic charge types and they behave differently:
- Gas charge: filler/charging source pointed upward delivers gas from the top. Initial power is similar to a liquid charge but the rpm slows down continually.
- Liquid charge: filler pointed downward delivers liquid. The liquid charge maintains nearly constant rpm for roughly 80% of running time, then slows; overall it runs about four times as long as a gas charge.
Plumbing and leak tips:
- If an O-ring is involved, use a dab of Vaseline.
- Don't screw fittings back together finger-tight; tighten properly.
- A crude but effective leak test is to immerse the whole plumbing/motor/tank assembly (everything except the model) in a sink full of water and look for bubbles. Correct any leaks before installation.
Motors, props and handling:
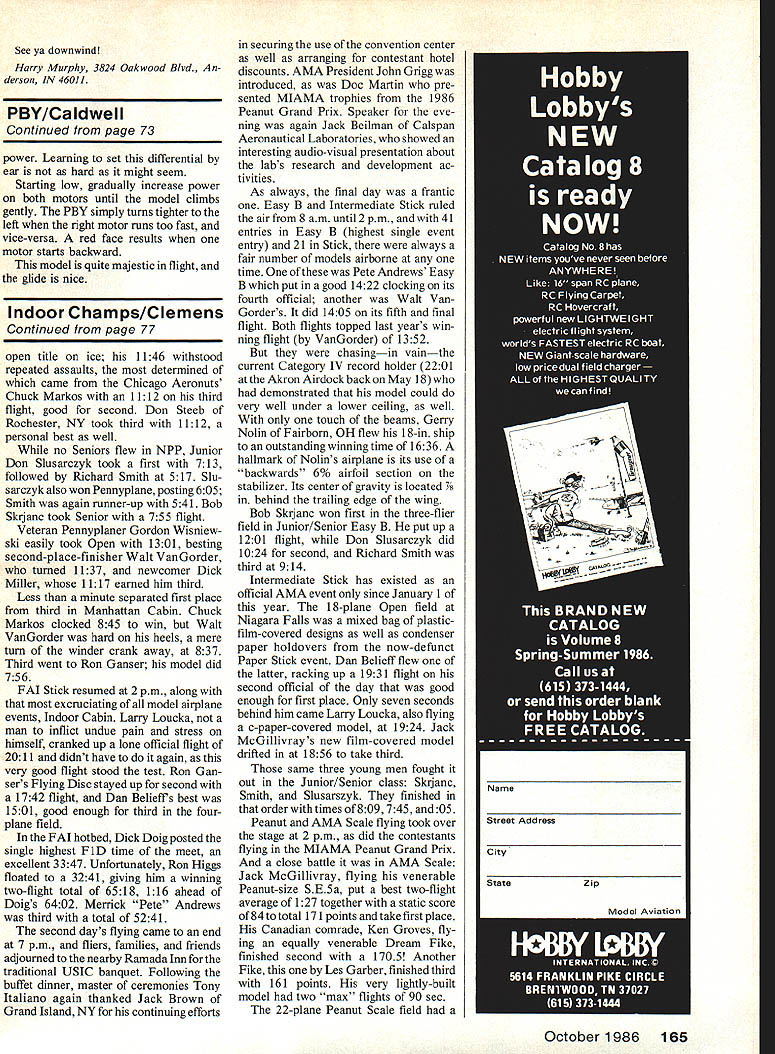
- Both props used are standard Williams Bros nylon. They revolve the same direction. However, motors rarely run identically; one motor will often run longer or at a different rpm due to wear or manufacturing variance.
- A coupled single-tank motor will invariably run longer than the other motor on the same installation. When flying left, place the better-running motor on the outside of the circle.
- Thrust-line adjustments in any direction seem to make very little difference for this model.
- Example performance: one motor ran about 1,600 rpm while the other ran about 2,200 rpm — fairly low power for the model.
Flying outdoors is much the same as flying indoors, even with a liquid charge. Settings should allow the model to land with the motors still running rather than trying to boost so much power that all thrust is exhausted in the climb.
Transcribed from original scans by AI. Minor OCR errors may remain.

