
Control Line: Aerobatics
Ted Fancher
Engine break-in and lubrication
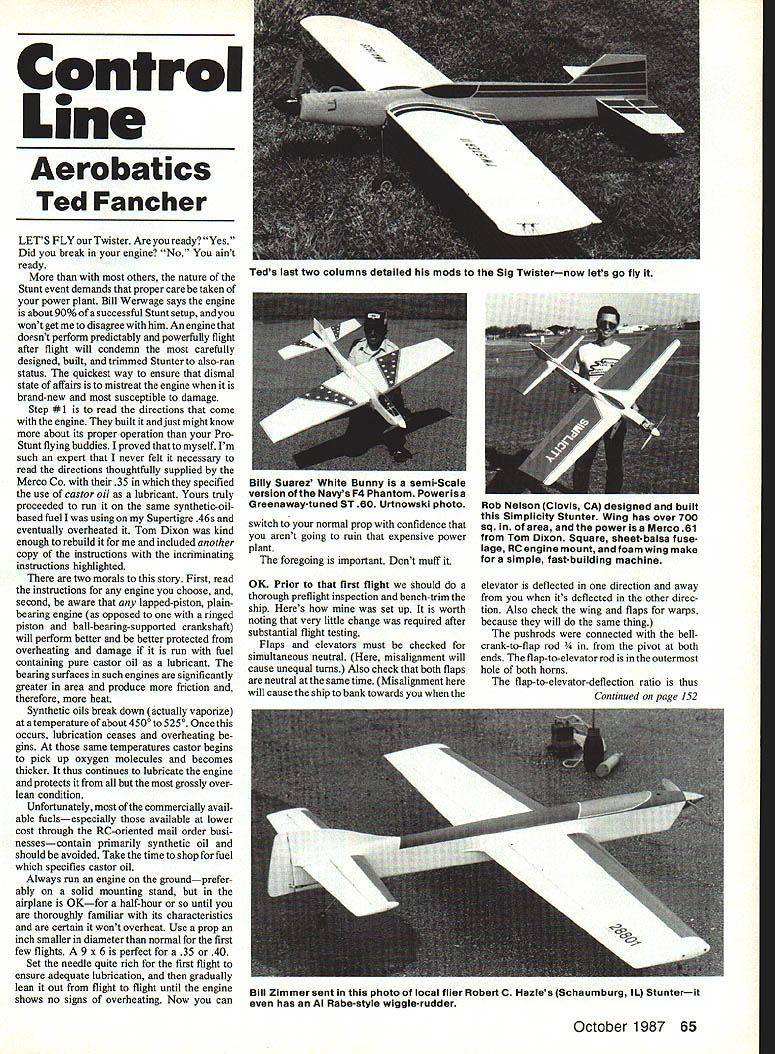
LET'S FLY our Twister. Are you ready? "Yes." Did you break in your engine? "No." You ain't ready.
More than in most other events, the Stunt event demands that proper care be taken of your powerplant. Bill Werwage says the engine is about 90% of a successful Stunt setup, and I won't disagree. An engine that doesn't perform predictably and powerfully flight after flight will condemn the most carefully designed, built, and trimmed Stunter to also-ran status. The quickest way to ensure that dismal state of affairs is to mistreat the engine when it is brand-new and most susceptible to damage.
- Step #1: Read the directions that come with the engine. The manufacturer knows about its proper operation more than your Pro-Stunt flying buddies.
- Be aware: any lapped-piston, plain-bearing engine (as opposed to one with a ringed piston and ball-bearing-supported crankshaft) will perform better and be better protected from overheating and damage if run on fuel containing pure castor oil.
- Bearing surfaces in such engines are significantly greater in area and produce more friction and therefore more heat.
- Synthetic oils break down (vaporize) at about 450° to 525°F. Once this occurs, lubrication ceases and overheating begins.
- At those same temperatures, castor begins to pick up oxygen molecules and becomes thicker, continuing to lubricate the engine and protecting it from all but the most grossly overlean condition.
Avoid cheap commercially available fuels that contain primarily synthetic oil. Take time to shop for fuel which specifies castor oil.
Initial ground running and prop selection
- Always run an engine on the ground—preferably on a solid mounting stand (but running it in the airplane is OK)—for a half-hour or so until you are thoroughly familiar with its characteristics and certain it won't overheat.
- Use a prop an inch smaller in diameter than normal for the first few flights. A 9 x 6 is perfect for a .35 or .40.
- Set the needle quite rich for the first flight to ensure adequate lubrication, and gradually lean it out from flight to flight until the engine shows no signs of overheating.
- After the engine is proven, switch to your normal prop with confidence.
Control surfaces and bench trimming
Prior to the first flight do a thorough preflight inspection and bench-trim the ship. Here’s how mine was set up; very little change was required after substantial flight testing.
- Check flaps and elevators for simultaneous neutral; misalignment will cause unequal turns.
- Check that both flaps are neutral at the same time; misalignment here will cause the ship to bank one way when elevator is deflected one direction and the opposite when inverted.
- Check the wing and flaps for warps; they can cause the same problems.
Control linkage setup:
- Bellcrank-to-flap rod: 3/4 in. from the pivot at both ends.
- Flap-to-elevator-deflection ratio: outermost hole of both horns — 1:1 (if the flaps go down 25°, the elevators go up 25°). This is the most common setup; experiments may be done if you wish.
- Bellcrank spacing: four-inch spacing between the hinges gives a moderate control response.
- Most commercially available handles have a nominally working setup.
Center of gravity (CG) and tail moment
- The model's CG was set per plan, one inch forward of the spar (somewhat further forward than the plans showed). If you chose the stock tail moment, start at least 1 in. forward of the spar for the first flights to ensure stability and a controllable glide.
- Beware of tail-heavy Stunters: they go light on the lines and try to climb abruptly with no warning.
Lead-outs: placement and rules
- Recommended initial placement: down lead-out 1/4 in. aft of the spar, up lead-out 1 in. aft.
- Rule of thumb: have the lead-outs within 1 in. of each other and the midpoint between them 1 in. aft of the CG. Fine-tune minimally during first flights.
General rules on lead-out location:
- They must always be aft of the CG.
- If too far forward, the ship will be light on the lines everywhere, including in level flight.
- If too far aft, the ship will pull hard in level flight and perhaps be uncontrollable above 45°.
- Lead-outs can be moved individually to trim problems that exist only during inside or outside turns.
Tip weight, prop, muffler, and tank
- I had built in one ounce of tip weight; this proved too much. Profile-fuselage Stunters, with engine and tank mounted outboard, have "automatic" tip weight built in. I removed all but about a quarter-ounce during trimming. Start with no more than 1/2 oz.
- Use a 10 x 6 prop on your .35 or .40 (remember: one inch smaller if you aren't using a proven engine).
- Select a plastic or metal spinner (or none), depending on whether your CG needs shifting. A spinner is decorative but looks better; use it if it helps CG.
- Always use a muffler. A great Stunter is worthless if you throttle down while flying because it's too noisy.
- Set the adjustable tank about 3/8 in. above the engine centerline. This compensates for the tendency of side-mounted engines to go rich in outside maneuvers.
Control lines and handle
- Open a new set of 60-ft. control lines and measure them to be sure they were properly labeled (sometimes they aren't).
- Attach them to the plane and handle with scissors-type connectors (available from Pylon and Perfect). I don't recommend slide-connector types—they tend to weaken and occasionally open in flight.
- Give a reasonable pull test to the entire system to ensure everything stays put. Pay special attention to the crimping of the security tube at the line-end eyelets.
- As skill increases, consider making a short loop on the line-end eyelets with copper wire to prevent possible damage from crimping that would be hidden by the crimped tube.
- For now, the pull test before flight should assure they are sound.
Final checks before first flight
Tighten anything you can get your fingers on:
- Prop nut and spinner
- Engine bolts
- Muffler bolts and muffler pressure tap (if installed)
- Fuel tubing
- Landing gear clips and wheel collars
- Control horn mounts and pushrod keepers
- Wing-tip-mounted lead-out tubes
- Any adjustable fasteners on your handle not meant for inflight adjustment
Hint: Make all bends in your pushrods away from the center of the flight circle. If you lose a pushrod keeper, centrifugal force will likely keep the pushrod from coming out.
First flights: cautious investigation
- Limit first flights to cautious checks of fundamentals.
- Verify wings fly level both upright and inverted; have someone outside the circle check (best from the upwind side). Be critical.
- If tip weight is excessive, the wind will consistently lower the outside wing.
- If insufficient tip weight is installed, the reverse will be true.
- If the wing is up when flying one way and down the other, you likely have a warp or the flaps are not aligned.
- Improper tip weight and a warp will show as a wing more out-of-level in one direction than the other. Eliminate the warp first, then adjust tip weight. These adjustments should also equalize line tension upright and inverted.
- An airplane banked toward the pilot loses line tension and may fly toward the pilot if given up elevator (or down elevator when inverted). Be careful!
Timing laps:
- While your helper evaluates wing level, have him time lap times both upright and inverted.
- Example: if upright = 5.5 s and inverted = 5.1 s, lower the tank to even them out.
- Continue to check lap times on subsequent flights until they are equal.
While turning upright to inverted and back, feel how the ship reacts and how stable it is. If you opted for the longer tail moment, you will likely be pleasantly surprised at how manageable and stable the longer Twister is.
Troubleshooting and handling quirks
- Example: On one first flight my controls froze because the circular bellcrank had ingested a burr and froze in neutral. The Twister continued to circle until the fuel ran out and landed itself—all neutral. It was fortunate the crank froze neutral—proof of stability.
- Model response can be adjusted by adding nose or tail weight or by changing line spacing at the control handle.
- Move the CG aft a tiny bit at a time until you notice the airplane feeling loose on the lines when the engine quits. Move CG forward to regain good control in the glide, then adjust response rate by handle spacing.
- When flying outside corners with a profile and a side-mounted engine, the engine may richen abruptly in the first corner. This is common and usually clears after the first corner.
- Minimize by flying the first corner of outside squares a little soft and starting a little high. You might lose a few points for such an entry, but preventing engine loading and slowdown is worth it.
- Schnuerle-ported engines (e.g., OS FP series) show less of this tendency than standard-ported engines (e.g., Merco or Fox).
Further trimming and resources
At this point you should have a profile flying pretty well. There is much more to trimming than covered here. I covered a lot of this back in 1985 in a series of six columns which began in the May issue. If new readers would like copies of those columns, I’ll send a set.
- Send a 9 x 12 in. manila envelope with your return address and about four 22-cent stamps to the address below, and I will send the set.
Oh, how does my Twister II fly? Just great. It flew over 500 points at a local contest and drew favorable comments about its ability to fly like a "real" Stunter. It is easy to fly and a whole lot of fun. I enjoyed it.
Ted Fancher 158 Flying Cloud Isle Foster City, CA 94404
Transcribed from original scans by AI. Minor OCR errors may remain.

