
Aerobatics
Wynn Paul
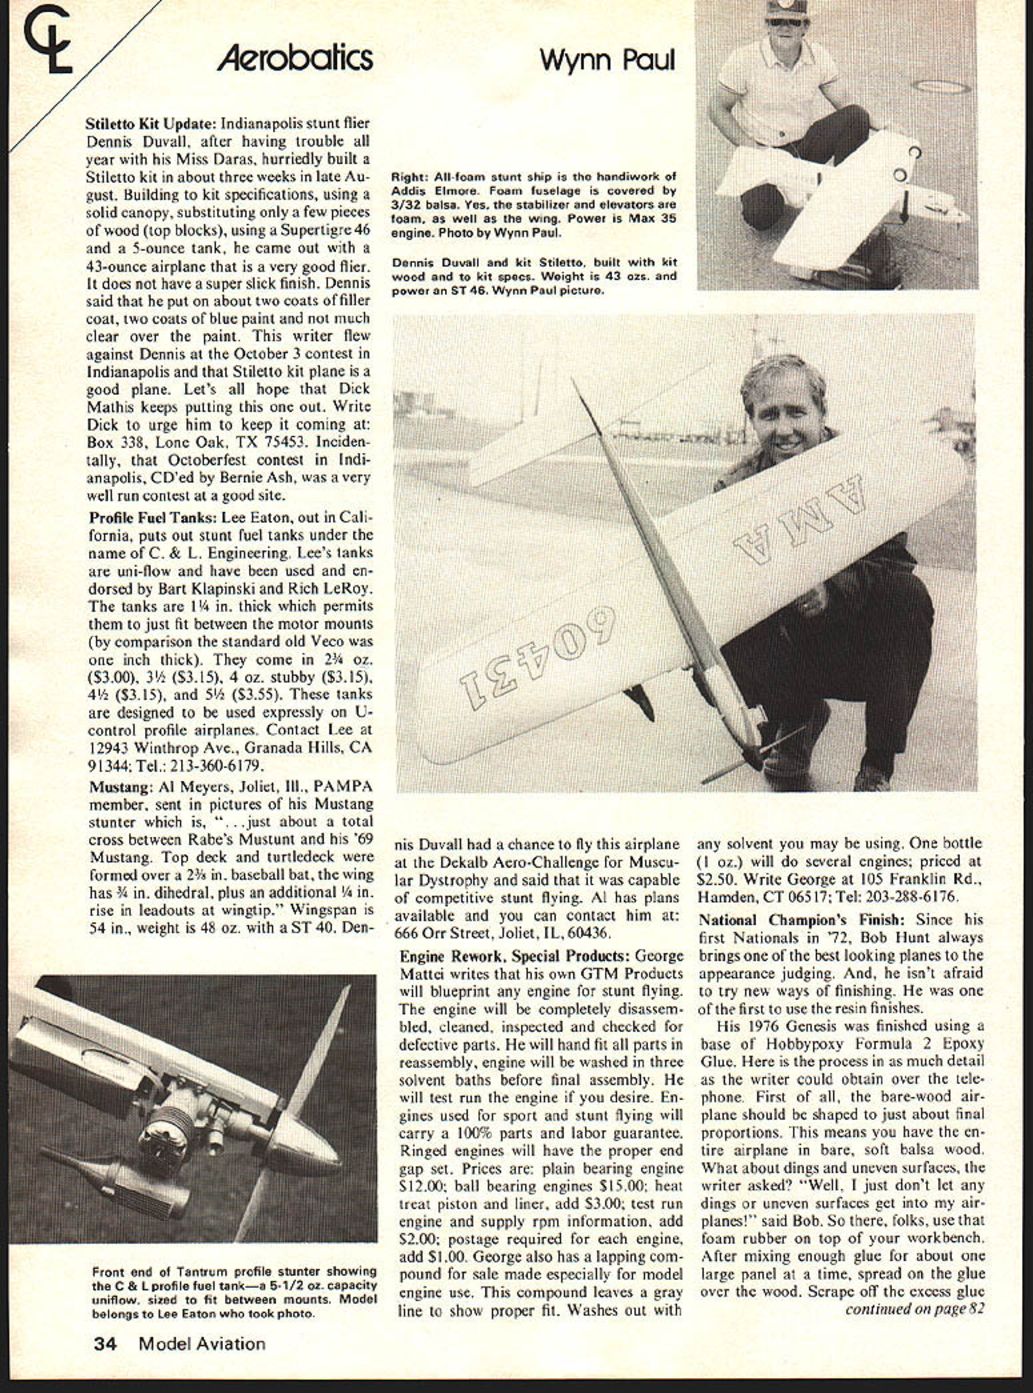
Stiletto Kit Update: Indianapolis stunt flier Dennis Duvall, after having trouble all year with his Miss Daras, hurriedly built a Stiletto kit in about three weeks in late August. Building to kit specifications, using a solid canopy, substituting only a few pieces of wood (top blocks), using a Supertigre 46 and a 5-ounce tank, he came out with a 43-ounce airplane that is a very good flier. It does not have a super slick finish. Dennis said that he put on about two coats of filler coat, two coats of blue paint and not much clear over the paint. This writer flew against Dennis at the October 3 contest in Indianapolis and that Stiletto kit plane is a good plane. Let's all hope that Dick Mathis keeps putting this one out. Write Dick to urge him to keep it coming at: Box 338, Lone Oak, TX 75453. Incidentally, that Octoberfest contest in Indianapolis, CD'ed by Bernie Ash, was a very well run contest at a good site.
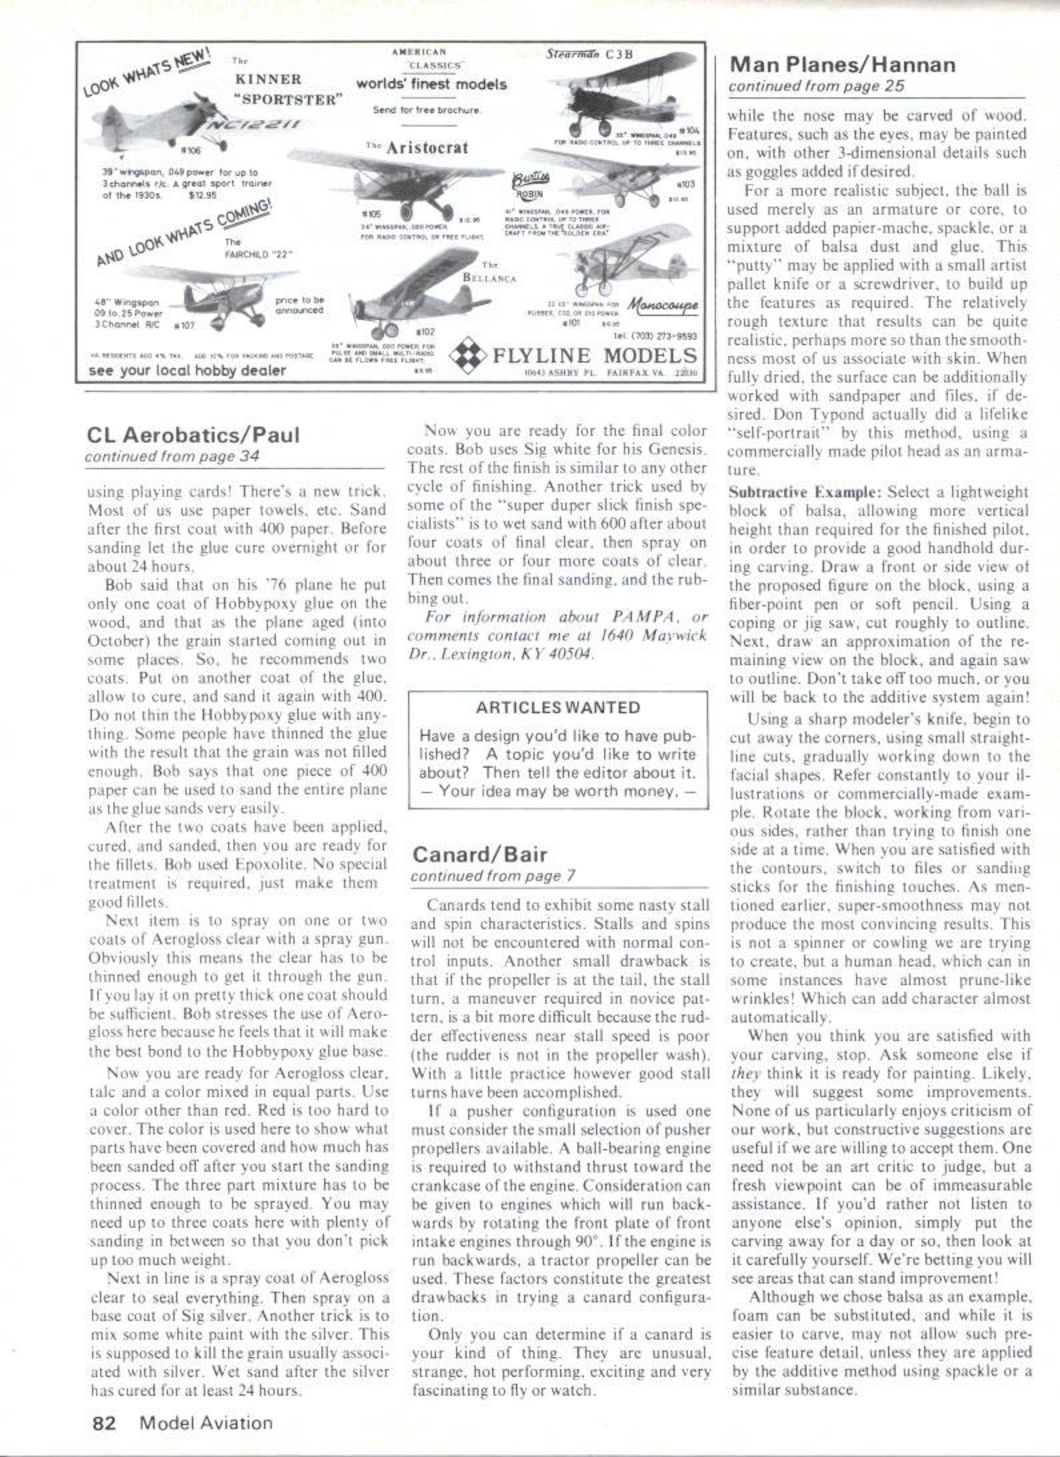
Profile Fuel Tanks: Lee Eaton, out in California, puts out stunt fuel tanks under the name of C. & L. Engineering. Lee's tanks are uni-flow and have been used and endorsed by Bart Klapinski and Rich LeRoy. The tanks are 1 1/4 in. thick which permits them to just fit between the motor mounts (by comparison the standard old Veco was one inch thick). They come in 2 3/4 oz. ($3.00), 3 1/2 ($3.15), 4 oz. stubby ($3.15), 4 1/2 ($3.15), and 5 1/2 ($3.55). These tanks are designed to be used expressly on U-control profile airplanes. Contact Lee at 12943 Winthrop Ave., Granada Hills, CA 91344. Tel.: 213-360-6179.
Mustang: Al Meyers, Joliet, Ill., PAMPA member, sent in pictures of his Mustang stunter which is, "...just about a total cross between Rabe's Mustunt and his '69 Mustang. Top deck and turtledeck were formed over a 2 3/8 in. baseball bat, the wing has 3/4 in. dihedral, plus an additional 1/4 in. rise in leadouts at wingtip." Wingspan is 54 in., weight is 48 oz. with a ST 40. Dennis Duvall had a chance to fly this airplane at the Dekalb Acro-Challenge for Muscular Dystrophy and said that it was capable of competitive stunt flying. Al has plans available and you can contact him at: 666 Orr Street, Joliet, IL, 60436.
Engine Rework, Special Products: George Matti writes that his own GTM Products will blueprint any engine for stunt flying. The engine will be completely disassembled, cleaned, inspected and checked for defective parts. He will hand fit all parts in reassembly, engine will be washed in three solvent baths before final assembly. He will test run the engine if you desire. Engines used for sport and stunt flying will carry a 100% parts and labor guarantee. Ringed engines will have the proper end gap set. Prices are: plain bearing engines $12.00; ball bearing engines $15.00; heat treat piston and liner add $3.00; test run engine and supply rpm information, add $2.00; postage required for each engine, add $1.00. George also has a lapping compound for sale made especially for model engine use. This compound leaves a gray line to show proper fit. Washes out with any solvent you may be using. One bottle (1 oz.) will do several engines; priced at $2.50. Write George at 105 Franklin Rd., Hamden, CT 06517. Tel: 203-288-6176.
National Champion's Finish: Since his first Nationals in '72, Bob Hunt always brings one of the best looking planes to the appearance judging. And, he isn't afraid to try new ways of finishing. He was one of the first to use the resin finishes. His 1976 Genesis was finished using a base of Hobbypoxy Formula 2 Epoxy Glue. Here is the process in as much detail as the writer could obtain over the telephone. First of all, the bare-wood airplane should be shaped to just about final proportions. This means you have the entire airplane in bare, soft balsa wood. "What about dings and uneven surfaces," the writer asked? "Well, I just don't let any dings or uneven surfaces get into my airplanes," said Bob. So there, folks, use that foam rubber on top of your workbench. After mixing enough glue for about one large panel at a time, spread on the glue over the wood. Scrape off the excess glue
CL Aerobatics/Paul
using playing cards! There's a new trick. Most of us use paper towels, etc. Sand after the first coat with 400 paper. Before sanding let the glue cure overnight or for about 24 hours.
Bob said that on his '76 plane he put only one coat of Hobbypoxy glue on the wood, and that as the plane aged (into October) the grain started coming out in some places. So, he recommends two coats. Put on another coat of the glue, allow to cure, and sand it again with 400. Do not thin the Hobbypoxy glue with anything. Some people have thinned the glue with the result that the grain was not filled enough. Bob says that one piece of 400 paper can be used to sand the entire plane as the glue sands very easily.
After the two coats have been applied, cured, and sanded, then you are ready for the fillets. Bob used Exopolite. No special treatment is required, just make them good fillets.
Next item is to spray on one or two coats of Aerogloss clear with a spray gun. Obviously this means the clear has to be thinned enough to get it through the gun. If you lay it on pretty thick one coat should be sufficient. Bob stresses the use of Aerogloss here because he feels that it will make the best bond to the Hobbypoxy glue base.
Now you are ready for Aerogloss clear, talc and a color mixed in equal parts. Use a color other than red. Red is too hard to cover. The color is used here to show what parts have been covered and how much has been sanded off after you start the sanding process. The three part mixture has to be thinned enough to be sprayed. You may need up to three coats here with plenty of sanding in between so that you don't pick up too much weight.
Next in line is a spray coat of Aerogloss clear to seal everything. Then spray on a base coat of Sig silver. Another trick is to mix some white paint with the silver. This is supposed to kill the grain usually associated with silver. Wet sand after the silver has cured for at least 24 hours.
Now you are ready for the final color coats. Bob uses Sig white for his Genesis. The rest of the finish is similar to any other cycle of finishing. Another trick used by some of the "super duper slick finish specialists" is to wet sand with 600 after about four coats of final clear, then spray on about three or four more coats of clear. Then comes the final sanding, and the rubbing out.
For information about PAMPA, or comments contact me at 1640 Maywick Dr., Lexington, KY 40504.
Transcribed from original scans by AI. Minor OCR errors may remain.

