
CONTROL LINE AEROBATICS
Frank McMillan, 12106 Gunter Grove, San Antonio, TX 78231
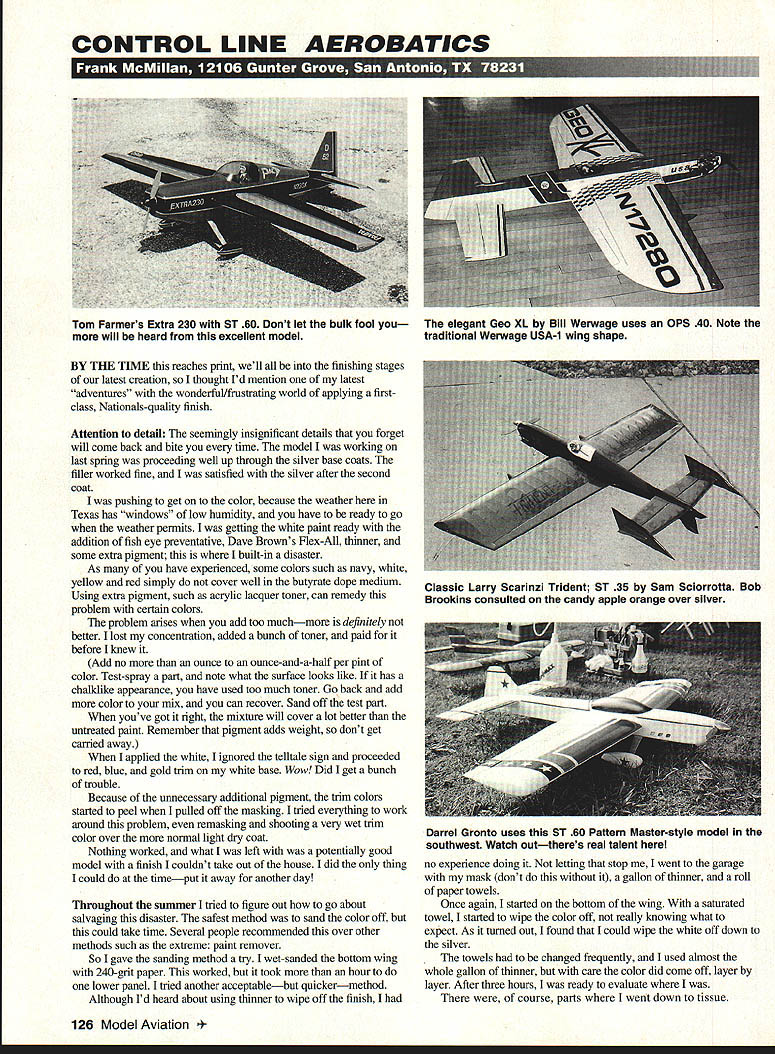
BY THE TIME this reaches print, we'll all be into the finishing stages of our latest creation, so I thought I'd mention one of my latest "adventures" with the wonderful/frustrating world of applying a first-class, Nationals-quality finish.
Attention to detail: the seemingly insignificant things you forget will come back and bite you every time. The model I was working on last spring was proceeding well up through the silver base coats. The filler worked fine, and I was satisfied with the silver after the second coat.
I was pushing to get on to the color, because the weather here in Texas has "windows" of low humidity, and you have to be ready to go when the weather permits. I was getting the white part ready with the addition of fish-eye preventative, Dave Brown's Flex-All thinner, and some extra pigment; this is where I built in a disaster.
As many of you have experienced, some colors such as navy, white, yellow and red simply do not cover well in the butyrate dope medium. Using extra pigment, such as acrylic lacquer toner, can remedy this problem with certain colors.
The problem arises when you add too much—more is definitely not better. I lost my concentration, added a bunch of toner, and paid for it before I knew it.
- Add no more than an ounce to an ounce-and-a-half per pint of color. Test-spray a part, and note what the surface looks like. If it has a chalklike appearance, you have used too much toner. Go back and add more color to your mix, and you can recover. Sand off the test part.
When you've got it right, the mixture will cover a lot better than the untreated paint. Remember that pigment adds weight, so don't get carried away.
When I applied the white, I ignored the telltale sign and proceeded to do red, blue, and gold trim on my white base. Wow—did I get a bunch of trouble. Because of the unnecessary additional pigment, the trim colors started to peel when I pulled off the masking. I tried everything to work around this problem, even remasking and shooting a very wet trim color over the more normal light dry coat.
Nothing worked, and what I was left with was a potentially good model with a finish I couldn't take out of the house. I did the only thing I could do at the time—put it away for another day.
Throughout the summer I tried to figure out how to salvage this disaster. The safest method was to sand the color off, but this could take time. Several people recommended sanding over other methods such as paint remover.
I gave the sanding method a try. I wet-sanded the bottom wing with 240-grit paper. This worked, but it took more than an hour to do one lower panel. I then tried another acceptable—but quicker—method.
Although I'd heard about using thinner to wipe off the finish, I had no experience in doing this. Not letting that stop me, I went to the garage with my mask (don't do this without it), a gallon of thinner, and a roll of paper towels.
Once again, I started on the bottom of the wing. With a saturated towel, I started to wipe the color off, not really knowing what to expect. As it turned out, I found that I could wipe the white off down to the silver.
The towels had to be changed frequently, and I used almost the whole gallon of thinner, but with care the color did come off, layer by layer. After three hours, I was ready to evaluate where I was.
There were, of course, parts where I went down to tissue. I let the plane dry; the remaining paint layers softened and came back. The first thing I did was sand the entire model lightly with 400 paper, dry; shoot a very light coat of clear, followed by the lightest coat of silver I could apply. Where it showed dry spots, I worked individually—sanding again with 400 and applying silver. I repeated this until the silver was satisfactory. I was pleasantly surprised that it didn't take long until the model was ready for color.
As the finish progressed, some fillets had to be redone; the spots were relatively minor, although there was a touch-up color problem after the fillet work. The plane is flying now and the work was well worth it. It required about thirty to forty hours of work that would not have been necessary had I paid attention to the extra pigment I originally used trying to get level the first time.
If you are finishing yourself, do yourself a favor and get Windy Urtnowski's videos on finishing, especially his seminar at the Garden State Circle Burners—it's a comprehensive, proven presentation on finishes. I've picked up tips from Windy's video that work very well.
A recommended Sig silver procedure:
- If the silver has separated, pour off some clear dope—the metallic collects on the bottom to form a paste. The idea is to obtain a more concentrated mixture; six to eight ounces is a good place to start.
- You can use the clear on other places, as all Sig colors are mixed with Lite-Coat, a low-shrink dope.
- The resulting concentrated silver covers much better. Be careful not to remove too much clear, as you may have adhesion problems with subsequent coats.
- When satisfied with your silver base, shoot a thin coat of clear to seal the silver.
New Products:
Aero Products' Randy Smith has again added to his extensive line of Stunt products. He's developing a comprehensive listing of Stunt plans which range from Old-Time Stunt "Lethal Lucy" through some exceptional Warren Trihart plans of Bill Werwage's original Ares and USA-1 of the Classic era to the new pyloned models.
There are several new, technologically advanced models that should create a lot of interest when they get into competition this summer. The first is the XL variant of the proven SV-12 Intrepid. The XL has slightly lengthened tail moments and wingspan while retaining the original, classic Akro look.
There are two other designs based on the same general layout: the Typhoon SV-14 and the Astra SV-15. These designs feature a better wingtip design which should minimize tip movement in turbulent air.
All of these designs are available from Randy in a variety of packages:
- Full-size plans in two versions
- Foam surfaces
- Built-up surfaces (with computer-generated individual rib plots)
- Foam wing caps (sheeted or plain)
- Full kits with built-up wing ribs
All are excellent value. Contact Randy at Aero Products, 1880 Scenic Hwy., Snellville, GA 30278; Tel.: (404) 979-2035.
Windy Urtnowski announces a new location and improved service (if that's possible) for Pro-Stunt products. As many of you know, Windy has been busy for much of the past year renovating his new property, including a major new shop space which will include several work stations, a spray booth, and storage so multiple projects can be accommodated.
(Of critical importance, as Windy so eloquently states, "pizzas can be delivered from six different local restaurants, and a microwave will be available for reheating slices.")
Windy notes that he has all the Brian Eather props in stock (these are excellent), and the new Cardinal kits are also available for immediate delivery. Contact Windy at his new address: 93 Elliott Pl., Rutherford, NJ 07070; Tel.: (201) 896-8740.
Transcribed from original scans by AI. Minor OCR errors may remain.

