
CONTROL LINE AEROBATICS
Frank McMillan 12106 Gunter Grove, San Antonio, TX 78231
Introduction
To run a setup (ST.60, .46 piped engine, etc.) to its potential, a flier really needs to find the potential problems, experience them, and develop procedures to minimize or eliminate them.
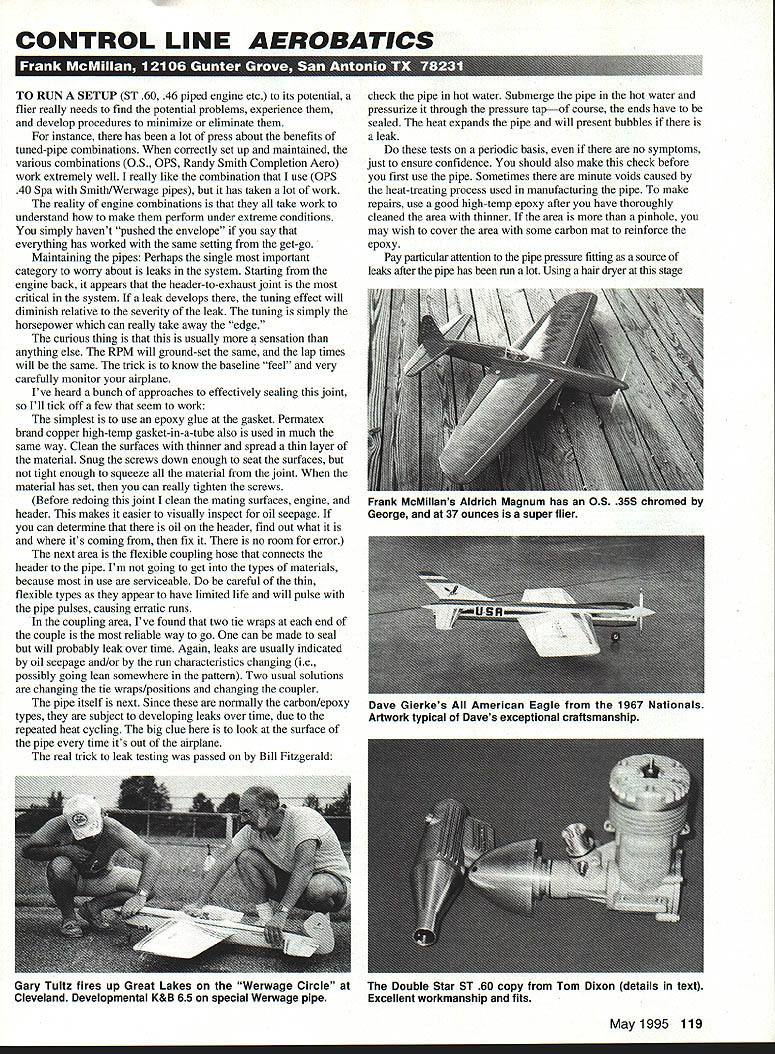
There has been a lot of press about the benefits of tuned-pipe combinations. When correctly set up and maintained, the various combinations (O.S., OPS, Randy Smith Completion Aero) work extremely well. I really like the combination that I use (OPS .40 with Smith/Werwage pipes), but it has taken a lot of work. One reality of engine combinations is that they all take work to understand how to make them perform under extreme conditions. You simply haven't "pushed the envelope" if you say that everything has worked with the same setting from the get-go.
Maintaining Tuned-Pipe Systems
Perhaps the single most important category to worry about is leaks in the system. Starting from the engine back, the header-to-exhaust joint is the most critical in the system. If a leak develops there, the tuning effect will diminish relative to the severity of the leak. The tuning is simply the horsepower, which can really take away the "edge."
The curious thing is that this is usually more a sensation than anything else. The RPM will be ground-set the same, and the lap times will be the same. The trick is to know the baseline "feel" and very carefully monitor your airplane.
Sealing the Header-to-Exhaust Joint
I've heard a bunch of approaches to effectively sealing this joint. A few that seem to work:
- Use an epoxy glue at the gasket.
- Permatex brand copper high-temp gasket-in-a-tube works in much the same way.
Procedure:
- Clean the surfaces with thinner and spread a thin layer of the sealing material.
- Snug the screws down enough to seat the surfaces, but not tight enough to squeeze all the material from the joint.
- When the material has set, tighten the screws fully.
Before redoing this joint, clean the mating surfaces, engine, and header. This makes it easier to visually inspect for oil seepage. If you determine there is oil on the header, find out what it is and where it's coming from, then fix it. There is no room for error.
Flexible Coupling Hose
The flexible coupling hose that connects the header to the pipe is another potential source of trouble. I won't go into all the material types, because most in use are serviceable. Be careful of the thin, flexible types—they appear to have limited life and will pulse with the pipe, causing erratic runs.
In the coupling area, I’ve found that two tie wraps at each end of the coupler are the most reliable approach. One can be made to seal but will probably leak over time. Leaks are usually indicated by oil seepage and/or by the run characteristics changing (for example, going lean somewhere in the pattern). Two usual solutions are changing the tie wraps/positions and changing the coupler.
Pipe Inspection and Leak Testing
The pipe itself (normally carbon/epoxy) is subject to developing leaks over time due to repeated heat cycling. The big clue is to look at the surface of the pipe every time it's out of the airplane.
A reliable leak test (passed on by Bill Fitzgerald): check the pipe in hot water. Submerge the pipe in hot water and pressurize it through the pressure-tap (the ends must be sealed). The heat expands the pipe and will present bubbles if there is a leak.
Do these tests periodically, even if there are no symptoms, to ensure confidence. Make this check before your first use of a pipe. Sometimes there are minute voids caused by the heat-treating process used in manufacturing.
To make repairs:
- Thoroughly clean the area with thinner.
- Use a good high-temp epoxy for pinholes or small leaks.
- If the area is more than a pinhole, consider covering it with some carbon mat to reinforce the epoxy.
- Pay particular attention to the pipe pressure fitting as a source of leaks after the pipe has had many runs.
- Using a hair dryer at this stage helps the epoxy to flow and sets up a harder, glossier surface.
Pipe Longevity and Care
In general, after, say, 50+ runs and possibly a repair, pipes last for a significant number of flights. The carbon pipes are high-quality products (especially the Smith-Werwage units), but as with any leading-edge technology, regular "care and feeding" is required.
The ST.60 and the Double Star .60
As I have said many times, about the time you find out something works, it's been out of production for years. Following that, the long-out-of-production ST.60 is enjoying a rebirth in many forms. For those who still have engines, new rebuilds with Hemih heads, chrome sleeves, etc., a few AAC/ACSC units were available and used successfully by Kaz Minato of the Japanese national team. But for newcomers moving up to more competitive hardware, it has been difficult to acquire something comparable.
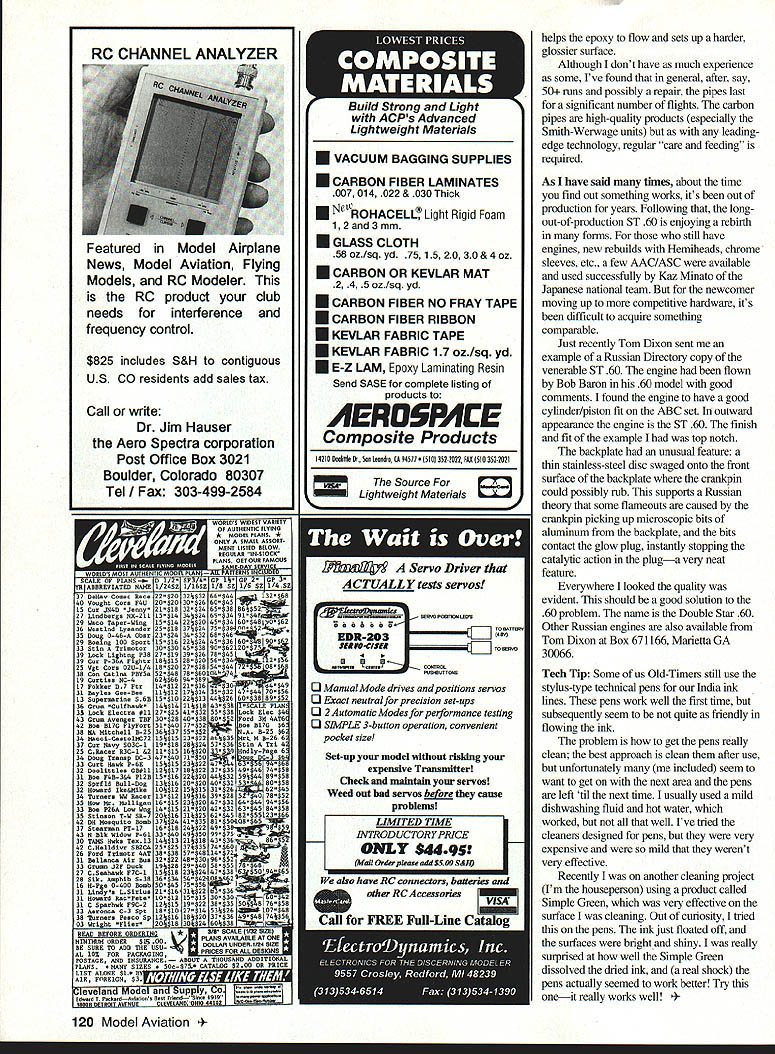
Tom Dixon recently sent me an example of a Russian Directory copy of the venerable ST.60. The engine had been flown by Bo Baron in his .60 model with good results. I found the engine to have a good cylinder/piston fit on the ABC set. In outward appearance the engine is the ST.60; the finish and fit of the example I had were top notch.
The backplate had an unusual feature: a thin stainless-steel disc was cemented to the front surface of the backplate where the crankpin could possibly rub. This supports a Russian theory that some flameouts are caused by the crankpin picking up microscopic bits of aluminum from the backplate; the bits contact the glow plug and instantly stop the catalytic action in the plug—a neat feature.
Everywhere I looked the quality was evident. This should be a good solution to the ".60 problem." The name is the Double Star .60. Other Russian engines are also available from Tom Dixon at Box 671166, Marietta, GA 30066.
Tech Tip: Cleaning Stylus-Type Technical Pens
Some of us old-timers still use stylus-type technical pens for our India ink lines. These pens work well the first time, but subsequently seem less friendly in flowing the ink.
The problem is how to get the pens really clean. The best approach is to clean them after use, but many of us leave them until the next time. I usually used mild dishwashing fluid and hot water, which worked but not that well. Pen cleaners were expensive and often too mild to be effective.
Recently I was using a product called Simple Green on another cleaning project. Out of curiosity, I tried it on the pens. The ink just floated off, and the surfaces were bright and shiny. I was surprised how well Simple Green dissolved the dried ink, and the pens actually seemed to work better afterward. Try this one—it really works well.
Transcribed from original scans by AI. Minor OCR errors may remain.

