
CONTROL LINE AEROBATICS
Frank McMillan, 12106 Gunter Grove, San Antonio TX 78231
Introduction
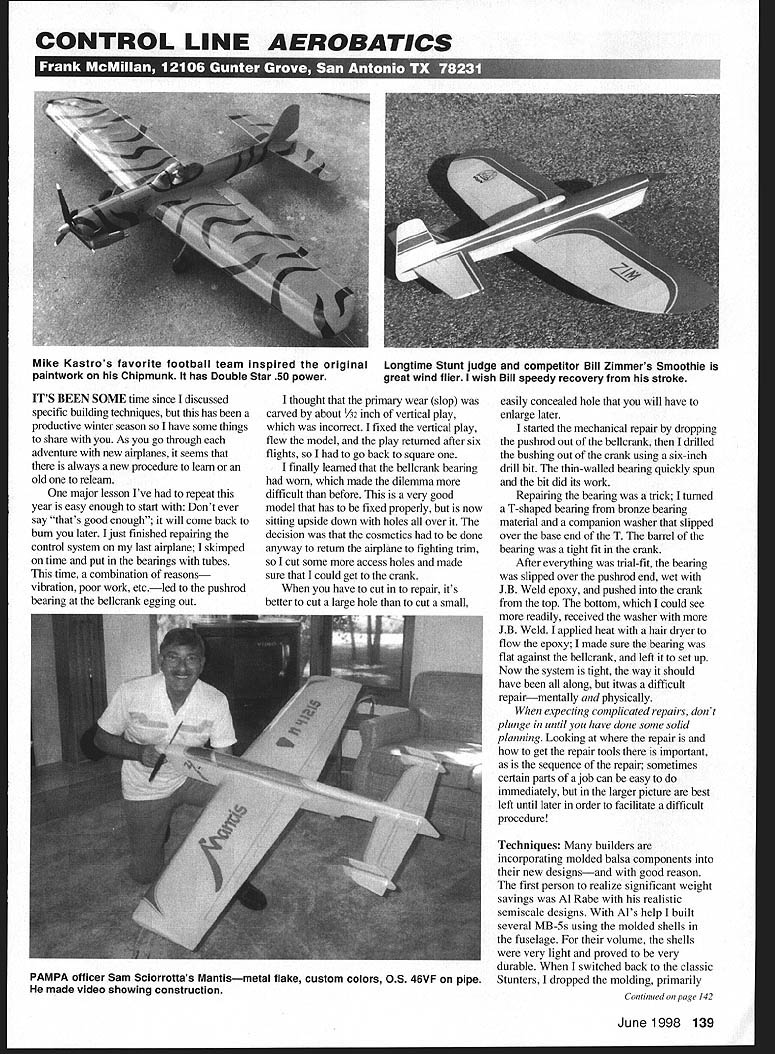
It's been some time since I discussed specific building techniques, but this has been a productive winter season so I have some things to share. As you go through each adventure with new airplanes, it seems that there is always a new procedure to learn or an old one to relearn.
One major lesson I've had to repeat this year is easy enough to start with: don't ever say "that's good enough"; it will come back to burn you later.
Repair: Bellcrank bearing failure
I just finished repairing the control system on my last airplane. I skimped on time and put in the bearings with tubes. This time, a combination of reasons—vibration, poor work, etc.—led to the pushrod bearing at the bellcrank egging out.
I thought that the primary wear (slop) was caused by about 1/32 inch of vertical play, which was incorrect. I fixed the vertical play, flew the model, and the play returned after six flights, so I had to go back to square one.
I finally learned that the bellcrank bearing had worn, which made the dilemma more difficult than before. This is a very good model that has to be fixed properly, but is now sitting upside down with holes all over it. The decision was that the cosmetics had to be done anyway to return the airplane to fighting trim, so I cut some more access holes and made sure that I could get to the crank.
When you have to cut in to repair, it's better to cut a large hole than to cut a small, easily concealed hole that you will have to enlarge later.
I started the mechanical repair by dropping the pushrod out of the bellcrank, then I drilled the bushing out of the crank using a six-inch drill bit. The thin-walled bearing quickly spun and the bit did its work.
Repairing the bearing was a trick; I turned a T-shaped bearing from bronze bearing material and made a companion washer that slipped over the base end of the T. The barrel of the bearing was a tight fit in the crank.
After everything was trial-fit, the bearing was slipped over the pushrod end, wet with J.B. Weld epoxy, and pushed into the crank from the top. The bottom, which I could see more readily, received the washer with more J.B. Weld. I applied heat with a hair dryer to flow the epoxy; I made sure the bearing was flat against the bellcrank, and left it to set up. Now the system is tight, the way it should have been all along, but it was a difficult repair—mentally and physically.
When expecting complicated repairs, don't plunge in until you have done some solid planning. Looking at where the repair is and how to get the repair tools there is important, as is the sequence of the repair; sometimes certain parts of a job can be easy to do immediately, but in the larger picture are best left until later in order to facilitate a difficult procedure.
Techniques: Molded balsa components
Many builders are incorporating molded balsa components into their new designs—and with good reason. The first person to realize significant weight savings was Al Rabe with his realistic semiscale designs. With Al's help I built several MB-5s using the molded shells in the fuselage. For their volume, the shells were very light and proved to be very durable.
When I switched back to the classic Stunters, I dropped the molding, primarily because I didn't have a design settled that would justify the extra time required to work up molds. Success with the Super Caudron series decided I could develop a set of fuselage shells that could be adjusted in length to suit various wings.
Model number six is in the final stages of finishing and being written. Features: fore-and-aft shell, top and bottom shell. I'm extremely pleased overall; they are easy to develop. Techniques used make the shells true and quite rigid torsionally, being molded from 3/32" balsa. However, I want to discuss dealing with molded construction once you have shells. I covered developing molds in a previous column. Windy Urtnowski has some shells available commercially.
Start sanding shells smooth to shape the mold. This is the only time you have it fully supported. Once you remove it, you must be extremely careful with your sanding technique; if you're not, you will have dips all over! (Don't be tempted to use punk wood; choose good A-grain five- to six-pound wood, because it won't dip when you get paint on it.)
Regarding getting the shell on the fuselage, I'll assume that your design employs either a crutch or conventional sides. Your task is to make the shell edges mate along the crutch lines with the shell equally positioned, with proper side view and centered. To do this properly, you need an accurate plan, regardless of the source of the shells.
Find a reference from which to trim the edges so that they mate your fuselage. I installed formers in the shells that centered in the shells and had edges marked on the crutch. I trimmed down to the reference line. The most required to drop mine was some block-sanding to develop the mating. There was some overlap of the crutch sides. However, after the shells were on, it took less than 15 minutes to get everything mated. I was only sanding the mating edge—very carefully. The curved shape was developed on the molds.
There are other points of working the shells. Sanding them correctly is an acquired touch!
- Block-sand only, with the lightest block (preferably foam) and the lightest pressure necessary to do the job.
- Do not press down; drag the block over the wood and let the paper do the cutting.
- For wood with little or no open grain, use garnet paper (red).
- Restrict your sanding to the bare minimum until you have the piece on the wood.
The idea is careful construction with minimum sanding to preserve shell thickness. I cannot emphasize this point enough! If you are heavy-handed, you will get dips or thin spots that everyone will see when you're finished.
Unsupported structure is the hardest to finish. Sanding with a heavy hand on the fuselage and wing mold leading edges does two things: it affects the supported points and curves more on formers/wing ribs, and it deforms the unsupported wood, producing irregular surfaces. The trick is minimum sanding—letting the sandpaper do the work.
Preparing for finish
As you prepare the model for finish, use thin dope—at least 50/50 dope-to-thinner—to make sure you get penetration. Sand very lightly after two coats to remove fuzz, and I recommend two additional coats with another light sanding. Allow sufficient drying time in between to let the dope harden—a couple of days would be best—then proceed with your normal finishing. Patience is the key when using tissue or carbon. You can even take out some highs and lows with additional covering material. Here's how:
Typically, I have some shape problems around the nose that I need to correct. The transition of hard to soft materials is difficult; to give room for adjustment, I provide extra layers of covering material, give it several coats of dope, and block it to shape. The flow of the shape is much easier to achieve with the essentially uniform material than with the soft/hard wood.
For any areas where you have low spots, use patches of carbon/tissue and dope, let it dry hard, then block-sand. It's a much lighter solution than filler. This is a good point to review fiberglass techniques, focusing on the nose section.
Fiberglassing the nose
Most stunt airplanes published lately talk about "glassing" the nose, so the following is the approach that I used on my Caudron 6.
- Start by getting the raw wood in the best shape you can with progressively finer sandpaper. Wipe the wood clean and do it again just for luck.
- Lay out your fiberglass material. I use the finest I can get—3/4-ounce cloth.
- The first piece runs from the nose ring back to approximately the high point of the wing; it extends down the nose sides to at least the cowl break.
- Another piece covers the bottom and overlaps the top piece. These parts will receive the first application of epoxy.
- The next pieces are crosses woven to the first, which has the weave running down the longitudinal axis of the fuselage. The crossing pieces extend six to eight inches back from the nose ring.
- If you notice a discontinuity or low spot as you drape the trial pieces of cloth over the nose, plan on applying several more layers of cloth in that area to smooth the curve.
- All of the above layers are applied in one coating of resin; I use Hobbypoxy Smooth 'N' Easy (in the blue box).
Application technique:
- Start with the main glass sheet. Apply resin to the top of the fuselage, and apply heat with a hair dryer.
- Work the resin with an acid brush along the top, on one side, and then on the other.
- As you get some wetting with the brush, start alternating with the edge of a playing card; this will move the resin and ensure a minimum amount on the surface.
- When you have finished with the first layer, apply succeeding layers, using as little new resin as required to wet each layer.
- When each layer is complete, skim the surface with playing cards to ensure contact and minimize the amount of resin.
- The finished surface should look almost dry, with no shiny spots. Let it set overnight.
Sand the glass smooth, taking care on the parts where the cloth ends, and trim all edges with sandpaper (I use #220 garnet at this stage). Blend in the layers and look at the smoothness of the lines; this is why you put on the extra layers. The cloth should be blending easily, but it cuts fast, so be careful. Leave at least the primary layer; if you go through, you might want to replace that area on the next application.
When you are satisfied with the first resin application—the cloth is all smooth and edges are blended—wipe clean again. Mix another batch of Smooth 'N' Easy and start applying to the nose. Keep the hair dryer going to make the resin flow. The object of this application is to cut wall off the glass and blend it together.
Work in small areas with the dryer, and when you are sure the glass is wet, wipe off all the resin left with cheap rags (be careful—some are "hairy"). The trick to this step is to heat and wipe. Go back over the same area at least twice in the heat-and-wipe cycle to get all the resin off. The neat thing about this approach is that it leaves only the resin on the surface that provides strength and finish. Let set overnight and sand lightly. The finish will be very good.
Final finishing
At this stage, I usually start applying Sig Lite-Coat dope to the whole airplane. I cover the entire fuselage with carbon, including the glass. If I still have spots to work, I dope on extra carbon. I finish normally from this point.
By the way, Smooth 'N' Easy is the best protection I've found for the inside of the nose section.
Transcribed from original scans by AI. Minor OCR errors may remain.

