
CONTROL LINE AEROBATICS
Frank McMillan 12106 Gunter Grove, San Antonio, TX 78231
Introduction
With my latest project—to refinish Caudron 5—ongoing, I'm reminded of some covering procedures worth repeating. They fall in the realm of technique—subtle, but very important. I'm referring to getting the material that you are using to properly adhere to the surface of your pride-and-joy.
A friend who was showing me his latest Stunter mentioned that he had problems with carbon veil rippling when he applied it to the fuselage. After we discussed how he had applied the material, I realized that that problem, and other covering-materials techniques, could use revisiting.
Since I introduced the covering techniques with carbon veil, I'll start there.
Carbon veil — general
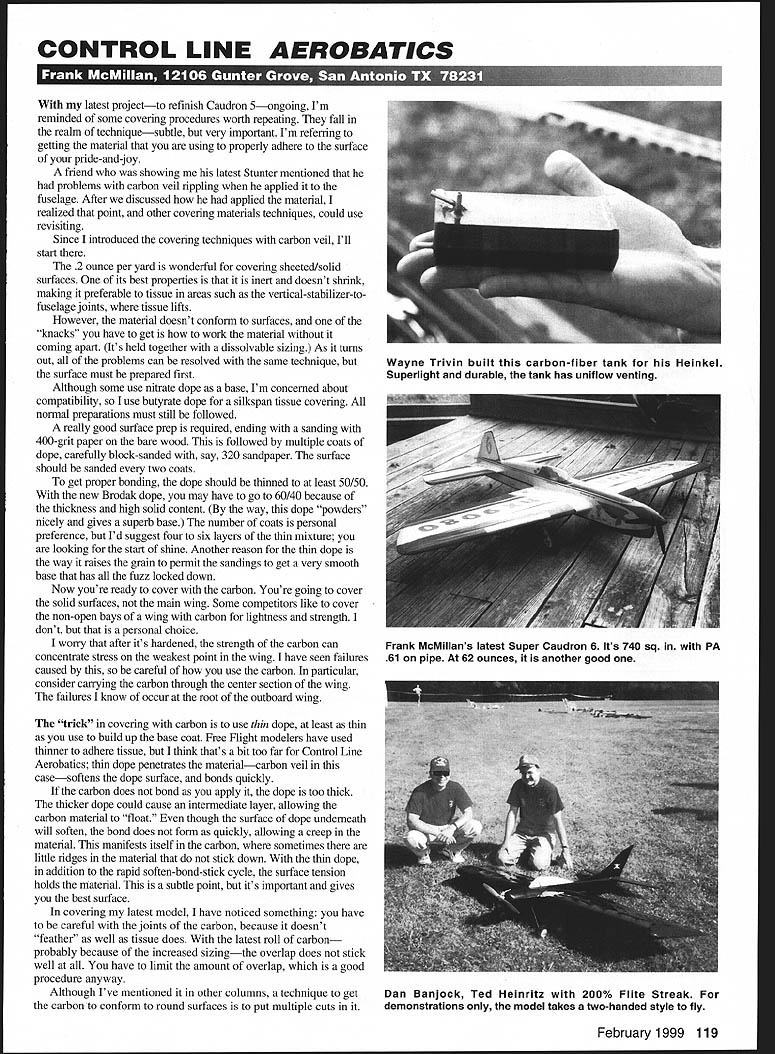
The 2-ounce-per-yard veil is wonderful for covering sheeted/solid surfaces. One of its best properties is that it is inert and doesn't shrink, making it preferable to tissue in areas such as the vertical-stabilizer-to-fuselage joints, where tissue lifts.
However, the material doesn't naturally conform to surfaces, and one of the "knacks" you have to get is how to work the material without it coming apart (it's held together with a dissolvable sizing). As it turns out, all of the problems can be resolved with the same technique, but the surface must be prepared first.
Although some use nitrate dope as a base, I'm concerned about compatibility, so I use butyrate dope for a silkspan tissue covering. All normal preparations must still be followed.
Surface preparation
A really good surface prep is required:
- End with sanding the bare wood with 400-grit paper.
- Apply multiple coats of dope, carefully block-sanding with 320-grit sandpaper between coats.
- Sand the surface every two coats.
To get proper bonding, thin the dope to at least 50/50. With the new Brodak dope, you may have to go to 60/40 because of the thickness and high solids content. (This dope "powders" nicely and gives a superb base.)
The number of coats is personal preference, but I suggest four to six layers of the thin mixture; you are looking for the start of shine. Another reason for the thin dope is the way it raises the grain to permit the sandings to achieve a very smooth base with all the fuzz locked down.
Applying carbon veil
Now you're ready to cover with the carbon. You're going to cover the solid surfaces, not the main wing. Some competitors like to cover the non-open bays of a wing with carbon for lightness and strength. I don't, but that is a personal choice.
I worry that after it hardens, the strength of the carbon can concentrate stress on the weakest point in the wing. I have seen failures caused by this, so be careful how you use the carbon. In particular, consider carrying the carbon through the center section of the wing. The failures I know of occur at the root of the outboard wing.
The "trick" in covering with carbon is to use thin dope, at least as thin as you use to build up the base coat. Free Flight modelers have used thinner to adhere tissue, but I think that's a bit extreme for Control Line Aerobatics; thin dope penetrates the material—carbon veil in this case—softens the dope surface, and bonds quickly.
If the carbon does not bond as you apply it, the dope is too thick. Thicker dope can create an intermediate layer, allowing the carbon material to "float." Even though the surface of the dope underneath will soften, the bond does not form as quickly, allowing creep in the material. This manifests as little ridges in the carbon that do not stick down. With thin dope, in addition to the rapid soften-bond-stick cycle, surface tension helps hold the material. This is a subtle point, but it's important and gives the best surface.
Be careful with joints in the carbon, because it doesn't "feather" as well as tissue. With the latest rolls of carbon—probably because of increased sizing—the overlap does not stick well at all. You have to limit the amount of overlap, which is a good procedure anyway.
Conforming carbon to curved surfaces
A technique to get the carbon to conform to round surfaces is to make multiple cuts in it.
Consider applying a sheet of carbon on the nose section of a full-bodied stunter. This is a continually tapering curved section that goes from the flat sides to the top block into the spinner.
A way to approach this section is:
- Lay the carbon to the leading edge of the wing. The sheet will lie over the flat surface to about the center of the fuselage—about as far as you can practically cover.
- Once the flat portion is stuck down, address the curved portion. With sharp scissors, make slits across the carbon at approximately every half-inch. The slits can be farther apart toward the rear (less curve) and closer toward the front (more curve).
- Take the cut to the flat portion before the surface curve starts. As you adhere the carbon, start from the least curved area and work toward the most curved, doing one section at a time and working slowly.
- Trim overlaps as you work; trimming is easiest after the material is adhered to the surface.
Using carbon as filler and buildup
The carbon material can also be used as a very good filler for places that don't quite have the proper contours. I keep reworking the nose/spinner area almost to final filler coats.
My method:
- Sand the first carbon layer.
- Apply a couple of coats of dope.
- Lay an overlapping layer.
- When dry, resand and smooth the surface.
The hardness of the carbon permits nice shaping; for this operation use coarser sandpaper. I've used as many as six layers in an area, and it works very well.
Fiberglassing
The same "thin" trick applies to glass application: use thin epoxy to apply the material. There are differences, however. In fiberglassing I use epoxy both to adhere the glass and to stiffen the surface. I apply the glass on top of a sanded bare-wood surface with good results.
Lately I've been thinking of applying a coat or two of very thin dope to smooth the surface. As long as the surface is well-sanded, this should work with the grain partially sealed; the resin will not penetrate as much, making for a lighter finish.
With resin, more than with dope/carbon, the glass cloth can really float because the resin does not harden quickly. If the resin is too thick, it forms a layer with no surface tension on the cloth to hold it in place.
How thin should the resin be? My best results have been with a watery consistency. When I was using HobbyPoxy Formula 2 glue, I thinned it with HobbyPoxy thinner or alcohol. I'm now using HobbyPoxy Smooth 'N' Easy, which is fairly thin, but I help it with heat from a hair dryer.
The next trick is to get as much resin off the surface as possible—make it almost dry using the hair dryer and playing cards to squeegee. But the ease of the operation depends on getting the resin thin.
New items
- Aero Products — Randy Smith has a computer-generated plan for Dave Hemstrought's Classic-level stunt, the PT-19—one of the best-flying Classics from the '60s. At more than 600 square inches, its size is perfect for the new .40 engines—especially the Thunder Tiger .36.
- In addition to the detailed, accurate new plans, Randy is considering a laser-cut or limited-production kit. Contact Aero Products for availability:
- Aero Products, 1880 Scenic Highway, Snellville, GA 30278
- Tel.: (770) 979-2035
- Windy Urzynowski — Windy has a new tape, How to Buff. As a multiple Concours selectee at the Nats, he is well qualified to show how to get that "front row" airplane. Contact Windy for other videos and Cardinal kits:
- Windy Urzynowski, 93 Elliott Place, Rutherford, NJ 07070
- Tel.: (201) 896-8740
Transcribed from original scans by AI. Minor OCR errors may remain.

