
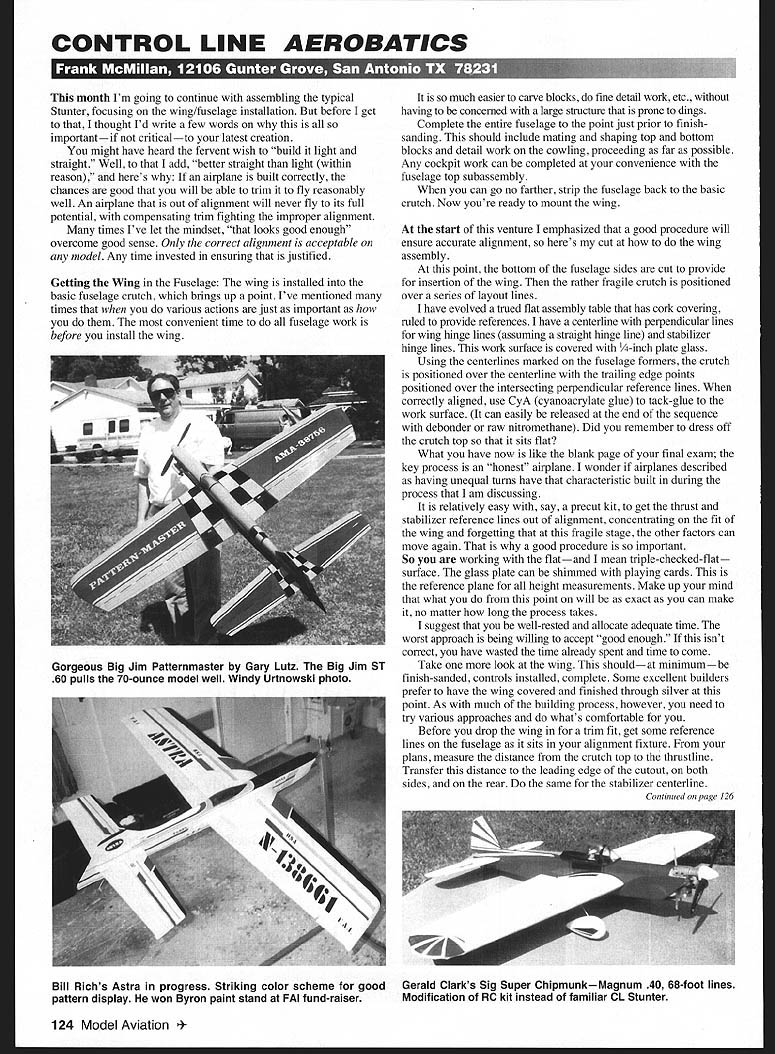
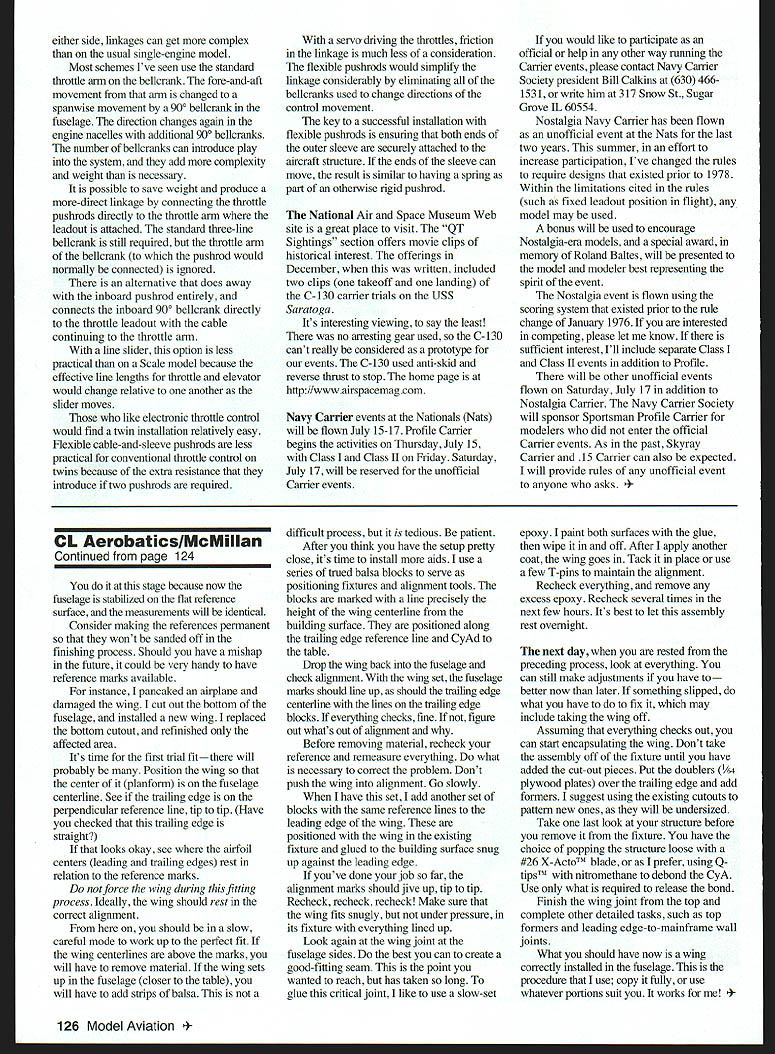
CONTROL LINE AEROBATICS
Frank McMillan, 12106 Gunter Grove, San Antonio TX 78231
This month I'm going to continue with assembling the typical Stunter, focusing on the wing/fuselage installation. But before I get to that, I thought I'd write a few words on why this is all so important—if not critical—to your latest creation.
You might have heard the fervent wish to "build it light and straight." Well, to that I add, "better straight than light (within reason)," and here's why: If an airplane is built correctly, the chances are good that you will be able to trim it to fly reasonably well. An airplane that is out of alignment will never fly to its full potential, with compensating trim fighting the improper alignment.
Many times I've let the mindset, "that looks good enough," overcome good sense. Only the correct alignment is acceptable on any model. Any time invested in ensuring that is justified.
Getting the Wing in the Fuselage
The wing is installed into the basic fuselage crutch, which brings up a point I've mentioned many times—that when you do various actions the timing is just as important as how you do them. The most convenient time to do all fuselage work is before you install the wing.
It is so much easier to carve blocks, do fine detail work, etc., without having to be concerned with a large structure that is prone to dings. Complete the entire fuselage to the point just prior to finish-sanding. This should include mating and shaping top and bottom blocks and detail work on the cowling, proceeding as far as possible. Any cockpit work can be completed at your convenience with the fuselage top subassembly.
When you can go no farther, strip the fuselage back to the basic crutch. Now you're ready to mount the wing.
At the start of this venture I emphasized that a good procedure will ensure accurate alignment, so here's my cut at how to do the wing assembly.
At this point, the bottom of the fuselage sides are cut to provide for insertion of the wing. The rather fragile crutch is positioned over a series of layout lines.
I have evolved a trued flat assembly table that has cork covering, ruled to provide references. I have a centerline with perpendicular lines for wing hinge lines (assuming a straight hinge line) and stabilizer hinge lines. This work surface is covered with 1/4-inch plate glass.
Using the centerlines marked on the fuselage formers, the crutch is positioned over the centerline with the trailing-edge points positioned over the intersecting perpendicular reference lines. When correctly aligned, use CyA (cyanoacrylate glue) to tack-glue the work surface. (It can easily be released at the end of the sequence with debonder or raw nitromethane.) Did you remember to dress off the crutch top so that it sits flat?
What you have now is like the blank page of your final exam; the key process is an "honest" airplane. I wonder if airplanes described as having unequal turns have that characteristic built in during the process that I am discussing.
It is relatively easy with, say, a precut kit, to get the thrust and stabilizer reference lines out of alignment by concentrating on the fit of the wing and forgetting that this fragile stage allows other factors to move again. That is why a good procedure is so important.
So you are working with the flat—and I mean triple-checked-flat—surface. The glass plate can be shimmed with playing cards. This is the reference plane for all height measurements. Make up your mind that what you do from this point on will be as exact as you can make it, no matter how long the process takes.
I suggest that you be well-rested and allocate adequate time. The worst approach is being willing to accept "good enough." If this isn't correct, you have wasted the time already spent and time to come. Take one more look at the wing. This should—at minimum—be finish-sanded, controls installed, complete. Some excellent builders prefer to have the wing covered and finished through silver at this point. As with much of the building process, however, you need to try various approaches and do what's comfortable for you.
Before you drop the wing in for a trim fit, get some reference lines on the fuselage as it sits in your alignment fixture. From your plans, measure the distance from the crutch top to the thrustline. Transfer this distance to the leading-edge cutout, on both sides, and on the rear. Do the same for the stabilizer centerline.
You do it at this stage because now the fuselage is stabilized on the flat reference surface, and the measurements will be identical.
Consider making the references permanent so that they won't be sanded off in the finishing process. Should you have a mishap in the future, it could be very handy to have reference marks available.
For instance, I packaged an airplane and damaged the wing. I cut out the bottom of the fuselage and installed a new wing. I replaced the bottom cutout and refinished only the affected area.
It's time for the first trial fit—there will probably be many. Position the wing so that the center of it (planform) is on the fuselage centerline. See if the trailing edge is on the perpendicular reference line, tip to tip. (Have you checked that this trailing edge is straight?)
If that looks okay, see where the airfoil centers (leading and trailing edges) rest in relation to the reference marks.
Do not force the wing during this fitting process. Ideally, the wing should rest in the correct alignment.
From here on, you should be in a slow, careful mode to work up to the perfect fit. If the wing centerlines are above the marks, you will have to remove material. If the wing sets up in the fuselage (closer to the table), you will have to add strips of balsa. This is tedious work. Be patient.
After you think you have the setup pretty close, it's time to install more aids. I use a series of trued balsa blocks to serve as positioning fixtures and alignment tools. The blocks are marked with a line precisely the height of the wing centerline from the building surface. They are positioned along the trailing-edge reference line and CyA'd to the table.
Drop the wing back into the fuselage and check alignment. With the wing set, the fuselage marks should line up, as should the trailing-edge centerline with the lines on the trailing-edge blocks. If everything checks, fine. If not, figure out what's out of alignment and why.
Before removing material, recheck your measurements to be sure you are right. Do whatever is necessary to correct the problem. Don't rush this step; this is the time to be perfect.
When I have this set, I add another set of blocks with the same reference lines to the leading edge of the wing. These are positioned with the wing in the existing fixture and glued to the building surface snug up against the leading edge.
If you've done your job so far, the alignment marks should give tip up, tip to tip. Recheck, recheck, recheck! Make sure that the wing fits snugly, but not under pressure, in its fixture with everything lined up.
Look again at the wing join at the fuselage sides. Do the best you can to create a good-fitting seam. This is the point you wanted to reach, but has taken so long. To glue this critical joint, I like to use a slow-set epoxy. I paint both surfaces with the glue, then wipe it in and off. After I apply another coat, the wing goes in. Tack it in place or use a few T-pins to maintain the alignment.
Recheck everything, and remove any excess epoxy. Recheck several times in the next few hours. It's best to let this assembly set overnight.
The next day, when you are rested from the preceding process, look at everything. You can still make adjustments if you have to—better now than later. If something slipped, do what you have to do to fix it, which may include taking the wing off.
Assuming that everything checks out, you can start encapsulating the wing. Don't take the assembly off the fixture until you have added the cutout pieces. Put the doublers and the trailing-edge formers in place. I suggest using the existing cutouts to pattern new ones, as they will be undersized.
Take one last look at your structure before you remove it from the fixture. You have the choice of popping the structure loose with a #26 X-Acto blade, or, as I prefer, using Q-tips with nitromethane to debond the CyA. Use only what is required to release the bond.
Finish the wing joint from the top and complete other detailed tasks, such as top formers and leading-edge-to-main-frame wall joints.
What you should have now is a wing correctly installed in the fuselage. This is the procedure that I use; copy it fully, or use whatever portions suit you. It works for me!
Transcribed from original scans by AI. Minor OCR errors may remain.

