
Control Line: Aerobatics
Wynn Paul
WHAT CAN you do when you have wrecked your stunter and it's the only thing you have to fly? If you are not a super-fast builder like Jack Schecks (two days) or Bill Simons (Nationals-type stunter in eight days) then you must first make the decisions whether it's worth the time and trouble to restore the plane. Also, a key factor is the urgency. Are you at the field and the first round is ready to go up, or is there time for a one week rebuild?
Consider an example of restoration at the '77 Nationals: Lynn Barnett had his foam wing come loose at the center joint and the rear of the fuselage was in two pieces. No back-up ship and the appearance judging was soon. Lynn decided to attempt it and live with any weight build-up. Fiberglass cloth and epoxy was applied to the top and bottom of the wing through the sliced up fuselage. (When cutting a panel or section from the fuselage be certain to slice at an angle so there is plenty of area for the re-glue.) Lynn was able to restore the wing, then proceeded to glue the fuselage back together around the stabilizer without losing any alignment.
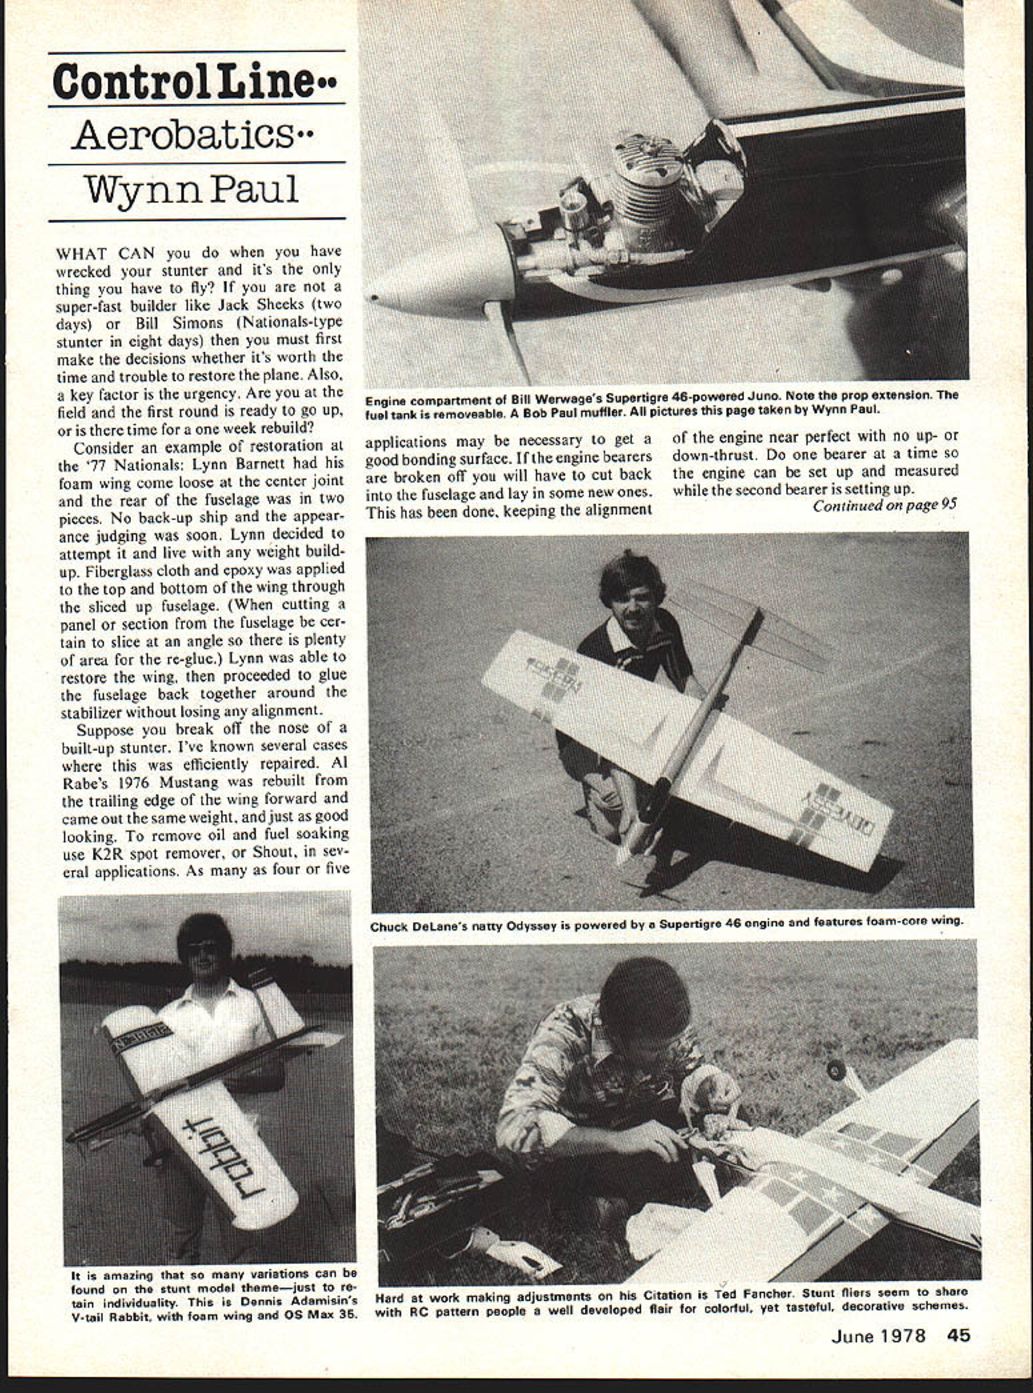
Suppose you break off the nose of a built-up stunter. I've known several cases where this was efficiently repaired. Al Rabe's 1976 Mustang was rebuilt from the trailing edge of the wing forward and came out the same weight, and just as good looking. To remove oil and fuel soaking use K2R spot remover, or Shout, in several applications. As many as four or five applications may be necessary to get a good bonding surface. If the engine bearers are broken off you will have to cut back into the fuselage and lay in some new ones. This has been done, keeping the alignment of the engine near perfect with no up- or down-thrust. Do one bearer at a time so the engine can be set up and measured while the second bearer is setting up.
CL Aerobatics/Paul
Did you jam the landing gear up through the top of the wing on a one-bounce-crash-landing? Surgery with the knife, and mending the spar and ribs, will reestablish a strong enough base for another landing gear plate. Don't forget Hot Stuff or Jet with microballoons. This combination can do wonders for filling voids, although at a sacrifice of some weight. Gary McClellan's stunter with foam wing had a loose landing gear at the '77 Nats, so Bill Fitzgerald borrowed a hypodermic needle and then thinned out some Hobbypoxy Formula 2 glue with thinner. He then squirted the glue into the landing gear block area in about two dozen places without tearing up the finish. The hypodermic needle holes were hardly visible after the operation.
Did your blind mounting nut in the engine mounting strip out? Most 4-40 B.M.N.'s can be retapped out to 5-40 if done very carefully. Then, use Locktite to put the engine in place. If the blind mounting nut came loose you might try using a thin sliver of plywood glued with epoxy and microballoons to the mounting strip to take the threads. I've seen several of those used successfully. sheet-metal screw, or pan-head screw that will fit tightly into the engine bearer. This will probably work loose eventually, but could get you through the day. Blind mounting nuts can be replaced by going in through the top of the fuselage. Then, its a case of refinishing the area cut out, although a nice STP decal over the spot can help here, or a new trim stripe can be applied.
Stress cracks around the wing and stabilizer? If you don't label them, "Stress Cracks" as did Dave Gierke on his Letraset Specials of the late '60's, then its time for microballoons, and your choice of resin or quick-setting glues. Use the Dremel tool to gouge out a concave hole—like your favorite dentist does on you. If the gouge is really big, then lay in a piece of balsa in the rut and build up around it with microballoons. For stabilizer and rear fuselage repairs, the Hot Stuff-type adhesives are best because of their light weight.
Remel Cooper told of a stress crack from a broken prop that went right across the bottom block. Using the extra long 3/32" drills he drilled about five holes in the bottom block from the cowl opening, parallel with the thrust line. The holes went back into the block about 4 to 5 inches. He then used 3/32" dowels about 5 inches long, sharpened in a pencil sharpener, and epoxy to plug up the holes and strengthen the bottom block and wing.
There have been several fliers who have successfully replaced the entire bellcrank and leadouts by going in through the bottom of a built-up wing, pulling new leadouts through from the wing tip by taping the old ones (after cutting off the leadout loops) to the new leadouts. Bill Werwage put in one or two new leadouts at the '75 Nationals when he thought that the old ones were frayed. As suggested above, he went in through the bottom of his I-beam wing airplane, the USA-1.
Broken wing panels, crushed wing tips, car door creases in the wings—all can be rebuilt. Kitchen contact paper can be used for covering as it is very sticky and can be applied after wiping off the surfaces with alcohol. Contact paper is a little heavy but can be used in emergencies. Other plastic coverings can be used quite successfully for repairs and for covering up holes in the surface. Did you know that the 1976 World Champion stunt plane had a Monokote patch over the wing-tip weight box? Popsicle sticks are good sturdy repair pieces. "Dings" and dents can also be disguised by trim lines and trim tape.
What if you have lost a hinge on the flaps or elevators? If the old ones won't come completely out, then install the new one right next to the old hinge. Drill a couple of holes in the plastic hinge to allow epoxy to have a wood-to-wood contact. This allows the epoxy to act as a pin. Or, after the hinge is in, pin it with a toothpick all the way through the panels. This can be refinished or covered up with plastic coating. Or leave it alone in the Tom Dixon style of hinge repairs. Paper clip wire can be used to pin the hinges that have come loose. As a last resort, the familiar figure-8 combat-type hinge can be sewn in, using Dacron flying lines.
You say the built in tank has started to leak, or the vent tubes are loose, and the tank has to come out. Go in through the bottom of the fuselage, then carefully break the tank loose from the mounting. A kitchen knife heated red hot can be used to help loosen the tank from its tight-fitting mount.
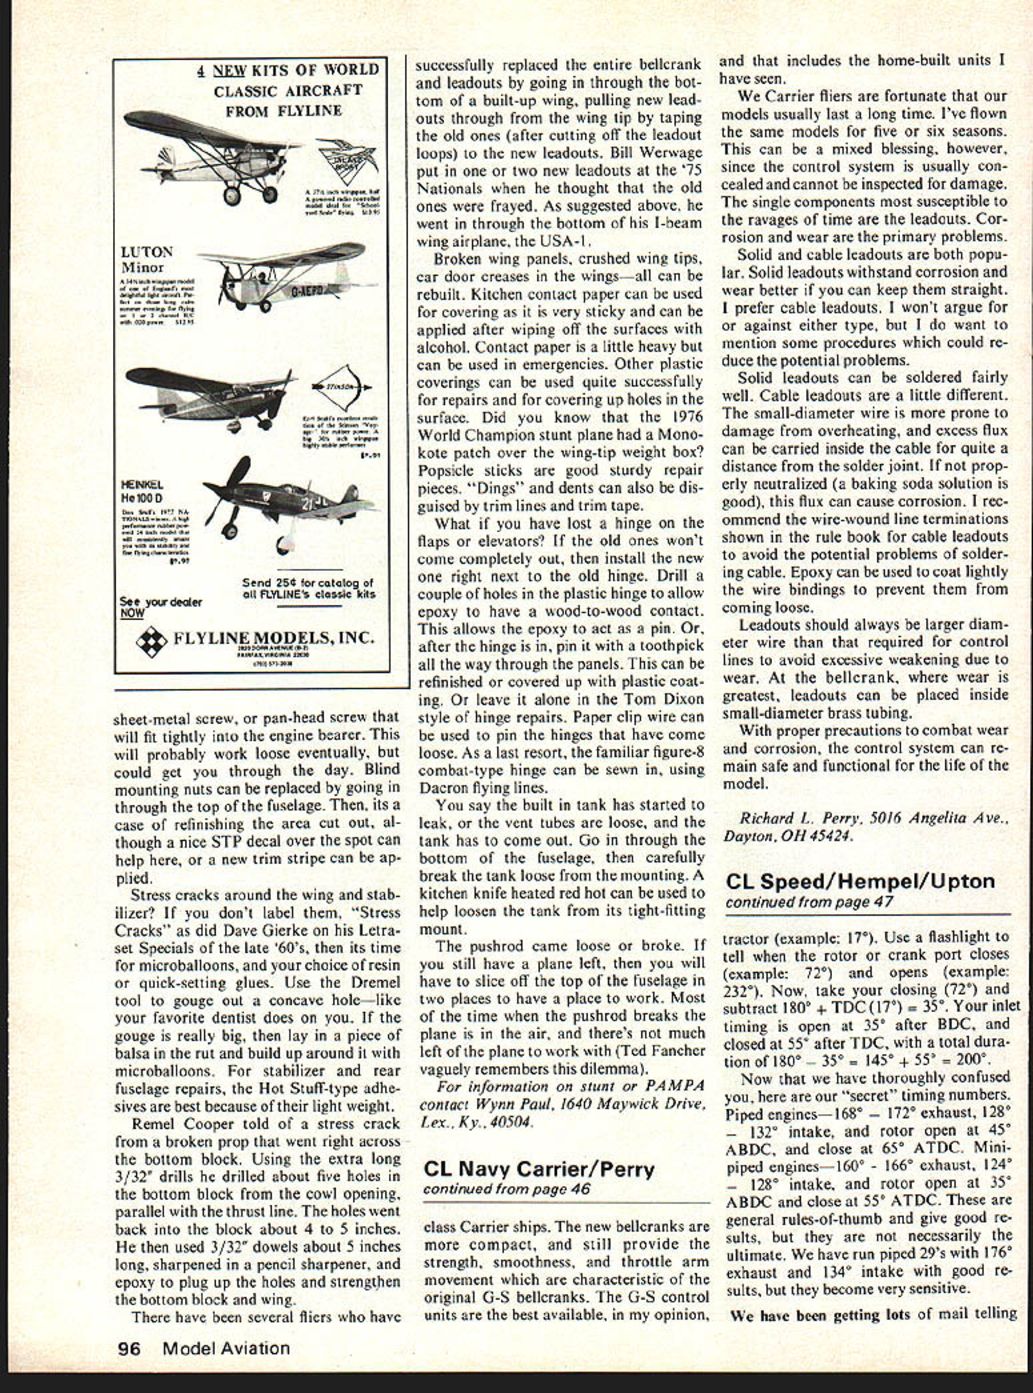
The pushrod came loose or broke. If you still have a plane left, then you will have to slice off the top of the fuselage in two places to have a place to work. Most of the time when the pushrod breaks the plane is in the air, and there's not much left of the plane to work with (Ted Fancher vaguely remembers this dilemma).
For information on stunt or P.A.M.P.A. contact Wynn Paul, 1604 Maywick Drive, Lex., Ky., 40504.
Transcribed from original scans by AI. Minor OCR errors may remain.

