
Control Line: Aerobatics
By Wynn Paul
Announcements
- 1981 Nationals near San Antonio, TX — volunteers needed.
- Event Director: Bill Howe
7769 Mary Lou Way, Sacramento, CA 95832 (916) 421-8866
- Roles needed: judges, recorders, scorers, pit bosses, pull testers, site preparation, etc.
- An Assistant Event Director is also needed. If you’ve asked what you can do for PAMPA, volunteer to work the Nationals — call or write Bill Howe.
- Foam wings from John Poynter
- John is still producing foam wings, although more slowly due to a full-time job.
- Contact: John Poynter
10261 Janice Lynn, Cypress, CA 90630 (For sizes and prices, write to John.)
Recent Results
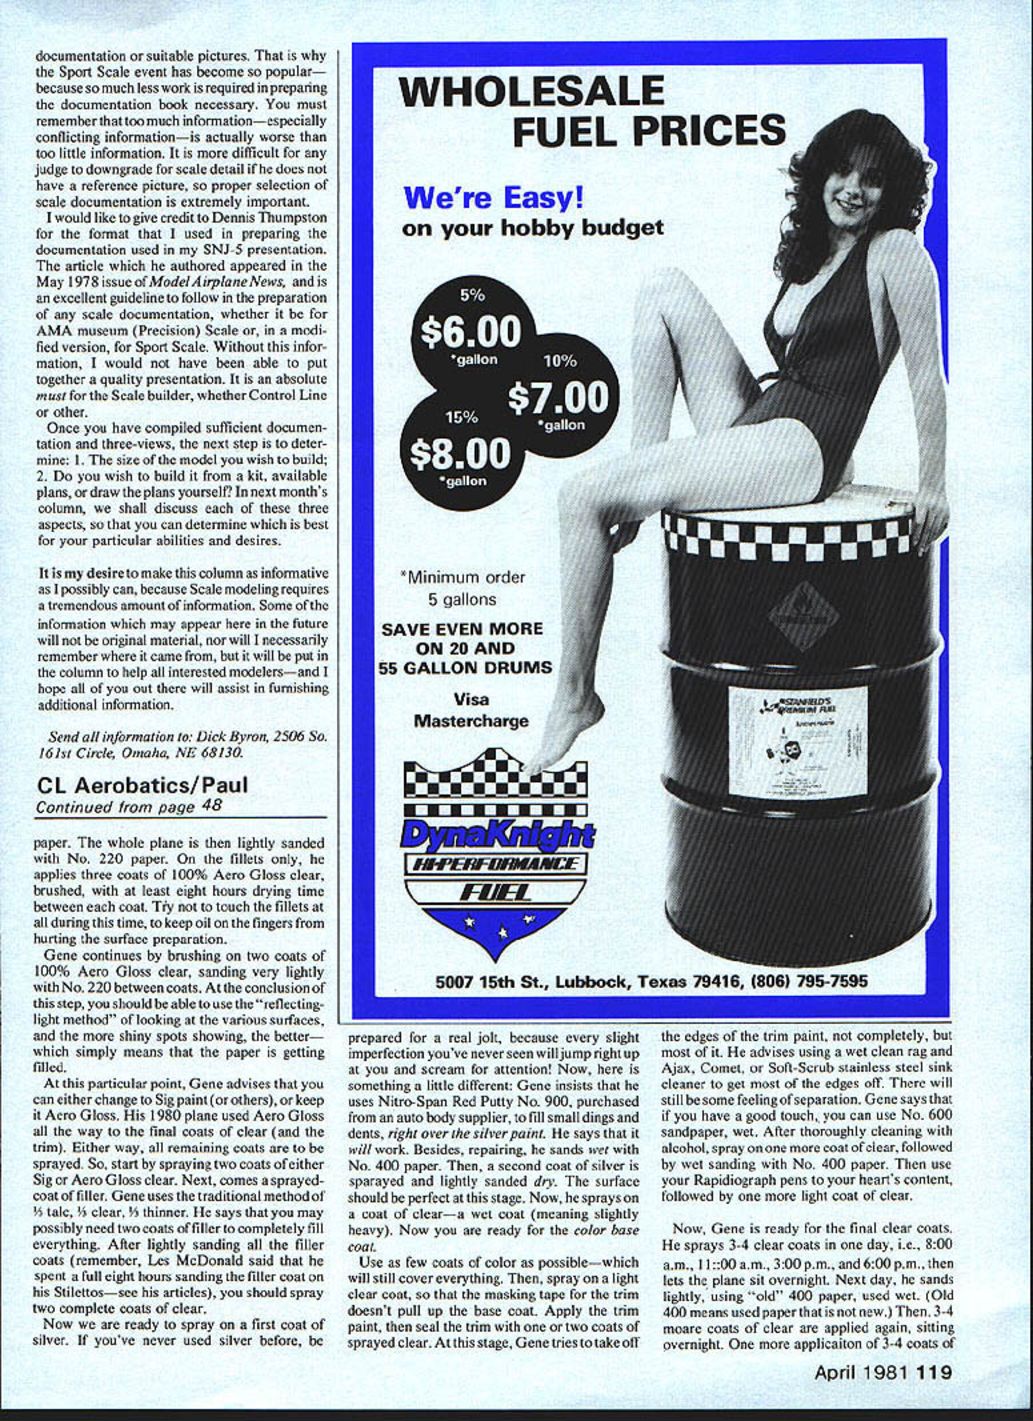
- Les McDonald added the King Orange title to his World and National Championships (contest attracted 20 entries, Jacksonville, FL, last weekend in December).
- Frank McMillan finished second to Les in PAMPA Expert.
- Paul Fewell won Advanced; Jim Mitchell was second.
- Gene Latham won Senior-Open Novice.
- Scott Baker won Junior Novice.
- Mike Mustain won the Profile Stunt event.
Finishing Technique: Gene Martine’s Method
Gene Martine (Jacksonville, FL), winner of the 1980 PAMPA Concours d’Elegance, uses a meticulous, multi-stage finishing process. The key is preparation and patience.
- Preparation and initial seal
- Assemble the plane in the bare-wood state without fillets.
- Mix Hobbypoxy (Gene used Hobbypoxy No. 2 glue on his 1980 plane but prefers the clear Hobbypoxy for later work). Let the mixture cure ~45 minutes, then brush a coat of Hobbypoxy clear on the bare wood as a temporary seal to keep oils and dirt off.
- Initial clear coats (brushed)
- Brush on 100% clear (unthinned) dope with even strokes to avoid buildup. Gene prefers Aero Gloss clear at this stage for compatibility with Hobbypoxy.
- Apply a second brushed coat of 100% Aero Gloss clear.
- Covering with paper (silkspan)
- Ensure airframe surfaces are smooth and true; use vinyl spackling compound (hardware store) for nicks and dings.
- Lay paper up to joints; apply the paper wet with water.
- Where overlaps occur (e.g., wing panels), rip the paper rather than cut so edges stay down. Overlaps about 1/4 in.
- While paper is wet, brush Aero Gloss thinned 50/50 around edges.
- After paper dries, brush another coat of 50/50 Aero Gloss clear, sand lightly with No. 220, then brush a coat of 100% Aero Gloss clear.
- Fillets
- Apply fillets using Epoxolite over the paper (fillets are applied after covering).
- Lightly sand the whole plane with No. 220.
- On the fillets only, apply three brushed coats of 100% Aero Gloss clear, allowing at least eight hours drying time between coats. Avoid touching the fillets while curing.
- Build-up of clear coats (brushed)
- Brush two more coats of 100% Aero Gloss clear, sanding very lightly with No. 220 between coats.
- Assess surfaces with reflected light; shiny spots indicate paper is filling well.
- Transition to spraying
- Decide whether to continue with Aero Gloss or switch to Sig (or other) paint. Remaining coats will be sprayed.
- Spray two coats of either Sig or Aero Gloss clear.
- Spray one or more coats of filler (traditional mix ratios around 1/6th to 1/8th). You may need two coats of filler.
- Lightly sand filler coats (this can be time-consuming — expect long sanding sessions).
- Spray two complete coats of clear.
- Silver base and repairs
- Spray the first coat of silver; imperfections will be highly visible.
- To fill small dings and dents over the silver, Gene uses Nitro-Span Red Putty No. 900 (auto body supplier) applied over the silver — he reports it works well.
- Spray a second coat of silver and lightly sand dry. The surface should now be perfect.
- Spray a wet coat of clear (slightly heavy) to prepare for the color base.
- Color base, trim, and sealing
- Use as few coats of color as will achieve coverage.
- Spray a light coat of clear so masking tape won’t pull up the base coat.
- Apply trim paint, then seal the trim with one or two sprayed coats of clear.
- Remove most of the paint edges carefully: use a wet clean rag with Ajax, Comet, or Soft-Scrub to rub most edges away. For finer control, use No. 600 wet sandpaper.
- Clean thoroughly with alcohol, spray one more coat of clear, then wet sand with No. 400.
- Apply any pinstriping or Radiograph pen work, then one more light coat of clear.
- Final clear coats and rubbing
- Spray 3–4 clear coats in one day (example schedule: 8:00 a.m., 11:00 a.m., 3:00 p.m., 6:00 p.m.). Let the plane sit overnight.
- Next day, lightly wet-sand with “old” No. 400 paper (used paper).
- Apply another series of 3–4 clear coats; let sit overnight.
- Apply one more series of 3–4 clear coats, then wet-sand with No. 400.
- If the Nationals are not imminent, let the plane cure two weeks, then use No. 600 for wet-sanding before final rubbing.
- Rubbing sequence: start with fine cutting compound, then white compound, then Turtle Wax liquid rubbing compound.
- Optionally apply a very light coat of wax.
Tips and Notes
- The process is long and tedious but necessary for a fast, deep polish.
- Work slowly; meticulous preparation and sanding between coats are crucial.
- Avoid touching surfaces during critical curing periods to prevent oils from fingerprints causing flaws.
- Gene prefers to brush early coats for control, then switch to spraying for finish uniformity.
Contacts for More Information
- Bill Howe (Nationals):
- John Poynter (foam wings):
- For information on stunt or PAMPA:
- Gene Martine (finishing techniques):
10261 Janice Lynn, Cypress, CA 90630
Wynn Paul 1640 Maywick Dr., Lexington, KY 40504
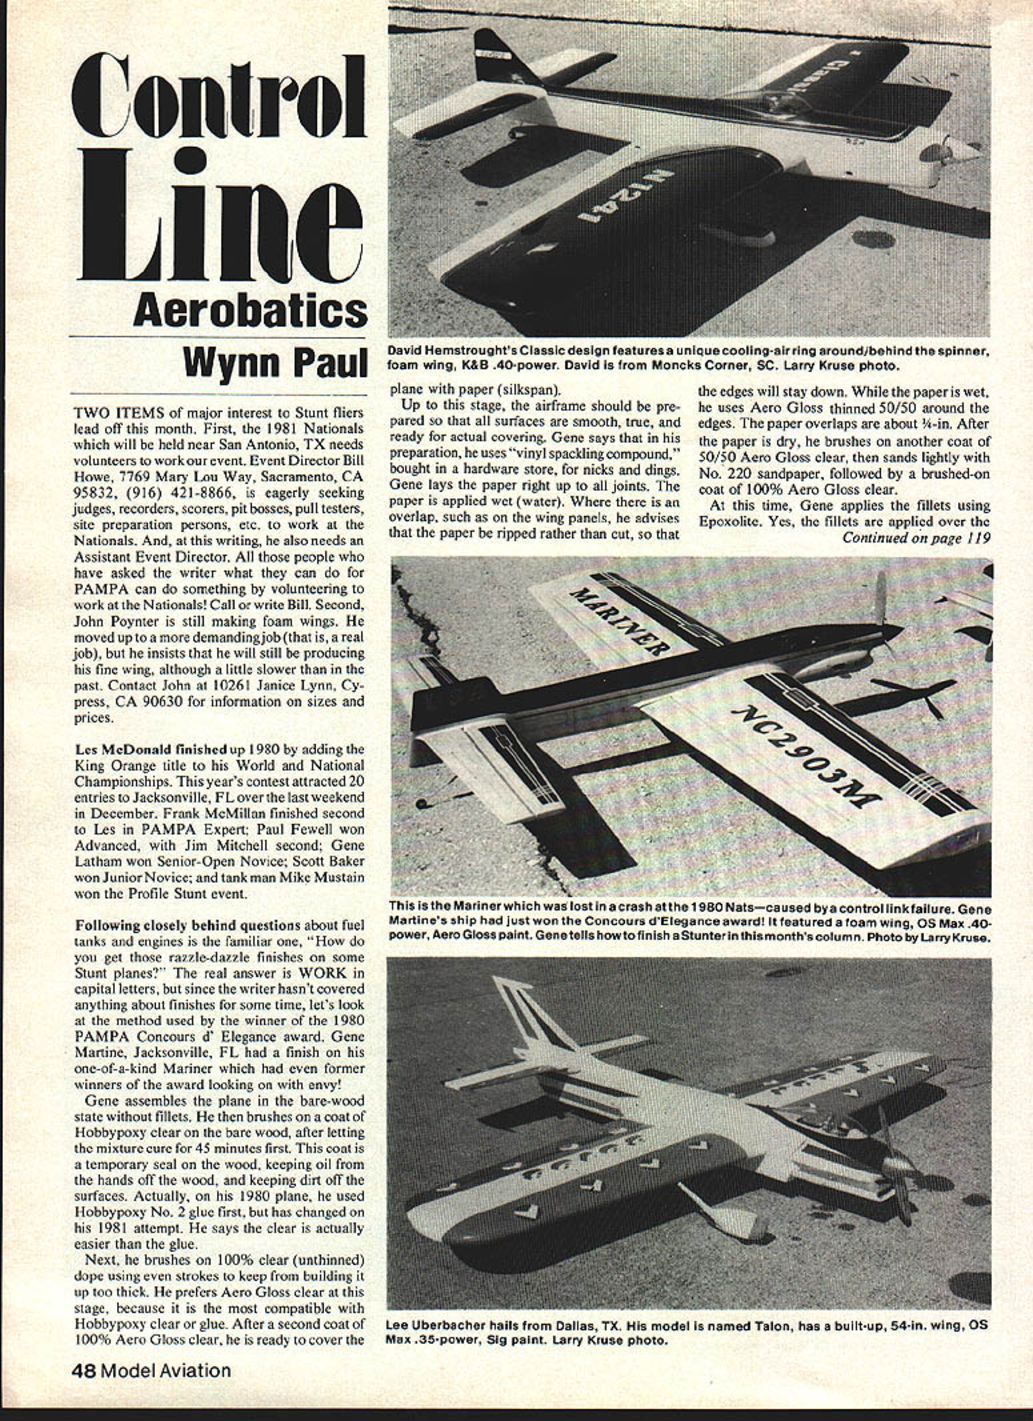
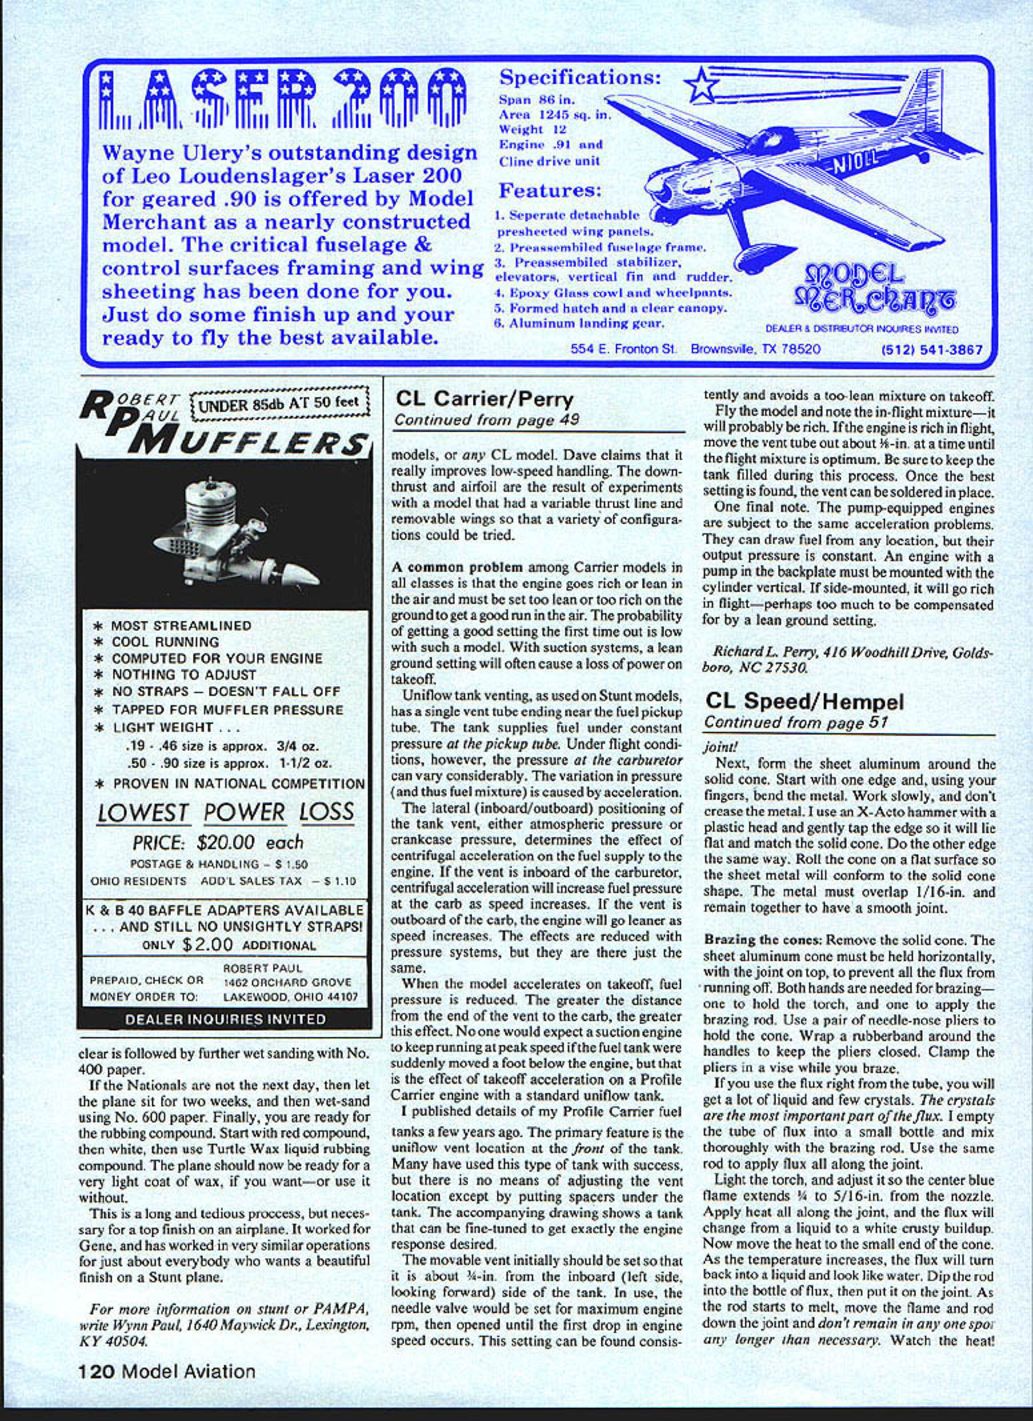
Jacksonville, FL
Transcribed from original scans by AI. Minor OCR errors may remain.

