
Control Line: Racing
John Ballard
Mouse
I attended several contests in 1984 with my 14-year-old son who enjoys flying Half-A Mouse racing. There appears to be an upswing in the number of entries in Mouse Racing events throughout the Midwest area, especially in the fall of 1984. When Mouse Racing is included at a meet, I receive numerous questions and problems from the competitors as well as several letters concerning engine consistency and performance.
I find that consistency and improved performance are the result of several modifications to the engine, tank, and backplate areas. The most significant problem is obtaining consistent runs with the Cox .049 engine and getting enough laps (minimum of 40 per tank).
Initially, I found that the threads in the backplate body of the needle valve were loose and allowed both air to enter the fuel system and fuel to leak out around the needle valve and its body. Putting a small piece of clear fuel line (with an inside diameter slightly smaller than the needle valve) on the needle valve eliminated this problem. It also made using the tiny needle-valve spring unnecessary; in most cases it did not have enough pressure to hold the needle valve setting throughout the entire flight. On many occasions I would come in and find the needle valve turned a quarter to a half turn from its takeoff setting because of engine vibration. The tubing eliminated valve movement and fuel leakage around the valve body.
It is also very easy to over-tighten the four screws holding the backplate and tank to the engine. Doing so can cause small ruptures in the backplate—the screws are recessed and the metal area around the screwheads is extremely thin. I found rather extensive leakage where these screws seat in the backplate.
By removing the dirt screen in the rear of the backplate and drilling out the venturi hole by approximately .003" to .009" I observed improved engine performance. Increasing the size further increased performance, but fuel consumption rose and consistency dropped off considerably.
In close observation of the fuel tank area, I found that the fill tube and the exit tube are merely press-fitted into the tank. In many cases, fuel was leaking around these tubes from the vibration of the running engine. By coating the base of these tubes with high-strength epoxy where they exit the tank, this problem was eliminated. I also found that many of the tubes were installed at varying lengths. The overflow tube, in many cases, is not close enough to the top of the tank; consequently, an extra one-eighth of an ounce of fuel could be carried simply by moving the tube so it rested against the top of the tank and filing a small slot in it so the tube could overflow properly.
One of the biggest problems I encountered was the improper fit between the tank and the backplate. Tightening the backplate to the engine often did not produce an airtight fit in the slotted area. By taking a small amount of jeweler's rouge and oil and lapping the tank to the backplate, a decent fit could be achieved. It often took several backplates and tanks to find a combination that, even after lapping, did not have minor leaks. It is imperative to have a good gasket between the engine block and the tank and also the small rubber gasket over the venturi area to prevent air entering the fuel line.
The new plastic reed valve seems to work much better than the older metal one, although the plastic reed is still prone to failure. I suggest changing the reed as a precautionary measure after several flying sessions.
While these subtle modifications to the tank and backplate resulted in more consistent performance, they also increased engine speed and therefore fuel consumption became a serious problem. I picked up an old tip from a California colleague: use a Moto-Tool to grind the various recesses in the backplate area to increase fuel capacity. The small additional capacity gained by grinding metal from the backplate resulted in a satisfactory number of laps and reasonably consistent performance.
There was a sizable difference in performance when replacing the Cox head with the Glo-Bee half-A racing or sport plug. One problem with the Glo-Bee plugs is that they did not seat properly and had to be hand-fitted by using No. 600 wet-and-dry sandpaper on a piece of plate glass prior to installation. In many cases I found sizable compression leaks until I lapped in each head button prior to installation. I also found that a Tee Dee piston and cylinder were required for maximum performance. Utilizing the Glo-Bee half-A racing head and the Tee Dee piston and cylinder increased rpm by approximately 5,000!
Each engine block assembly produced a different TDC (top dead center) and slightly different porting. Joe Klaus from Kustom Kraftsmanship makes liner shims from .003" to .020" thick which can be used to adjust the timing slightly for improved performance.
Kustom Kraftsmanship's crankcase with the oil-lite bushing installed avoided the crank binding up in the case after several runs on 60%–70% nitro fuel. On a couple of occasions the crankshaft bound up in the standard case and I had to relap the crankshafts to the case. Kustom Kraftsmanship's bushing seems to eliminate this problem.
I experienced the usual crankshaft breakage that most racers do. I was told that heat-treating the crankshaft would reduce breakage. I heat-treated several crankshafts and ran them without too much apparent difference in durability. Frankly, it is mandatory after a number of runs to change the crankshaft to avoid failure on race day.
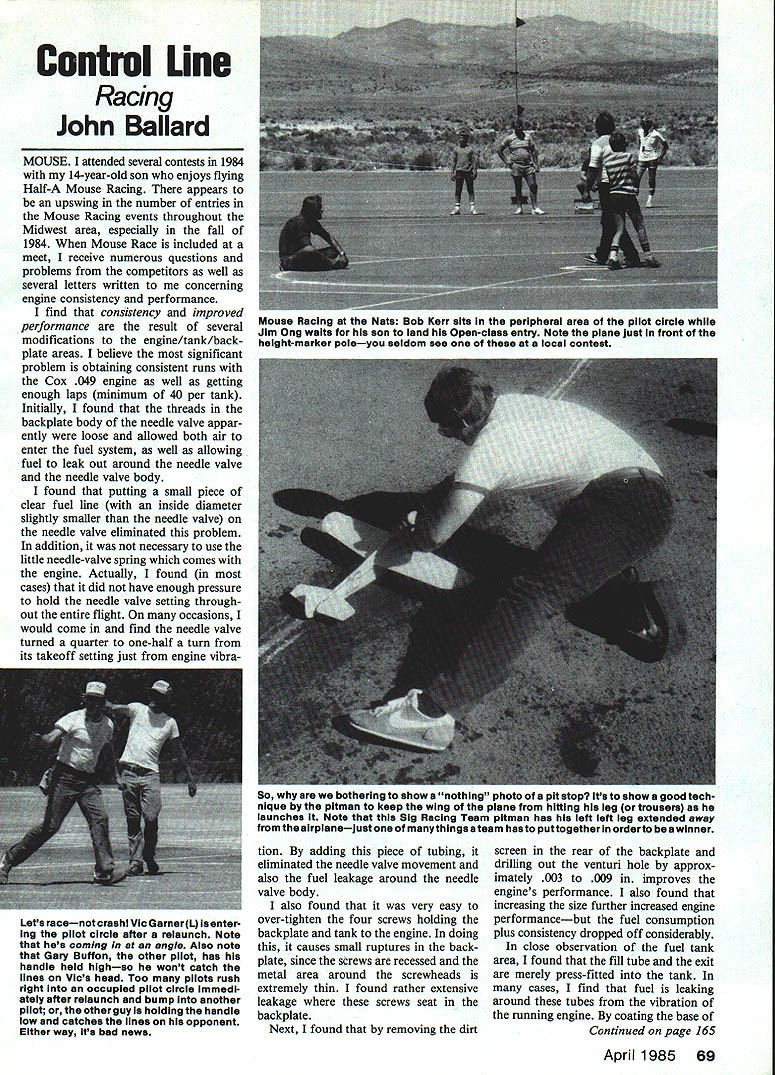
One of the photographs shows Open Mouse Racing at the Nats and shows California's Bob Kerr sitting at the peripheral area of the pilots' circle and Jim Ong waiting to put his model over near the height-stander poles. These height poles are very seldom used at local contests but are always found in national competition.
Line entanglements
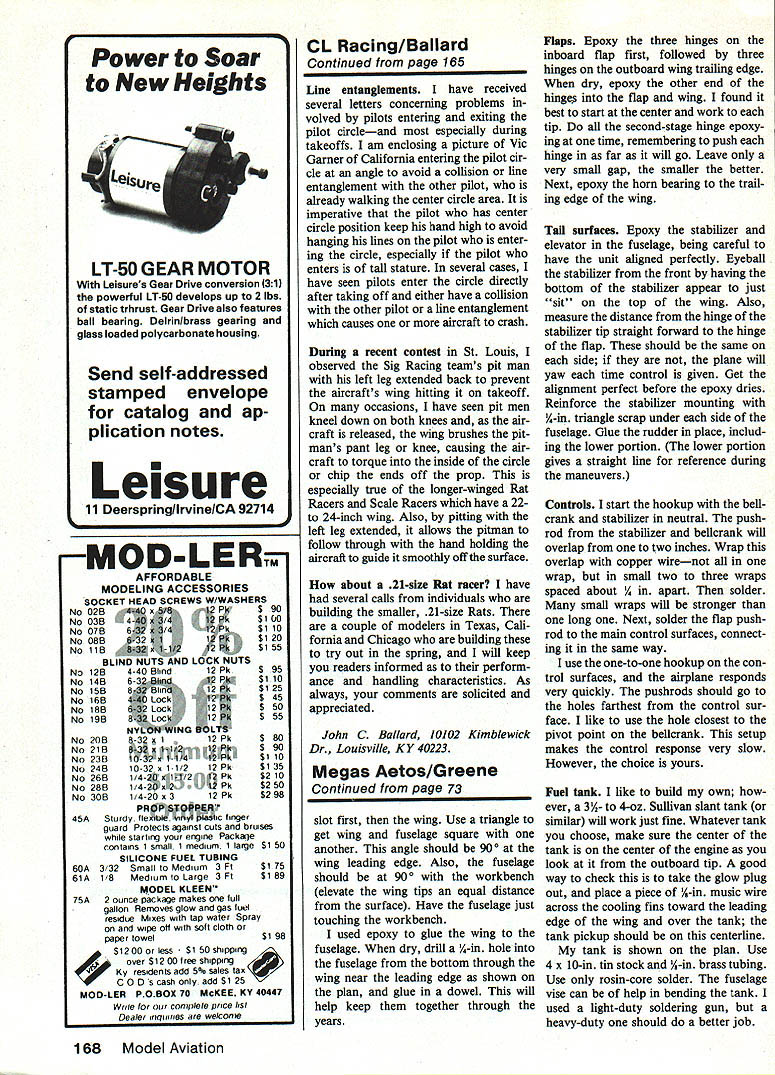
I have received several letters concerning problems when pilots enter and exit the pilot circle—especially during takeoffs. It is imperative that the pilot who has center circle position keep his hand high to avoid hanging his lines on a pilot entering the circle, particularly if the entering pilot is tall. I have seen pilots enter the circle directly after taking off and either collide with the other pilot or become entangled, causing one or more aircraft to crash.
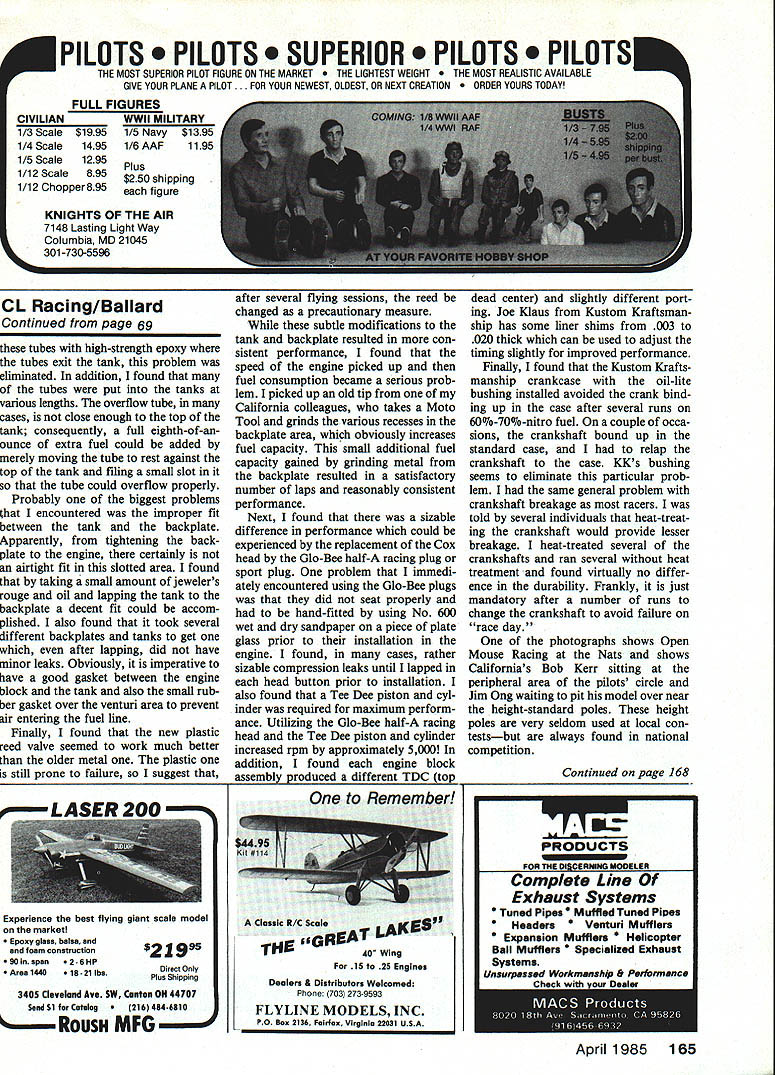
During a recent contest in St. Louis, I observed the Sig Racing team's pit man with his left leg extended back to prevent the aircraft's wing from hitting it on takeoff. On many occasions I have seen pit men kneel on both knees and, as the aircraft is released, the wing brushes the pitman's pant leg or knee, causing the aircraft to torque into the inside of the circle or chip the prop tips. This is especially true of the longer-winged Rat Racers and Scale Racers, which have 22" to 24" wings. Pitting with the left leg extended allows the pitman to follow through with the hand holding the aircraft and to guide it smoothly off the surface.
How about a .21-size Rat racer?
I have had several calls from individuals building the smaller .21-size Rats. Modelers in Texas, California, and Chicago are building these to try out in the spring. I will keep readers informed as to their performance and handling characteristics.
As always, your comments are solicited and appreciated.
John C. Ballard 10102 Kimbelwick Dr. Louisville, KY 40223
Transcribed from original scans by AI. Minor OCR errors may remain.

