
CONTROL LINE RACING
Stewart Willoughby 4301 Yackley Ave., Lisle IL 60532
SINGLE-BLADE PROPELLERS
Bob Oge and I have been using single-blade propellers exclusively for FAI Team Race for the last five years with a lot of success. It is surprising that few other teams use them regularly. You also rarely see two-blade props on FAI Speed models these days. The rationale for the single-blade propeller is that, at high rpm, one blade encounters cleaner air than two blades following each other 180° apart. A single blade is effectively 360° behind the preceding blade, and by the time it comes around again it has advanced into relatively undisturbed air ahead of the turbulence caused by blade passage. A single-blade prop can produce the same airspeed with less than 75% of the combined area of a two-blade prop of the same pitch.
When we first tried single-blade props we hoped for an increase in outright speed; we did not see a meaningful speed gain versus two blades. The most significant difference was a greatly reduced tendency for the engine to "sag" when the model is held back or flown around the top of the circle. This is a definite advantage in a hard race where you are only a few tenths faster than the competition or when opponents know how to block.
Most teams set the model so the pilot must "keep up with the model" (i.e., whip unobtrusively). That works until you get stuck behind another flyer, rpm falls off, and you slow to his speed. New-generation Russian engines are less susceptible than older Nelson-style engines, but you can still get into trouble and post a slow time. We have found that a model equipped with a single-blade propeller keeps running when you can't immediately get your arm to it and generally relieves the pilot of much of the responsibility for maintaining the setting—racing in traffic is easier.
Downsides:
- Slightly larger swing: you may be swinging about an inch more diameter, so your landing gear may need to hang roughly 1/2 inch farther into the breeze.
- Slightly more weight out on the blade.
We have not experienced major problems with vibration (once the blade shape was right), bearing failure, or loss of range. Buzzing the tip off on takeoff is no worse than with a two-blader; balance is not thrown off as much as one might think.
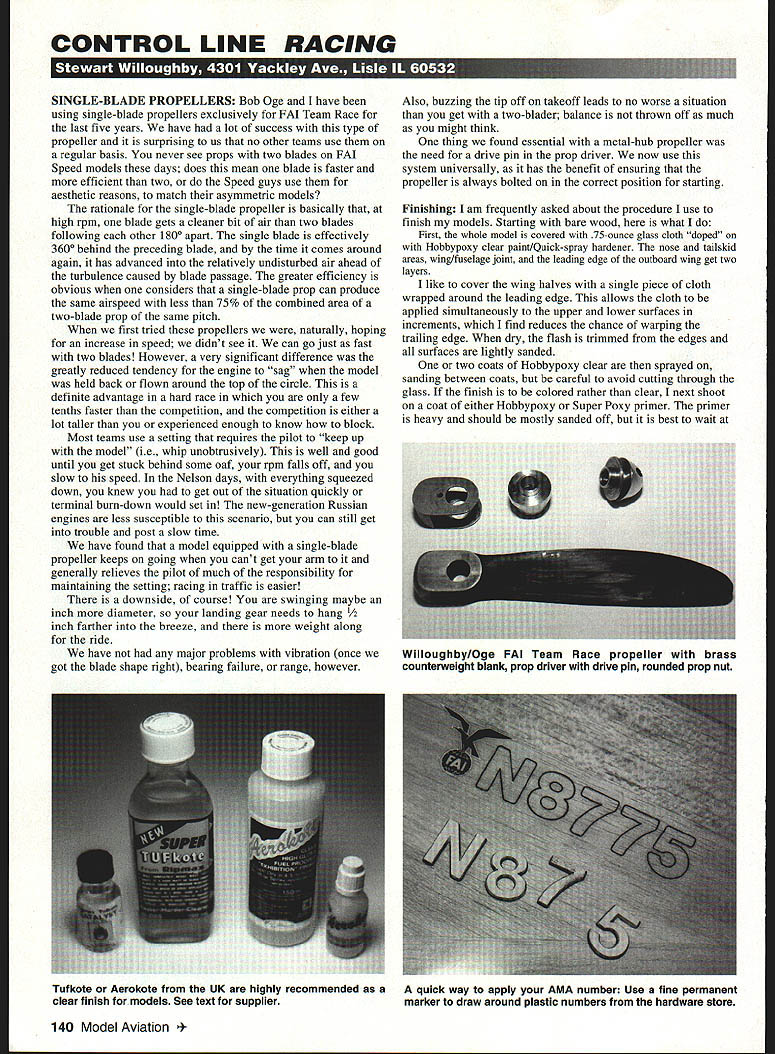
One essential feature with metal-hub single-blade propellers is a drive pin in the prop driver. We now use this system universally; it ensures the propeller is always bolted on in the correct position for starting.
FINISHING
I am frequently asked about the procedure I use to finish models. Starting with bare wood, here is the method I follow:
- Covering with glass cloth and epoxy:
- Cover the whole model with 0.75-ounce glass cloth "doped" on with Hobbypoxy clear (Hobbypoxy clear paint with Quick-spray hardener).
- Apply two layers over the nose and tailskid areas, the wing/fuselage joint, and the leading edge outboard of the wing.
- I like to cover wing halves with a single piece of cloth wrapped around the leading edge. This allows the cloth to be applied to upper and lower surfaces in small increments, which reduces the chance of warping the trailing edge.
- When dry, trim the flash from the edges and sand all surfaces lightly.
- Spray one or two coats of Hobbypoxy clear, sanding between coats; be careful not to sand through the glass.
- Priming and color coats:
- If the finish will be colored rather than clear, spray a coat of either Hobbypoxy or Super Poxy primer next. The primer is heavy and should be mostly sanded off.
- Wait at least a week before applying color coats; epoxy paints take a long time to fully harden. If you want the grain filled at completion, do not rush—the finish can settle later.
- Spray the color coat very lightly and sand to partially remove the gloss.
- Decals and lettering:
- Apply decals, rub-on lettering, ink lines, etc., after the color coat.
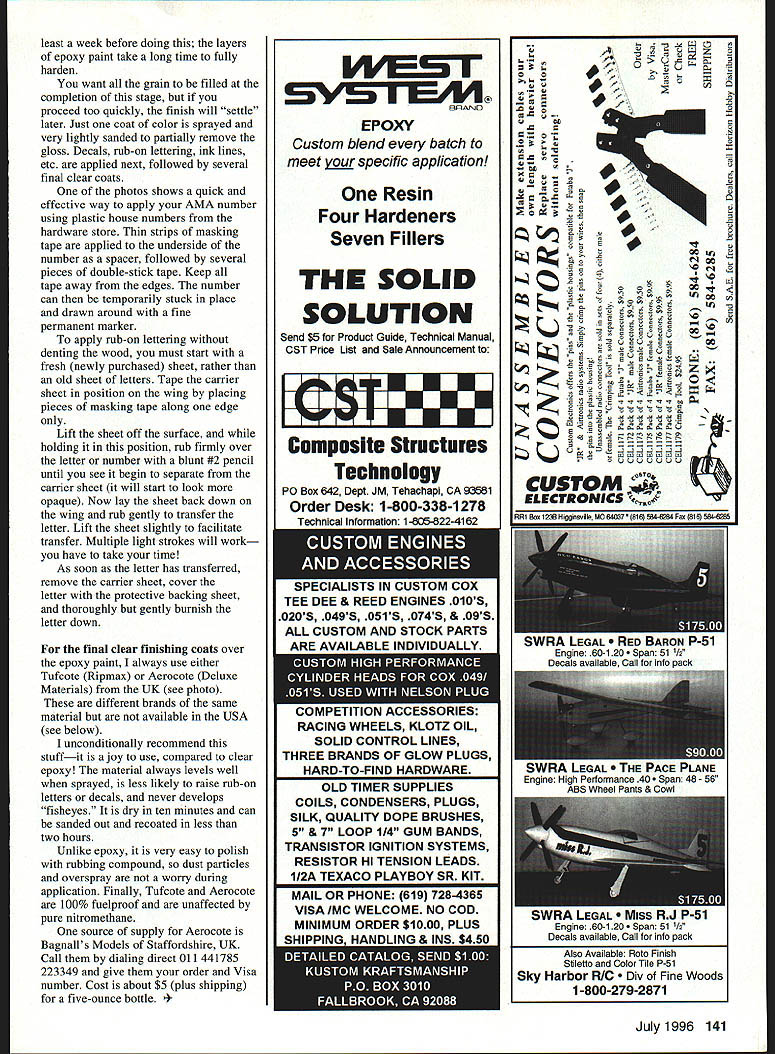
- To apply an AMA number quickly: use a fine permanent marker to draw around plastic house numbers (from the hardware store).
- For rub-on lettering: tape the carrier sheet to the surface along one edge to hold position. Lift the free edge, rub firmly over the letter or number with the rounded end of a pencil until the letter begins to separate and looks opaque. Lay the sheet back down and rub firmly until the letter transfers. If the wood is dented, start with a fresh surface; do not use an old sheet of letters.
- As soon as the letter has transferred, remove the carrier sheet, cover the letter with the protective backing sheet, and thoroughly but gently burnish the letter down.
- Final clear coats and polishing:
- Apply several final clear coats. For the final clear finishing coats over epoxy paint, I always use either Tufcote (Ripmax) or Aerocote (Deluxe Materials) from the U.K.
- These materials are different brands of the same product and are not commonly available in the USA, but I unconditionally recommend them. They level well, are less likely to lift rub-on letters or decals, never develop "fisheyes," dry in about ten minutes, and can be sanded and recoated in less than two hours.
- Unlike epoxy, they are easy to polish with rubbing compound, so dust particles and overspray are less of a problem. Tufcote and Aerocote are 100% fuelproof and unaffected by pure nitromethane.
Source for Aerocote:
- Capwell’s Models of Staffordshire, U.K. — call direct at 011-44-782-223349. Cost is about $5 (plus shipping) for a five-ounce bottle.
Transcribed from original scans by AI. Minor OCR errors may remain.

