
Control Line: Scale
By Bill Boss
LANDING GEAR can be highly sophisticated, or it can be very simple—made only of bent music wire. Whether the gear is highly detailed or plain, there are some basics to consider regarding gear type (tricycle or tail-dragger), model weight, and how the model will track on the ground.
Examples
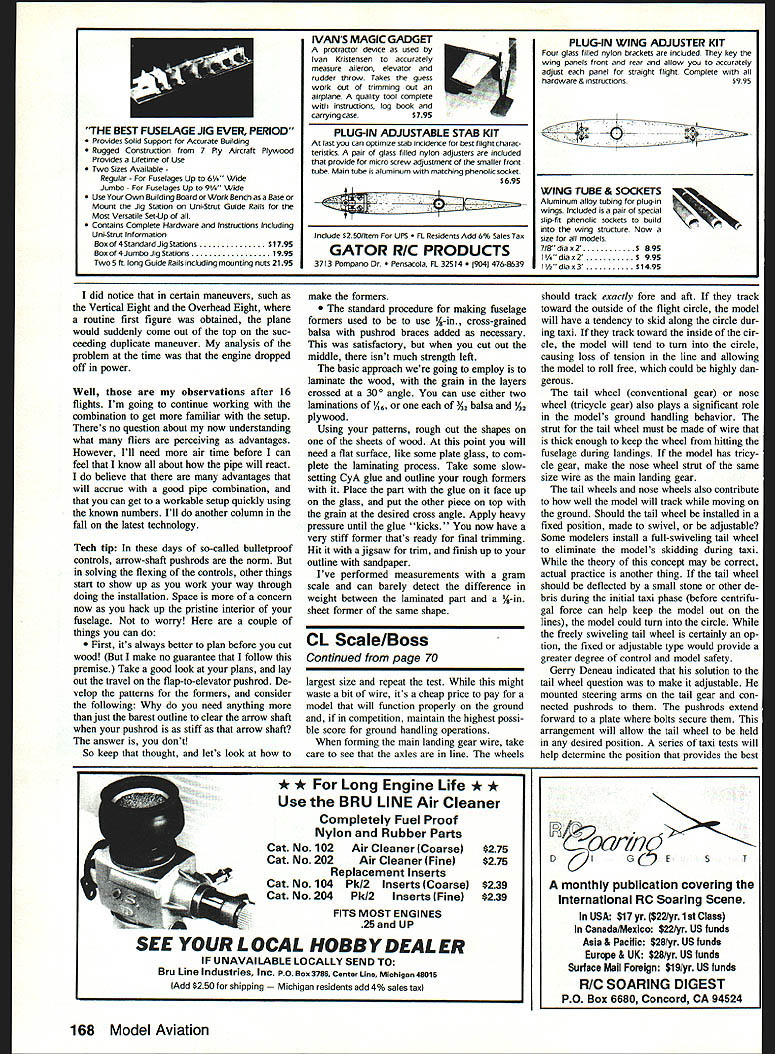
The accompanying photos show two approaches. Ken Long's Zero has the detail we expect on today's AMA Precision or FAI-class models, duplicating almost every nut, bolt, and rivet of the prototype's landing gear. Norm Skuderin's DC-3, built in the Seventies, started as music-wire "legs" dressed up and strengthened with turned aluminum stock and sheet metal. This type of detail will enhance any Sport Scale model. Most of us start with music-wire-type gear, and that's what we'll be discussing here.
Wire size and strength
One of the first considerations when making the main gear from music wire is the weight it must support.
- If the model is under 4 pounds: 3/32-in. music wire is usually adequate.
- If the model is in the 4 to 8-pound range: 1/8-in. wire is a good choice.
- Above about 8 to 10 pounds: 3/16-in. wire is recommended.
Use a large enough wire to prevent fore-and-aft shaking or bending outward during takeoff, landing, and taxiing. One simple test: push the model up and down and then sideways to see how much the gear flexes. If the model bounces and sways easily, the wire is probably too small. Go to the next largest size and repeat the test. While this may waste a bit of wire, it's a small price to pay for a model that functions properly on the ground and, in competition, maintains the best possible score for ground-handling.
When forming the main landing-gear wire, take care that the axles are in line so the wheels track exactly fore and aft. If they track toward the outside of the flight circle, the model will tend to skid along the circle during taxi. If they track toward the inside, the model will tend to turn into the circle, causing loss of line tension and allowing the model to roll free—potentially dangerous.
Tail wheel and nose wheel considerations
The tail wheel (conventional gear) or nose wheel (tricycle gear) significantly affect ground-handling.
- Size: The front (nose) wheel strut should be thick enough so the wheel won't hit the fuselage during landings. For tricycle gear, make the nose-wheel strut the same wire size as the main gear.
- Fixed vs. swiveling vs. adjustable:
- Fixed tail wheels are simpler and possibly more durable, but if incorrectly aligned the model can turn into the circle during initial taxi.
- A full-swiveling tail wheel reduces skids and sliding during taxi and provides better tracking, but adds construction complexity.
- An adjustable tail wheel combines control and simplicity. Gerry Deneen uses an up-and-down mount steering arm that can be bent to tweak the toe-in. He fastens a sheet-metal bracket to a plate, bolts secure the wheel, and adjustments can be made at the flight line. Static tests will help determine the position that gives the best tracking and least skidding. If using fixed tail gear, the strut can be bent to make the wheel track correctly.
Nose gear can also be fixed or adjustable. If fixed, set the nose wheel carefully so the model neither turns into the circle nor skids at an awkward angle. Adjustable mounting (for example, steerable nose-gear assemblies used on RC models) gives the greatest control; perform static tests to determine the correct position and then lock it in place with bolts or screws.
Finishing the gear
When the wire gear is completed, dress it up with wooden dowels, balsa fairings, plastic tubing, or any material that mimics the prototype. Consider plastic landing-gear covers such as those from Robart.
Fuselage formers
The standard procedure used to be 1/8-in. cross-grained balsa with spur braces added as necessary. That was satisfactory, but once you cut out the middle there isn't much strength left.
The basic approach recommended here is to laminate the wood with the grain in the layers crossed at about a 30° angle. You can use either two laminations of 1/16-in. balsa, or one each of 1/32-in. balsa and 1/32-in. plywood.
- Using your patterns, rough out the shapes on one of the sheets.
- Use a flat surface (plate glass works well) for laminating.
- Outline the rough former with slow-setting CYA glue on the face to be glued.
- Place that face up on the glass, put the other piece on top with the grain at the desired cross angle, and apply heavy pressure until the glue "kicks."
- The result is a very stiff former ready for final trimming. Use a jigsaw for rough trim and finish to your outline with sandpaper.
We measured laminated formers on a gram scale and could barely detect any weight difference compared to a 1/8-in. sheet former of the same shape.
Scale documentation source
Need a good three-view drawing for your next Scale project? Aviation Heritage of Terre Haute, IN may have what you need.
- Aviation Heritage provides drawings and information accumulated by Paul Matt for more than 120 aviation subjects. The three- and four-view drawings are clear, concise, and presented in large, easy-to-work-with scales ranging from 1/72 in. to the foot to 1/16 in. to the foot, with most drawings at 1/72. Drawings are generally two sheets (17 x 22 in.) and include specifications, dimensions, airfoils, cross sections, templates, and color schemes. Subjects range from the 1903 Wright Flyer to WWII-era aircraft.
- Prices: $7–$10 per subject, plus $2.50 shipping and handling. Rolled in a tube: additional $4.
- Other offerings:
- Aeronca—The Best of Paul Matt: 96-page, 8½ x 11-in. softbound book, tracing Aeronca history and including 14 pages of three-view drawings; $19.95 plus $2.50 shipping.
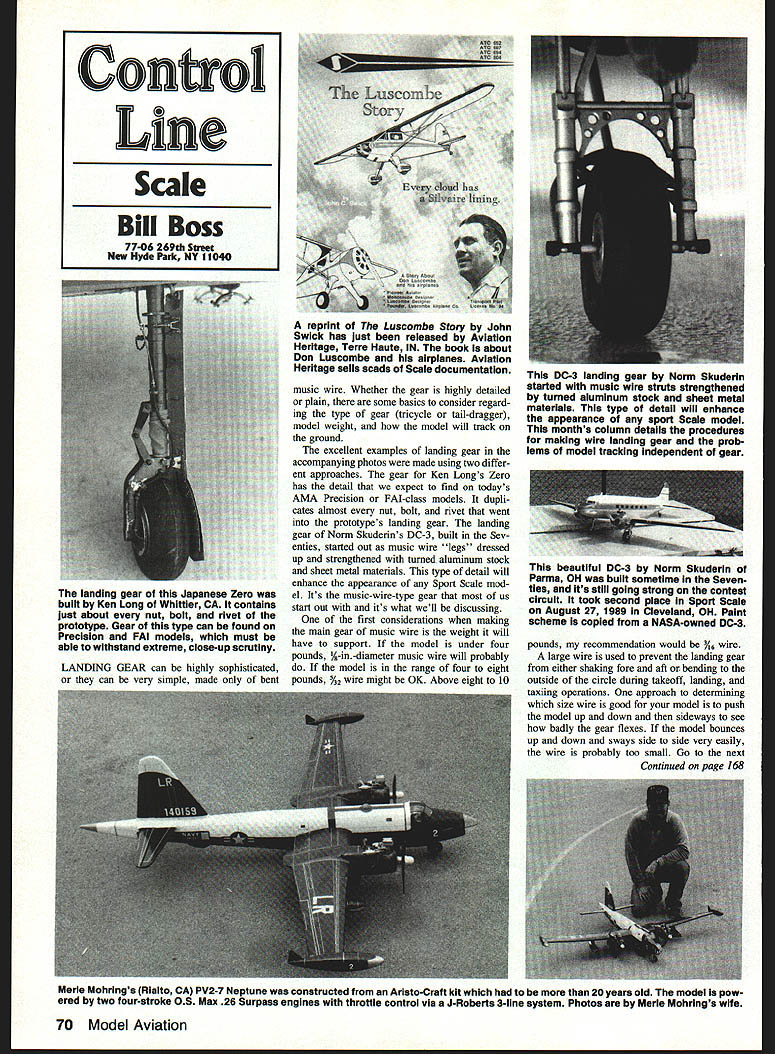
- Extensive line of Luscombe drawings (23 x 35-in. format) and a softbound reprint of The Luscombe Story by John C. Swick: $22.95 plus $2.50 shipping.
For details write Aviation Heritage, Sunshine House, Inc., P.O. Box 2065, Terre Haute, IN 47802 or call 1-800-999-0141. (The preceding information was based on notes from Wing Tips, the newsletter of the Mid-Hudson Model Masters MAC.)
Something new from Coverite
The Black Baron brings back the cartoon nose-art that decorated many WWII bombers. Coverite developed a series of 15 miniature decals, approximately four inches in diameter, printed on pressure-sensitive plastic that will stick to most surfaces.
- The decals are made of special vinyl that is extremely flexible and can wrap around compound-curved surfaces.
- Suggested price: $2.50.
- For information write to Coverite, 420 Babylon Road, Horsham, PA 19044.
Coverite's renditions are modest compared with some original nose art, so they should be suitable for modern scale models, flight boxes, helmets, and similar uses.
Please send comments, contest activity reports, and especially photos of CL Scale activity to me at the address at the very top of this column.
Transcribed from original scans by AI. Minor OCR errors may remain.

