
Control Line: Scale
Mike Gretz
HALLELUJAH! The flying season is almost upon us. It's time to quit rat-tat-tatting that new scale ship around the room, dust off the old control handle, and get out to the field to see if it really flies as well as it looks. Don't forget to take along your lucky flying hat, "Hollywood" sunglasses, and carry a scale ruler in your pocket to set you apart from the crowd of admirers who will quickly gather around your masterpiece. After all, we scale types have an "image" to maintain.
And, by the way, when they start telling you how great the ship looks; it's okay—go ahead and smile—you've earned it!
Movable Ailerons—One More Time!
In recent columns I mentioned making the ailerons on a CL Scale model "movable." It seems that at least one fellow took this to mean connecting the ailerons to the elevators in the same manner as control line stunt flaps are used. For the record, that is not what I would normally recommend. In fact, only in the most unique cases, like Chris Genna's 1/4-A-Scale UNcontest Focke-Wulf 190 which was discussed last month, would I ever suggest that "stunt flaps" (or ailerons) be considered for a control line scale model. In competition, models modified to incorporate "stunt flaps" are normally heavily downgraded during static judging.
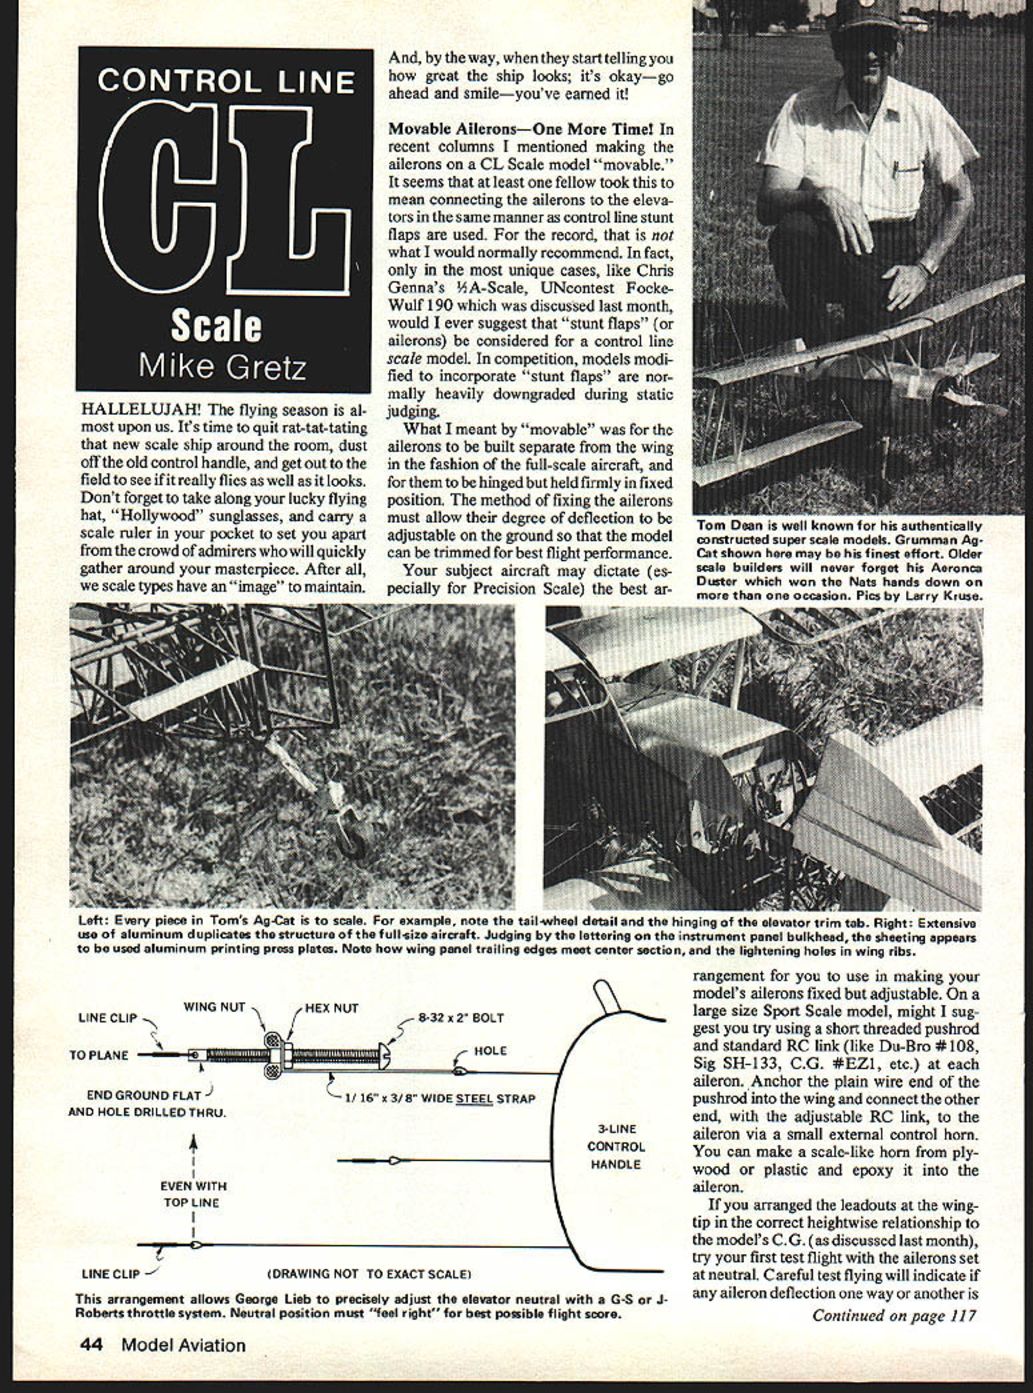
What I meant by "movable" was for the ailerons to be built separate from the wing in the fashion of the full-scale aircraft, and for them to be hinged but held firmly in fixed position. The method of fixing the ailerons must allow their degree of deflection to be adjustable on the ground so that the model can be trimmed for best flight performance.
Your subject aircraft may dictate (especially for Precision Scale) the best arrangement for you to use in making your model's ailerons fixed but adjustable. On a large-size Sport Scale model, I might suggest you try using a short threaded pushrod and a standard RC link (like Du-Bro #108, Sig SH-133, C.G. #EZ1, etc.) at each aileron. Anchor the plain wire end of the pushrod into the wing and connect the other end, with the adjustable RC link, to the aileron via a small external control horn. You can make a scale-like horn from plywood or plastic and epoxy it into the aileron.
If you arranged the leadouts at the wingtip in the correct height-wise relationship to the model's C.G. (as discussed last month), try your first test flight with the ailerons set at neutral. Careful test flying will indicate if any aileron deflection one way or another is required for proper trim.
Transcribed from original scans by AI. Minor OCR errors may remain.

