
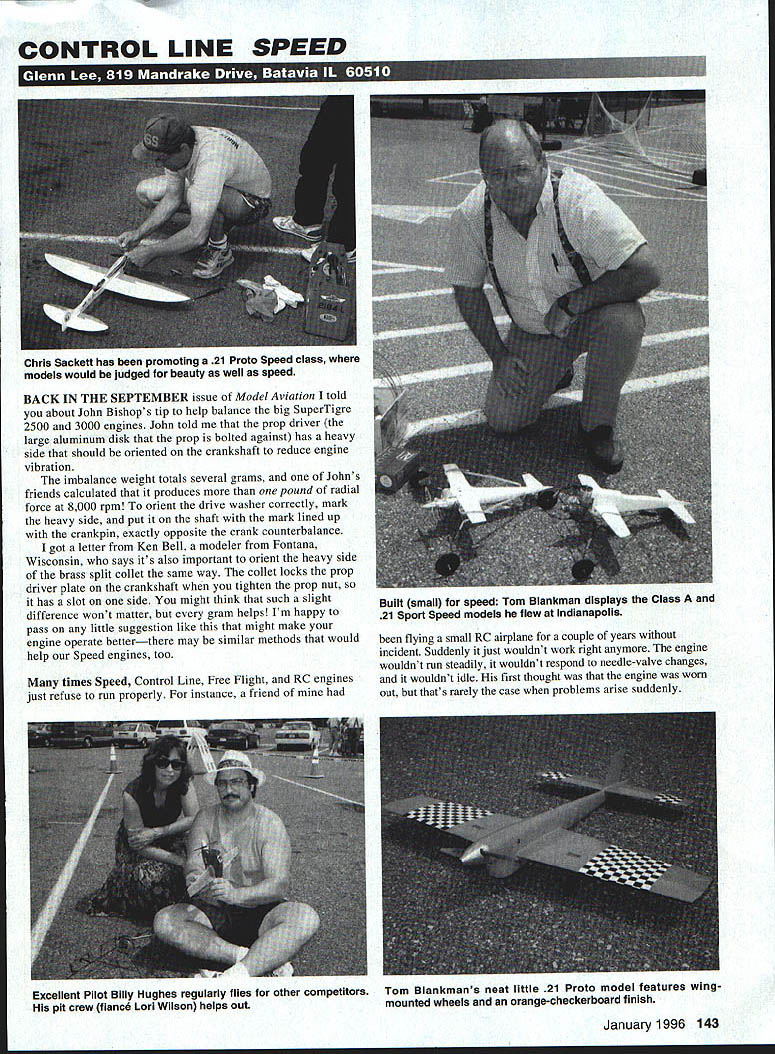

CONTROL LINE SPEED
Glenn Lee, 819 Mandrake Drive, Batavia IL 60510
BACK IN THE SEPTEMBER issue of Model Aviation I told you about John Bishop's tip to help balance the big SuperTigre 2500 and 3000 engines. John told me that the prop driver (the large aluminum disk that the prop is bolted against) has a heavy side that should be oriented on the crankshaft to reduce engine vibration.
The imbalance weight totals several grams, and one of John's friends calculated that it produces more than one pound of radial force at 8,000 rpm. To orient the drive washer correctly, mark the heavy side and put it on the shaft with the mark lined up with the crankpin, exactly opposite the crank counterbalance.
I got a letter from Ken Bell, a modeler from Fontana, Wisconsin, who says it's also important to orient the heavy side of the brass split collet the same way. The collet locks the prop driver plate on the crankshaft when you tighten the prop nut, so it has a slot on one side. You might think that such a slight difference won't matter, but every gram helps. I'm happy to pass on any little suggestion like this that might make your engine operate better—there may be similar methods that would help our Speed engines, too.
Troubleshooting engines
Many times Speed, Control Line, Free Flight, and RC engines just refuse to run properly. For instance, a friend of mine had been flying a small RC airplane for a couple of years without incident. Suddenly it just wouldn't work right anymore. The engine wouldn't run steadily, it wouldn't respond to needle-valve changes, and it wouldn't idle. His first thought was that the engine was worn out, but that's rarely the case when problems arise suddenly.
It's a good idea to have a standard procedure—steps to try to isolate the problem. Four easy things to try before you buy a new engine or disassemble the old:
- Check the fuel. If you've left the cap off the jug, the fuel could absorb moisture and air. It's a nasty habit a lot of fliers have, and in high-humidity weather it can ruin fuel quickly. If it's been left open, you'll get a sick engine that runs hot and overheats. Try some new fuel.
- Try a new glow plug. Sometimes the element will oxidize or bend out of shape long before it will burn out.
- Check the fuel lines. Replace with new tubing if necessary. A fuel line with a hole will allow air bubbles to mix with the fuel and produce surging, unsteady running.
- Remove the needle valve and make sure there isn't a chunk of crud blocking the fuel-feed hole.
If these checks don't help, you'll need to look at something else. Sometimes I've found a leaky crankcase causes poor needle-valve response. Two-stroke engines must have sealed crankcases in order to run properly. A loose, leaking backplate gasket is a common problem and will show up; now and then I've seen a few backplates with holes through the aluminum. The Oge-Willoughby race team recently lost out because two engines had bad backplates. Newer Speed engines have O-ring sealed backplates to prevent leaks. Check backplate screws and gaskets for looseness.
A leaky head gasket or a leaky glow plug will also result in erratic operation. Check head screws and joints—squirt fuel and look for bubbles when you turn the engine over. Before Speed flight, change glow plugs and change glow plug gaskets too. Throw old gaskets away—don't reuse copper gaskets; they work-harden and might seal poorly. A loose, leaky glow plug is deadly on a Speed engine: the center post can turn red hot and cause a meltdown.
Of course RC fliers use carbureted engines; a leaky, worn-out carburetor can precipitate the same symptoms. Sometimes vibration will shake a barrel-type carburetor body enough to wear it out long before the sleeve, piston, or other vital parts of the engine. Some manufacturers use harder aluminum such as 7075-T6 and anodize parts to reduce wear. A new or different carburetor might work wonders on an old engine.
You can check crankcase and carburetor leaks by pressurizing the crankcase. Use a tire pump or squeeze bulb while applying soapy water to places that might have a leak. Use a pressure fitting to get air into the case either through the backplate or through a blank-off plate clamped on the carburetor. You'll have to rotate the crankshaft to get air into the case; when the intake is open the piston should blank off the exhaust opening. You will get some leakage out the front bearing—that's necessary because oil and fuel lubricate the front end. If the carburetor leaks excessively, replace it.
Stabilization of metals
Getting back to some technical information, I'll expound a bit on stabilization of metals. Many modelers are experimenting with making parts for engines, and are machining various alloys. If you have ever machined anything, you have undoubtedly encountered part warpage when you removed metal. Most metals (especially wrought-aluminum alloys such as 6061-T6, 2024-T35, or 7075-T6) have built-in stresses from rolling and heat treating—it relaxes and moves around when you machine off the outer layers.
If you want to end up with a precision part, you should stabilize the metal as you work with it. The following is a procedure called "Heat Treatment for Maximum Dimensional Stability of Nonferrous Alloys" taken from an issue of Machine Design magazine.
2024-T35 Aluminum:
- Rough machine.
- 365°F for 8 hours and air cool.
- Semifinish machine.
- 375°F for 2 hours and air cool.
- Finish machine.
- Cycle twice from -100°F to +210°F, or hold 20 hours at 200°F.
- Lap or hone.
356 Cast Aluminum:
- 1,000°F for 2 hours and water quench.
- Room temperature for 24 hours.
- 310°F for 4 hours and air cool.
- Rough machine.
- 280°F for 1 hour.
- Finish machine.
- 200°F for 20 hours.
- Lap or hone.
I have used these procedures on engine parts I've made, and they really help me achieve good finished dimensions. Roundness of pistons and sleeves is important, so you need stable material before finishing. Carlos Aloise, maker of the ACE record-setting Speed engines, told me that 40 millionths of an inch out of round is enough to slow you down 10 miles an hour.
We normally use laps to finish sleeves and pistons to get them round. I was going to explain the construction of laps in this column, but I ran out of room. That would be a good subject for one whole column—maybe next time!
Transcribed from original scans by AI. Minor OCR errors may remain.

