
Decorate Your Tree with Airplane Miniatures
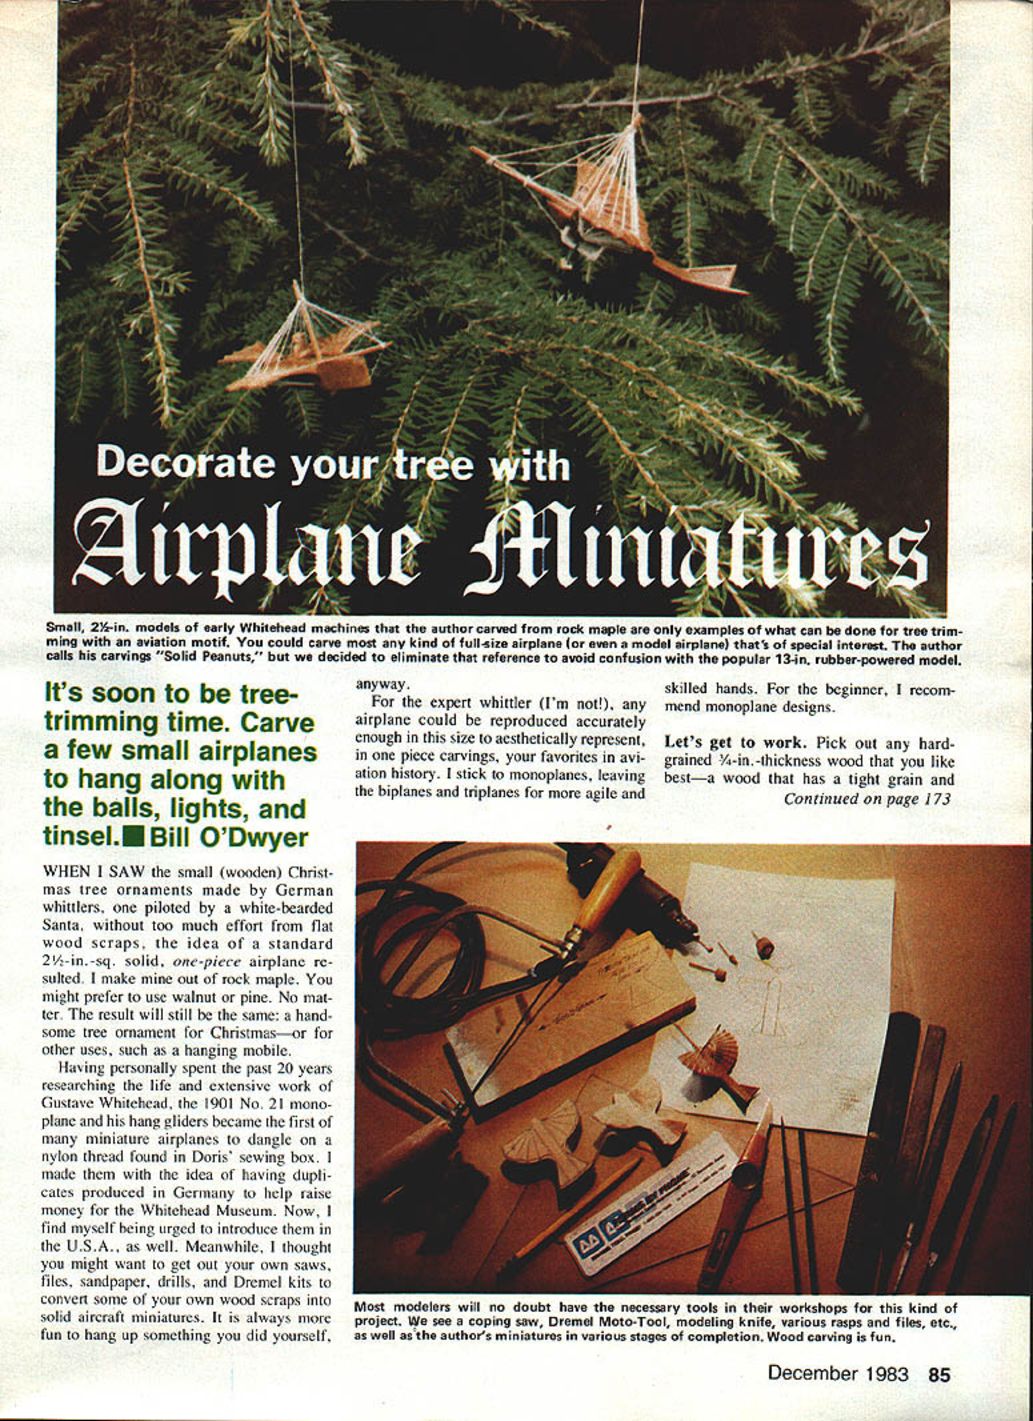
Small, 2½-in. models of early Whitehead machines that the author carved from rock maple are only examples of what can be done for tree trimming with an aviation motif. You could carve most any kind of full-size airplane (or even a model airplane) that's of special interest. The author once called his carvings "Solid Peanuts," but that reference is omitted here to avoid confusion with the popular 13-in., rubber-powered model.
It's soon to be tree-trimming time. Carve a few small airplanes to hang along with the balls, lights, and tinsel. — Bill O'Dwyer
Inspiration and overview
When I saw the small wooden Christmas-tree ornaments made by German whittlers — one piloted by a white-bearded Santa, made without too much effort from flat wood scraps — the idea of a standard 2½-in.-sq., solid, one-piece airplane resulted. I make mine out of rock maple. You might prefer walnut or pine. No matter the wood, the result will be the same: a handsome tree ornament for Christmas — or for other uses, such as a hanging mobile.
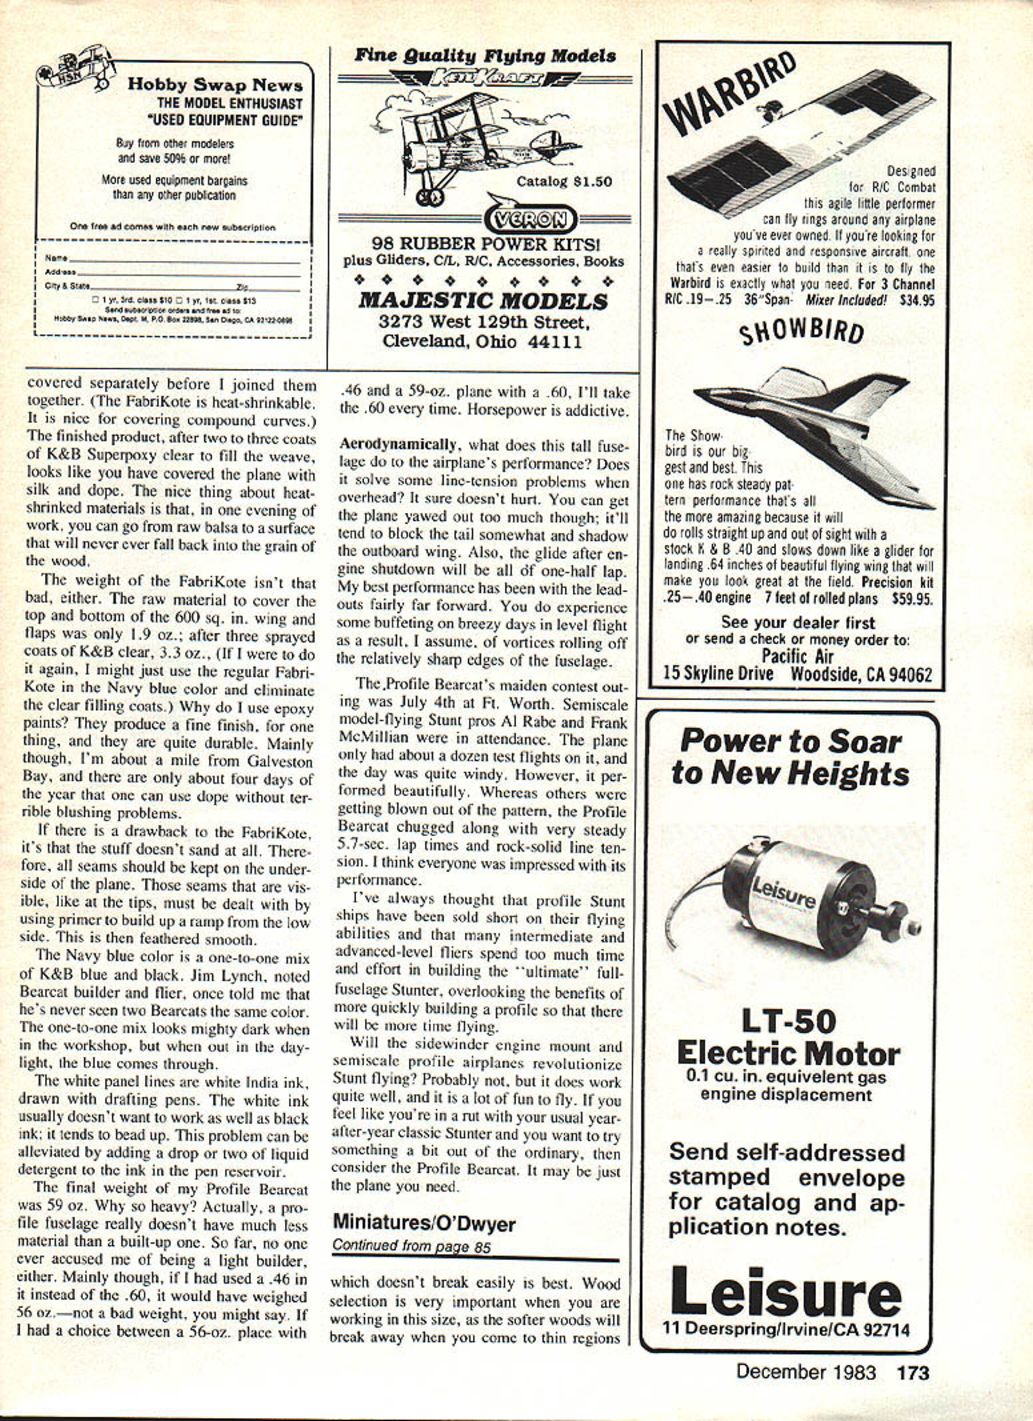
Having personally spent the past 20 years researching the life and work of Gustave Whitehead, the 1901 No. 21 monoplane and his hang gliders became the first of many miniature airplanes to dangle on a nylon thread. I made them with the idea of having duplicates produced in Germany to help raise money for the Whitehead Museum. Now I find myself urged to introduce them in the U.S.A., as well. Meanwhile, you might want to get out your saws, files, sandpaper, drills and Dremel kits to convert some wood scraps into solid aircraft miniatures. It is always more fun to hang up something you made yourself.
For the expert whittler (I'm not!), any airplane can be reproduced accurately enough at this size to aesthetically represent your favorites in aviation history. I stick to monoplanes, leaving biplanes and triplanes for more agile and skilled hands. For the beginner, I recommend monoplane designs.
Materials
- Hard-grained wood about 3/4 in. thick (rock maple recommended; walnut or pine acceptable). The harder the wood, the better.
- Carbon paper
- Ball-point pen or dark pencil
- Saw, files, sandpaper, Dremel or similar rotary tool
- No. 50 production paper, No. 120, and No. 220 wet-or-dry A-weight paper
- Krylon Clear (spray) if a glossy finish is desired
- Nylon thread for rigging
- Small-diameter drill (hand-held recommended)
- Popsicle sticks or wooden forks (for struts and landing gear)
- Glue and small clamps as needed
Wood selection
Pick a hard-grained wood with a tight grain that does not break easily. Wood selection is very important when working at this size, as softer woods tend to break away when you come to thin regions and cross-grain tips of rudders. Lay out the grain so it runs in the same direction as the span of the wing. If your board has interesting grain patterns, select a spot that will fall at mid-fuselage so the wing grain matches on both sides; occasionally you can find boards where swirls fall identically on both wing halves.
Making the plans
- Sketch the top view of the airplane until you are satisfied.
- Draw the side view, front view and tail view to the same scale.
- Trace the final top view onto your selected board using carbon paper beneath the plan.
- Redraw the traced outline on the board with a ball-point pen or dark pencil for a more permanent imprint.
Cutting and carving
- Cut the outline of the top view first. Aim for square sides from top to bottom of the board.
- Cut outside the line by about 1/8 in. to allow for saw errors and mistakes with the Dremel.
- Trim and sand the piece to the lines.
- Draw the side views on the 3/4-in. edge, then start carving away excess wood until you reach the profile where filing or grinding will finish the surfaces.
- Do not strive for excessive detail unless you are an expert; at this size, simple, accurate shapes are most effective.
Sanding and finishing
- After filing, use No. 50 production paper to sand the first smooth outline.
- Progress to No. 120, then finish with No. 220 wet-or-dry paper.
- For a natural look, leave the wood unfinished other than sanding.
- For a glossy finish, spray three coats of Krylon Clear, sanding with No. 220 wet-or-dry between coats.
Rigging, struts and landing gear
- If you need rigging, drill holes for it and use nylon thread. Mark each hole location with a sharp pin and wobble the pin to make a starter mark for the drill.
- Drill by hand, turning the chuck; avoid power drills when working on very thin wings, as a slip can destroy hours of work.
- For Whitehead models (1901 No. 21 and the 1905 hang gliders), the rigging is one continuous piece of thread in a specific pattern.
- Use popsicle sticks and wooden forks (from French fries) for struts, landing gear or a pilot hang framework; their strong grain makes them useful for small structural parts.
A brief historical note
Years ago, many Europeans who could not afford fancy blown-glass ornaments made their own decorations from curly shavings off the carpenter's plane, with little more than imagination and glue. They created cribs from nutshells, animals, skiing Santas, and many other wooden ornaments that grew popular worldwide. Most such traditional ornaments have been made in Germany or the Alps; copies are now made in other countries as well. Airplane ornaments are something you can make and enjoy.
Transcribed from original scans by AI. Minor OCR errors may remain.

