


Delta Dart II AMAzer
E. J. Hartmangruber
Introduction
Early in February the editor of Model Aviation called to ask if I would get a group of boys together to try out a batch of Frank Ehling's new Delta Dart II AMAzer Control Line trainers. This pleased me very much, because I had seen the project about two years earlier when on a visit to AMA HQ. Frank had shown me the basic design, and I knew then that he had a winner. I was anxious to run a trial program of building and flying the models.
Kits and assembly
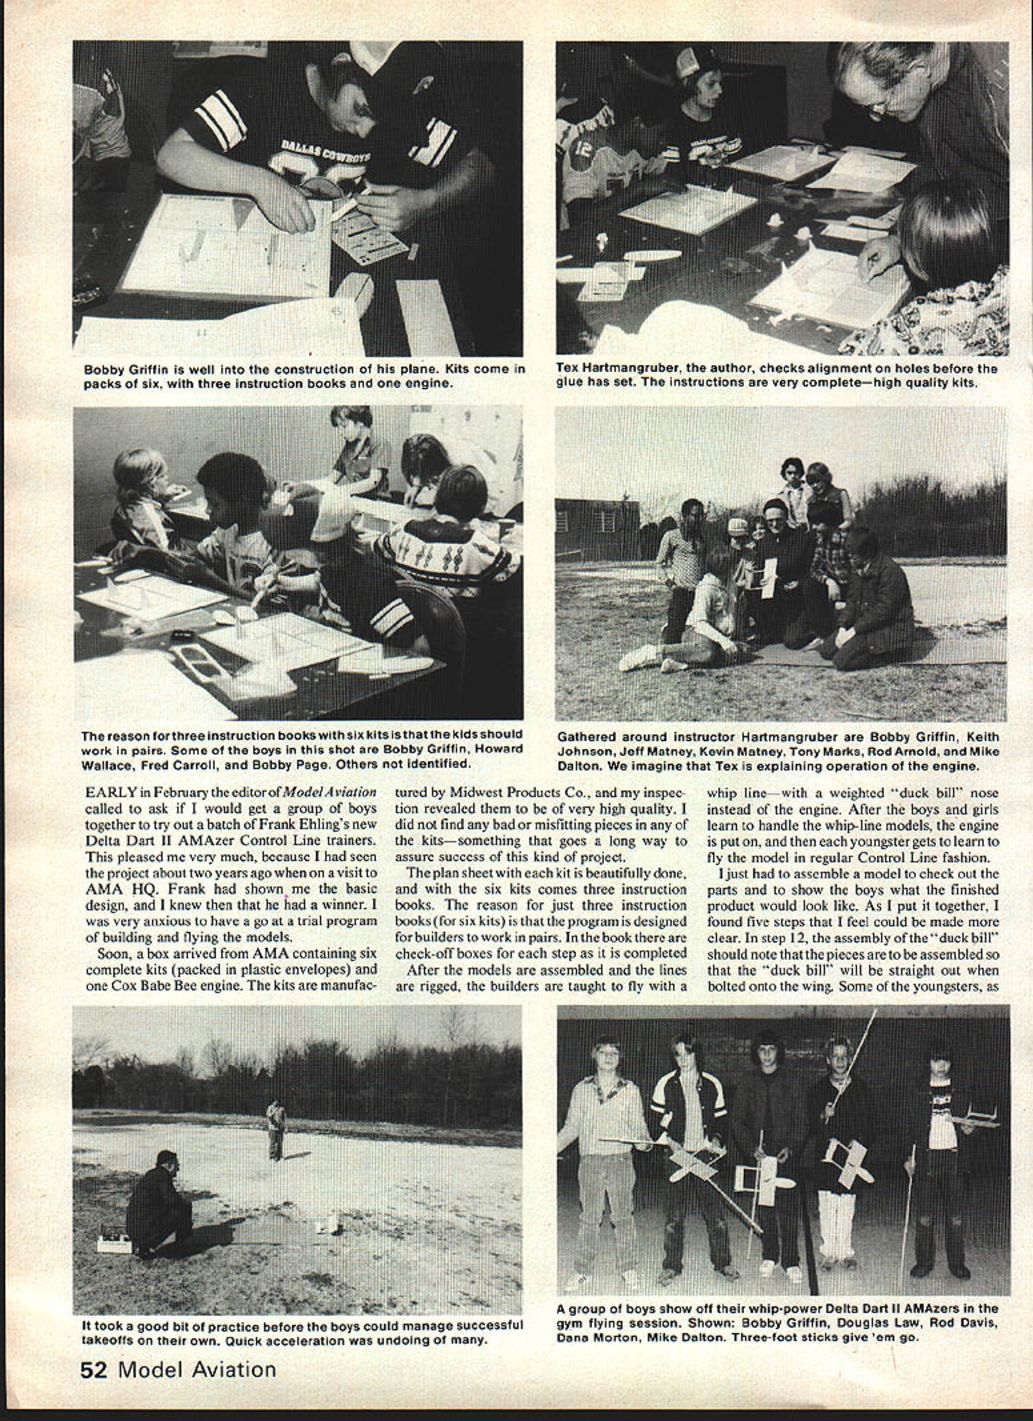
A box arrived from AMA containing six complete kits (packed in plastic envelopes) and one Cox Babe Bee engine. The kits are manufactured by Midwest Products Co., and inspection revealed them to be of very high quality. I did not find any bad or misfitting pieces in any of the kits—something that goes a long way toward assuring success for this kind of project.
The plan sheet with each kit is beautifully done. With the six kits came three instruction books; the reason for only three books is that the program is designed for builders to work in pairs. Each instruction book contains check-off boxes for each step as it is completed.
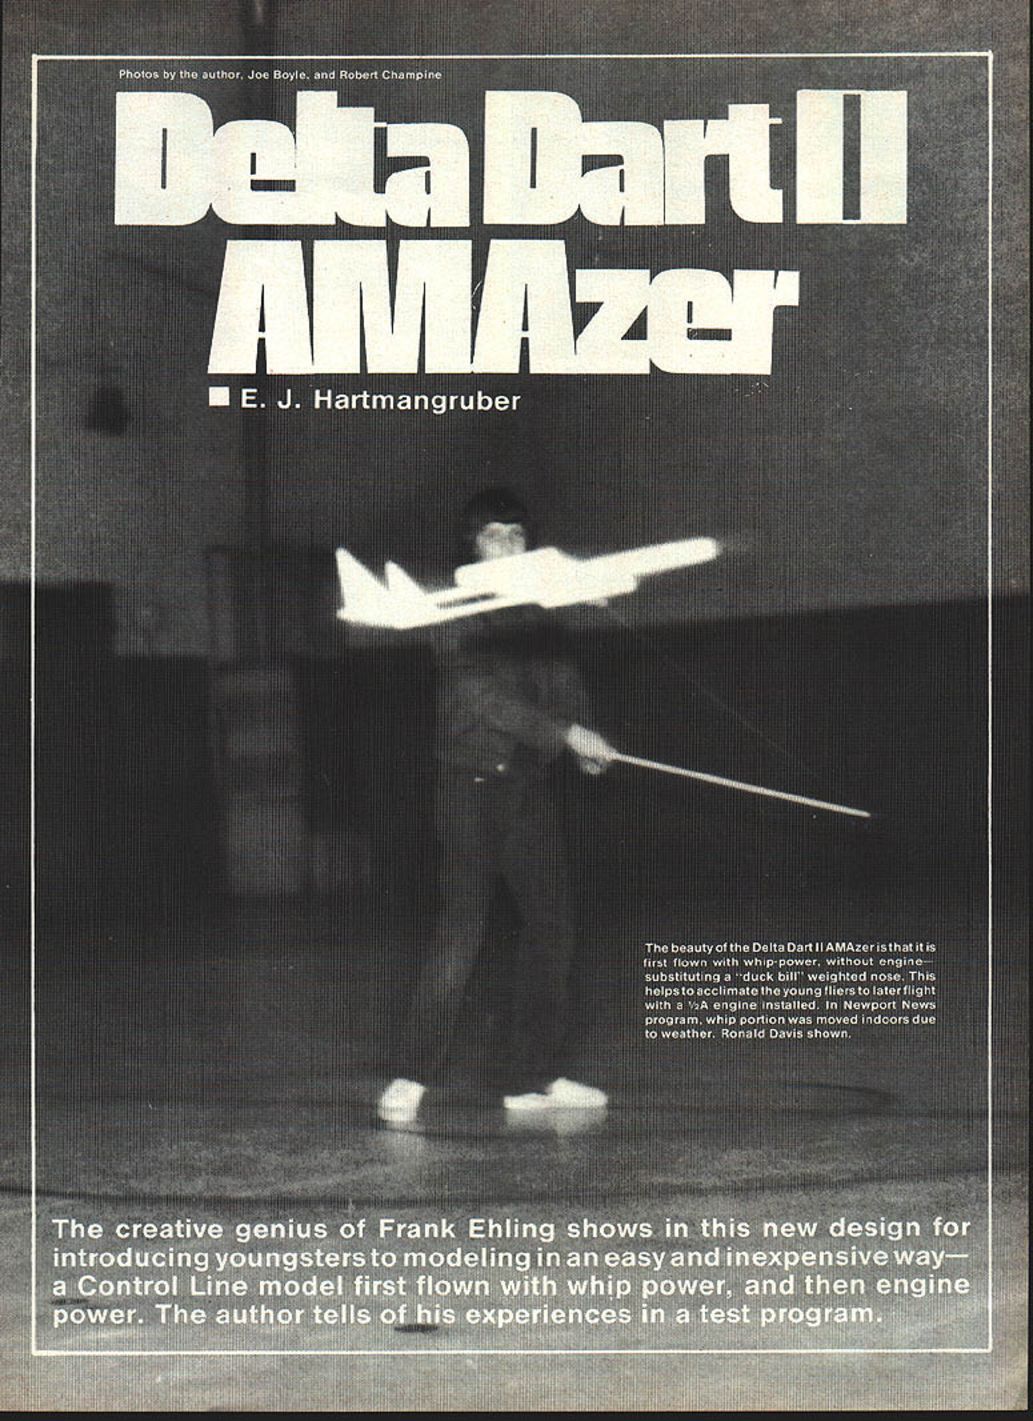
After the models are assembled and the lines are rigged, the builders are taught to fly with a whip line—with a weighted "duck bill" nose instead of the engine. After the boys and girls learn to handle the whip-line models, the engine is installed and each youngster learns to fly the model in regular Control Line fashion.
I assembled a model to check out the parts and to show the boys what the finished product would look like. During assembly I found several steps that could be clarified in the instructions.
Construction notes and recommended clarifications
- Step 12 (assembly of the "duck bill"): Note that the pieces should be assembled so the "duck bill" will be straight out when bolted onto the wing. We had glued some "duck bills" together incorrectly and had to drill new holes in the wing to mount them correctly.
- Steps 11, 12 and 15: The pictures show a straight pushrod. Add a note that a Z-bend can be used to put the elevator bellcrank and elevator in the neutral position.
- Step 16 (engine mounting): The engine is shown mounted in the upright position, but with the Cox engine the mount holes and the tank holes will not line up in that orientation. We found two workable solutions:
- Turn the engine tank 90° so the holes will line up. Be aware that clamping the landing gear in place in this orientation can put the needle valve and filler holes on the tank to the inside of the flight circle; therefore, the tank filler tube should be stopped off before each flight to prevent fuel loss.
- Editor Frank Ehling suggests turning the entire engine sideways so the holes line up properly. If this method is used, ensure the fuel-feed line inside the tank points to the outside of the flight circle.
Test group and building sessions
Boys were selected (ages 10–12) from the Peninsula Boys' Club to assemble Delta Dart II AMAzers. I enlisted the aid of Emmanuel Vlattas, Joe Boyle (Dist. IV FF Contest Board member), and Robert Champine (Dist. IV Associate Vice President), along with four regular Brainbusters M.A.C. members as instructors.
We finally settled the boys down and started the project. Youngsters must be supervised closely; otherwise they tend to race ahead and skip steps in the instruction book. After two and a half hours almost all planes were assembled, with only a few items to be checked and reglued. We held a class Thursday evening and set the following Saturday morning aside as flying day.
Whip-line flying
Wouldn't you know it rained on our scheduled flying day, so we were not able to use the field. However, we were able to use the gym for whip flying. Personally I have never had much luck whip flying, but I was amazed at how well the Delta Dart II performed on the whip line—hence the name AMAzer.
All of the boys had a grand time, and all of the models flew on the whip line. The boys wanted wheels on their "airplane," so with a little thought we devised a way to mount landing gear on the whip models. The arrangement was crude, but it worked. With wheels on, it was back to the gym for test flights and touch-and-go practice, which made the boys very happy.
Engine flying and results
The following Saturday was a beautiful day. Robert Champine and I went to the Boys' Club and assembled the kids for engine flying. We first held an instruction period on engine operation and on what to expect when the model was released.
I flew the model first to ensure it was in trim. It handled very well, although the takeoff was very fast and required a bit of down elevator to level off. This fast takeoff initially caused the boys some trouble, so I would take off and get the plane into the air, then hand the control handle to one of the boys. This worked well and allowed the boys to fly until the plane ran out of fuel. Later they were able to manage takeoffs without much trouble.
Program impact
Much interest has been shown in this program, and some of the boys are continuing to build other types of models. The Brainbusters M.A.C. has an ongoing year-round program at the Peninsula Boys' Club of Newport News, VA, which exposes boys of all ages to model building. As I said in a past article, "Juniors are where you find them"—we must keep showing young people about model building even though only a few of many who start will keep up their interest.
Transcribed from original scans by AI. Minor OCR errors may remain.

