
Desperado
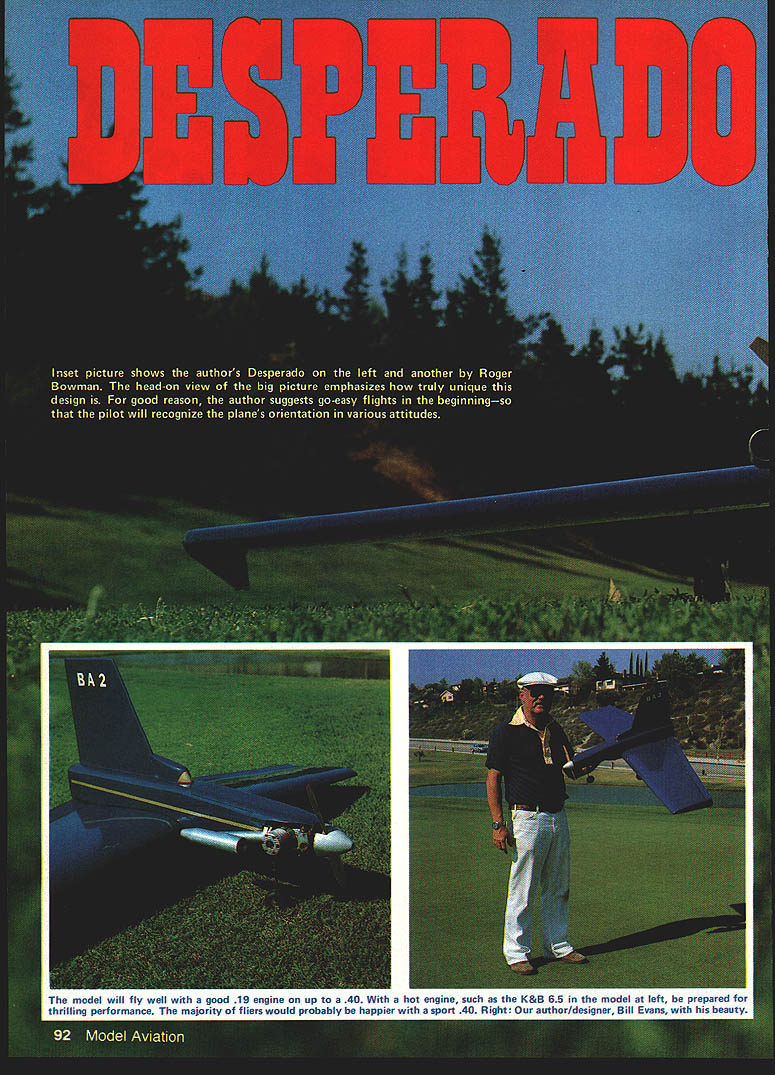
Inset picture shows the author's Desperado on the left and another by Roger Bowman. The head-on view of the big picture emphasizes how truly unique this design is. For good reason, the author suggests go‑easy flights in the beginning so the pilot will recognize the plane's orientation in various attitudes.
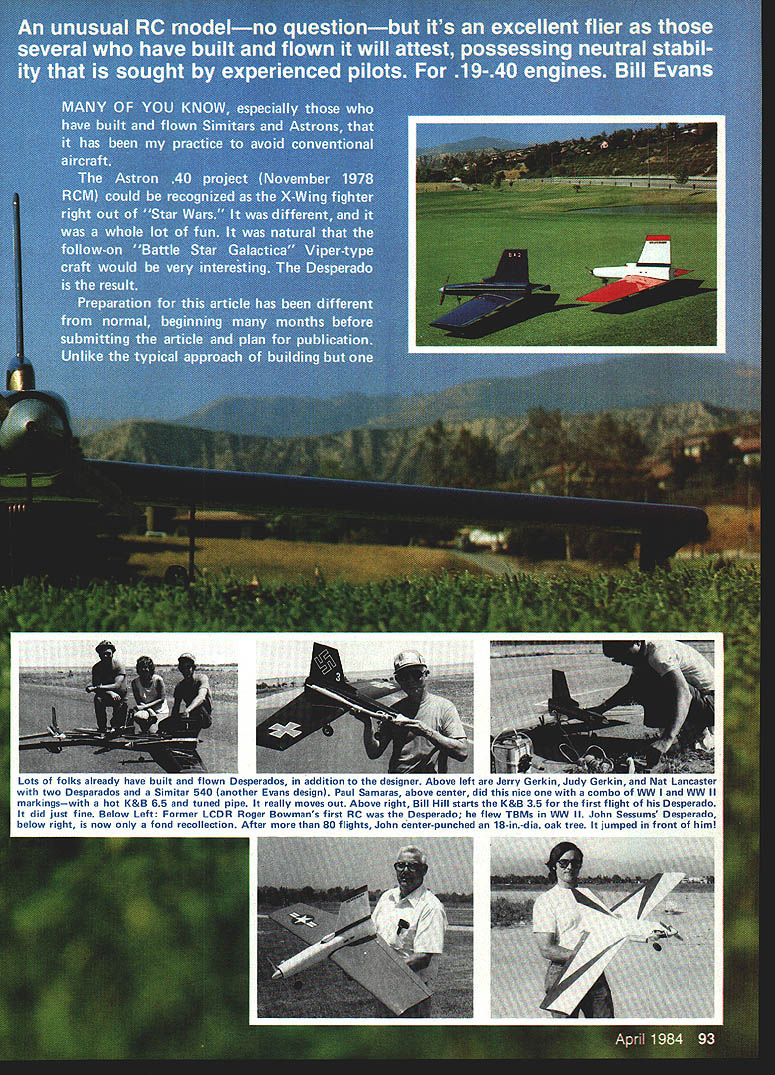
Many of you know, especially those who have built and flown Simitars and Astrons, that it has been my practice to avoid conventional aircraft. The Astron .40 project (November 1978 RCM) could be recognized as the X‑Wing fighter right out of "Star Wars." It was different, and it was a whole lot of fun. It was natural that the follow‑on "Battlestar Galactica" Viper‑type craft would be very interesting. The Desperado is the result.
Preparation for this article was different from normal: many months of development with a number of prototypes built and flown by a variety of people. The Desperado's flight characteristics are much like those of the Simitar 540, but its appearance is new. On final approach, with the nose slightly up, the Desperado takes on the appearance of a bird of prey searching for its quarry.
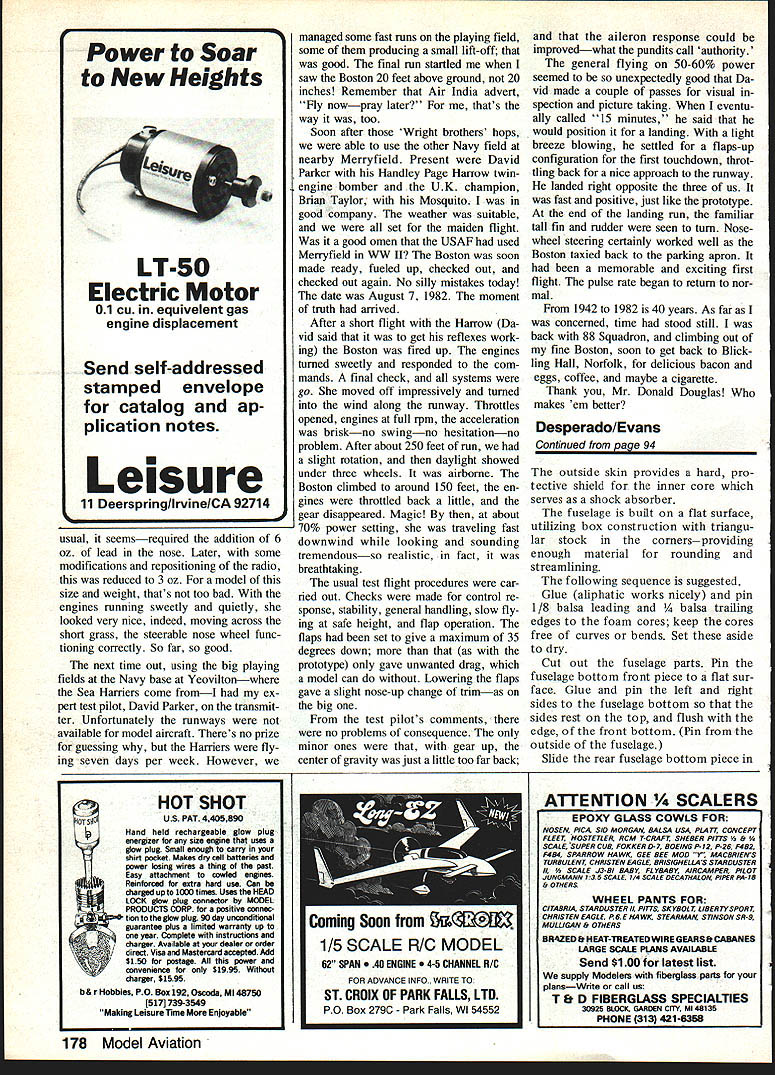
The fuselage is simple sheet‑balsa box construction; the wing is a foam core covered with balsa or, preferably, plywood. Ply sheeting over foam cores gives great strength—much like case‑hardened steel. The outside skin provides a hard, protective shield for the inner core which acts as a shock absorber.
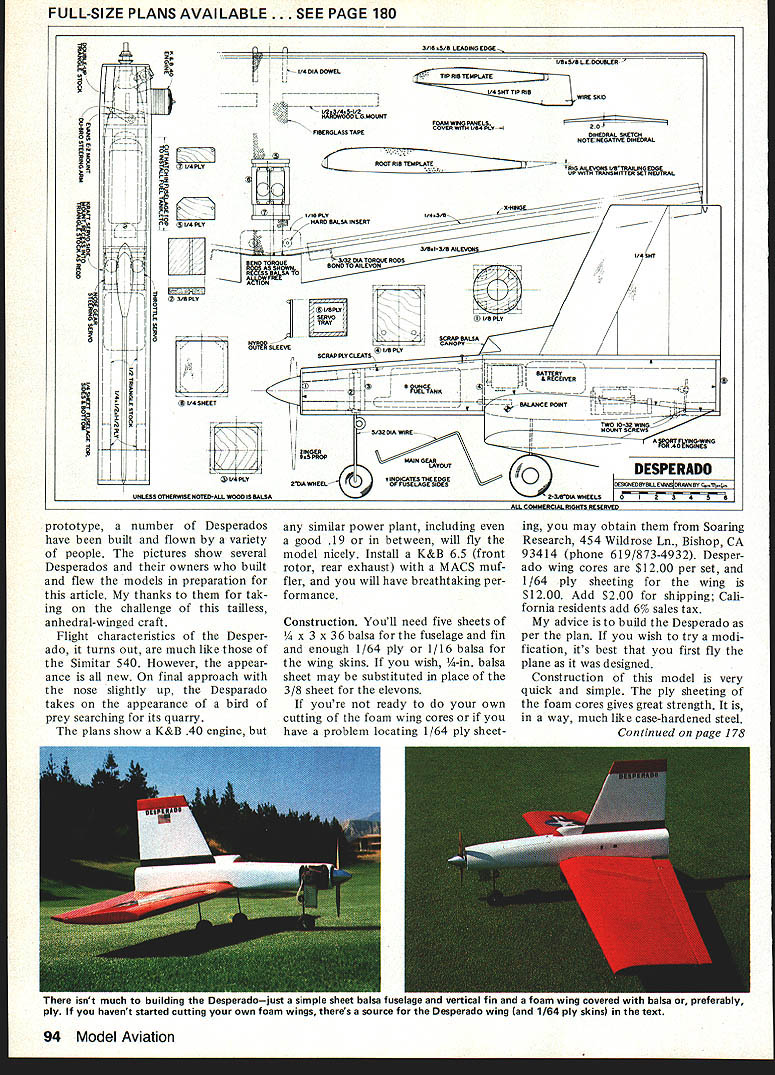
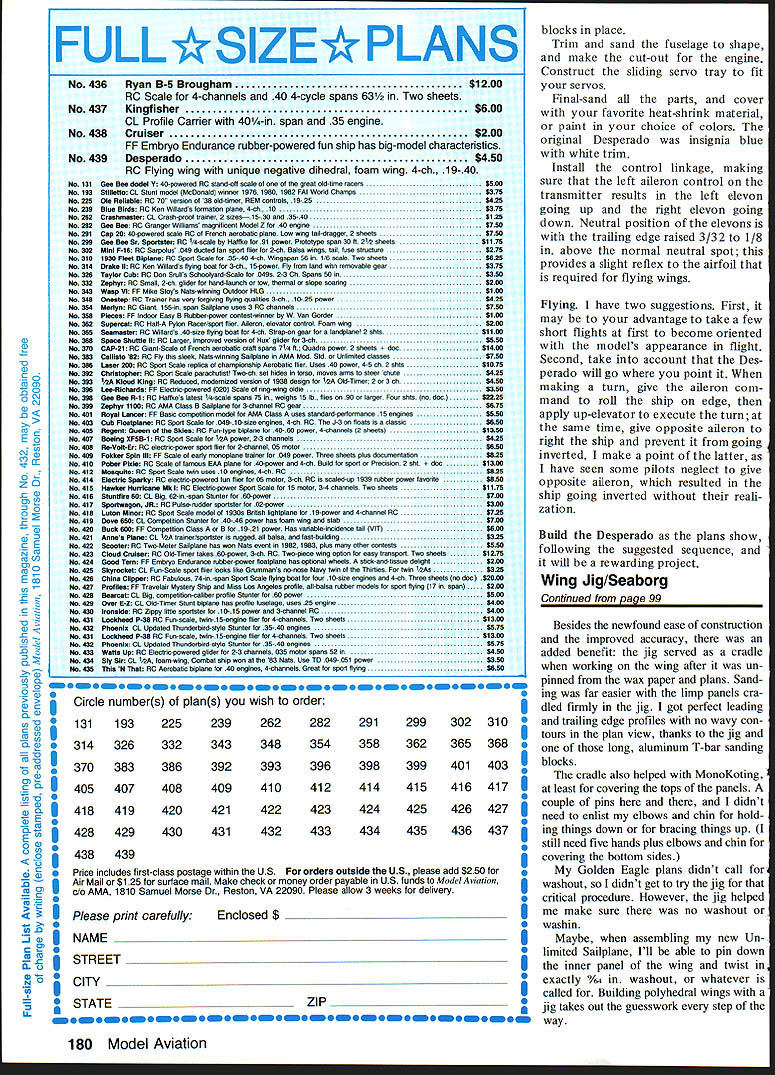
Full‑size plans are available. See page 180.
Materials and sources
- Five sheets 3/32" x 3" x 36" balsa for fuselage and fin.
- Enough 1/64" ply and 1/16" balsa for wing skins. (1/8" balsa sheet may be substituted for some areas if desired.)
- 1/8" balsa triangle stock for fuselage corners.
- 1/2" balsa triangle stock for upper stringers.
- Foam wing cores (cut to plan shape) and sheeting transfer tape such as Coreflite.
- Hardwood gear blocks, cowl blocks, servo tray materials, epoxy, aliphatic glue, 5‑minute epoxy, sandpaper, covering material or paint.
Supplier:
- Soaring Research, 454 Wildrose Ln., Bishop, CA 93414; phone 619/873‑4932.
- Desperado wing cores: $12.00 per set.
- 1/64" ply sheeting: $12.00 per sheet.
- Add $2.00 shipping. California residents add 6% sales tax.
Engine recommendations:
- K&B .40 as shown on the plans; engines from .19 to .40 will fly the model nicely.
- For breathtaking performance, a tuned‑pipe K&B .65 (front rotor, rear exhaust) with a MACS muffler was used on the prototype.
A word of advice: build the Desperado as the plans show. If you wish to try modifications, first fly the plane as designed.
Construction
General notes
- Construction of the model is quick and simple. Build the fuselage on a flat surface using box construction with triangular stock in the corners—this provides enough material for rounding and streamlining.
- Keep foam cores free of curves or bends while sheeting.
- Work carefully to ensure the fin is plumb and the tailpost is centered.
- Small changes in weight distribution have significant effects on handling in tailless designs; balance the model laterally and fore-and-aft.
Sequence (suggested)
- Glue (aliphatic is recommended) and pin 1/8" balsa leading and 1/4" balsa trailing edges to the foam wing cores; set the cores aside to dry.
- Trim and sand the balsa leading and trailing edges of the wing so the sheeting will fit cleanly. Cut the wing sheeting to shape, leaving about 1/2" extra around the edges.
- Clean the foam cores and sheeting with a vacuum. Apply sheeting transfer tape (Coreflite) to the cores, remove the backing, and apply the sheeting to the cores, smoothing out wrinkles as you go. After sheeting top and bottom, glue and pin the 3/16" balsa leading edge.
- Cut out and shape the fin and elevons. (1/8" balsa may be substituted for 3/32" sheet for the elevons if desired.)
- Sand the inner ends of the wing panels for a tight fit at the proper anhedral angle and join them with 5‑minute epoxy.
- Locate and mark the hardwood gear blocks on the underside of the wing as shown on the plans (remember this wing has anhedral). Epoxy the gear blocks in place.
- Cut out the fuselage parts. Pin the fuselage bottom front piece to a flat surface. Glue and pin the left and right fuselage sides to the bottom so the sides rest on top and are flush with the inside edge of the front bottom (pin from the outside of the fuselage). Slide the rear fuselage bottom piece in place and glue.
- Glue the top doublers in place. Glue and pin the fuselage top, working from front to rear. Glue and pin the fuselage tail cover and the inside cowl blocks to the inside front of the fuselage. Glue and pin the upper 1/2" balsa triangle stock in place flush with the top edge where called for. Set aside to dry.
- When the glue has set, round the fuselage off with block sanding and fit the nose block and canopy. Trim and sand the fuselage to shape and make the cutout for the engine.
- Construct the sliding servo tray to fit your servos and install control linkages.
Control setup and balancing
- Make sure elevons are free and move symmetrically.
- Install control linkage so that left aileron/elevator command on the transmitter causes the left elevon to go up and the right elevon to go down.
- Neutral elevon position: trailing edge raised 3/32" to 1/8" above the normal neutral root to provide slight reflex required for flying wings.
- Balance the model laterally and fore-and-aft before finishing.
Finishing
- Final sand all parts.
- Cover with your favorite heat‑shrink material or paint.
- The original Desperado was insignia blue with white trim.
Flying
- First flights: take a few short flights to become oriented with the model's appearance in flight—this helps you recognize attitude and orientation.
- Turning technique: the Desperado will go where you point it. To make a turn, give the aileron command to roll the ship on edge, then apply up‑elevator to execute the turn. At the same time, give opposite aileron to help the ship and prevent it from going inverted. Neglecting opposite aileron can result in the ship going inverted without the pilot's realization.
- Engines from .19 to .40 will fly the model nicely; a tuned‑pipe K&B .65 provides breathtaking performance if you want high power.
Build the Desperado as the plans show, follow the suggested sequence, and it will be a rewarding project.
Transcribed from original scans by AI. Minor OCR errors may remain.

