

Disguise your trainer
Chris Batcheller
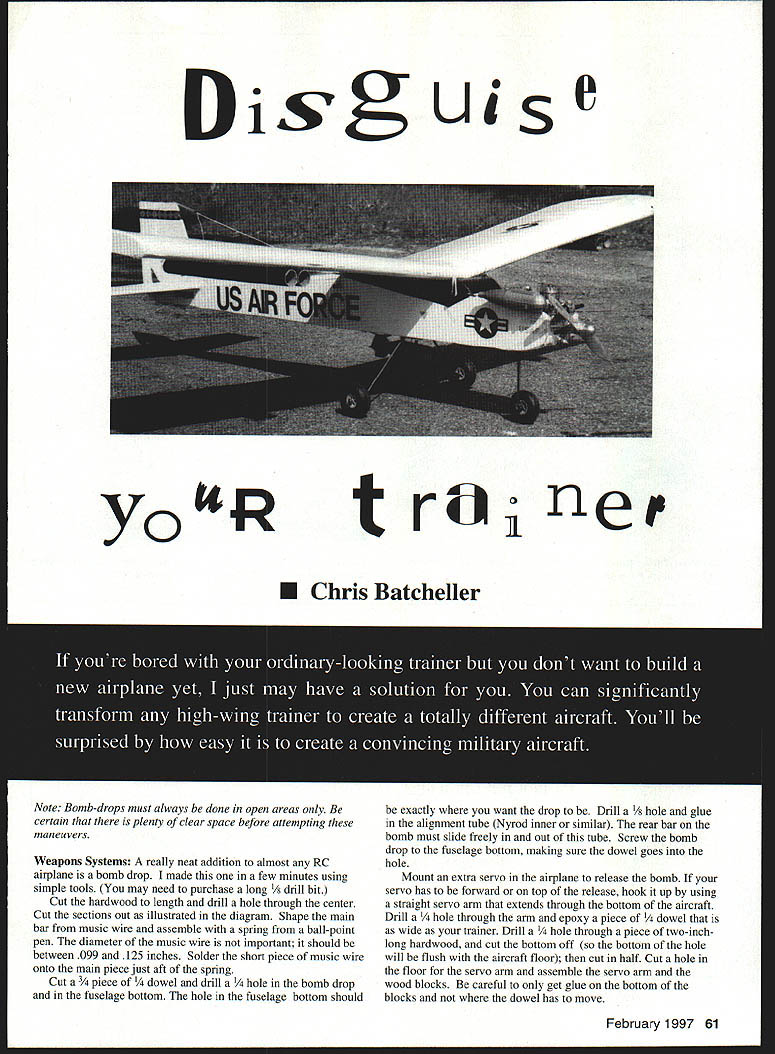
If you're bored with your ordinary-looking trainer but don't want to build a new airplane yet, I may have a solution for you. You can significantly transform any high-wing trainer to create a totally different aircraft. You'll be surprised by how easy it is to create a convincing military aircraft.
Note: Bomb-drops must always be done in open areas only. Be certain there is plenty of clear space before attempting these maneuvers.
Weapons Systems
A neat addition to almost any RC airplane is a bomb drop. I made this one in a few minutes using simple tools. (You may need to purchase a long 1/8" drill bit.)
Materials and parts
- Hardwood for the main bar and blocks
- Music wire, diameter between .099" and .125"
- Spring from a ball-point pen
- 1/4" dowel (one 3/4" piece)
- Nyrod inner or similar tube for alignment (or a 1/8" tube)
- 1/8" drill bit and 1/4" drill bit (and possibly longer 1/8" bit)
- Extra servo for release
- Soldering supplies and epoxy or glue
Construction and installation
- Cut the hardwood to length and drill a hole through the center. Cut sections out as needed and shape the main bar from music wire.
- Assemble the wire and spring: solder a short piece of music wire onto the main piece just aft of the spring. The exact wire diameter is not critical as long as it is between .099" and .125".
- Cut a 3/4" piece of 1/4" dowel. Drill a 1/4" hole in the bomb drop and in the fuselage bottom. The hole in the fuselage bottom should be exactly where you want the drop to be.
- Drill a 1/8" hole and glue in the alignment tube (Nyrod inner or similar). The rear bar on the bomb must slide freely in and out of this tube.
- Screw the bomb drop to the fuselage bottom, making sure the dowel goes into the fuselage hole.
- Mount an extra servo in the airplane to release the bomb. If the servo must be forward or on top of the release, use a straight servo arm that extends through the bottom of the aircraft.
- Drill a 1/4" hole through the servo arm and epoxy a piece of 1/4" dowel that is as wide as your trainer.
- Drill a 1/4" hole through a piece of two-inch-long hardwood, cut the bottom off so the bottom of the hole is flush with the aircraft floor, then cut this piece in half to form two blocks.
- Cut a hole in the floor for the servo arm and assemble the servo arm and the wood blocks. Be careful to only get glue on the bottom of the blocks and not where the dowel must move.
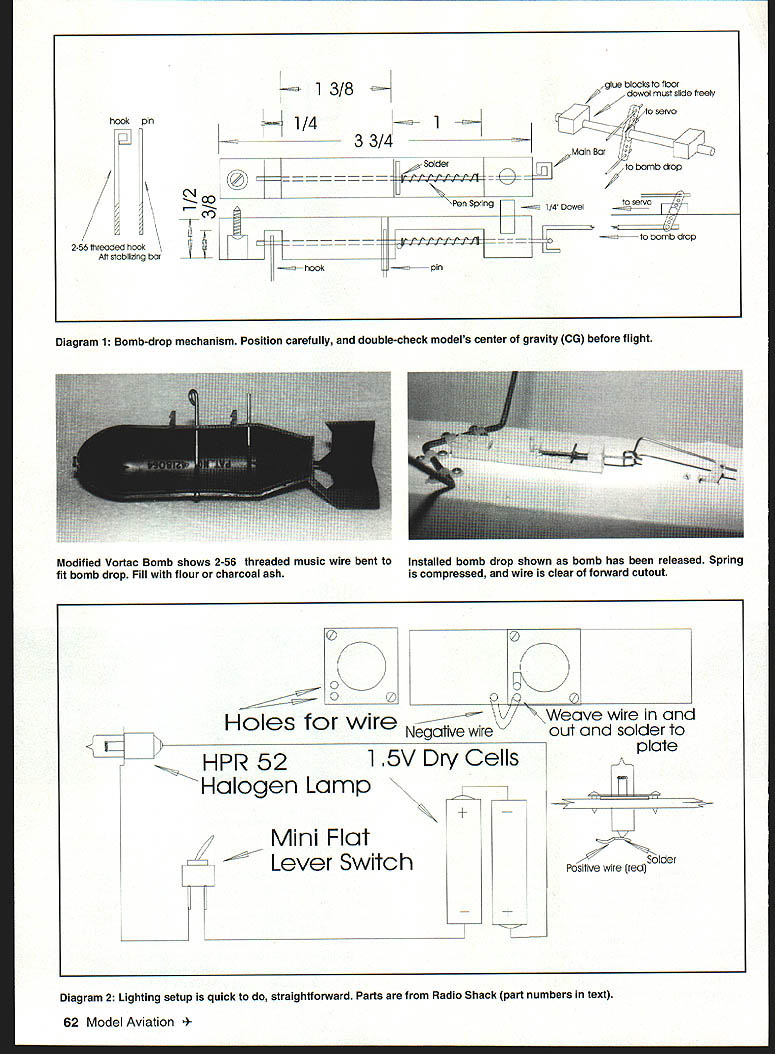
Diagram 1: Bomb-drop mechanism. Position carefully, and double-check the model's center of gravity (CG) before flight.
Modified Vortac bomb: uses 2-56 threaded music wire bent to fit the bomb drop. Fill with flour or charcoal ash.
Installed bomb drop shown as bomb has been released. Spring is compressed, and wire is clear of forward cutout.
Letters 'n' Stuff
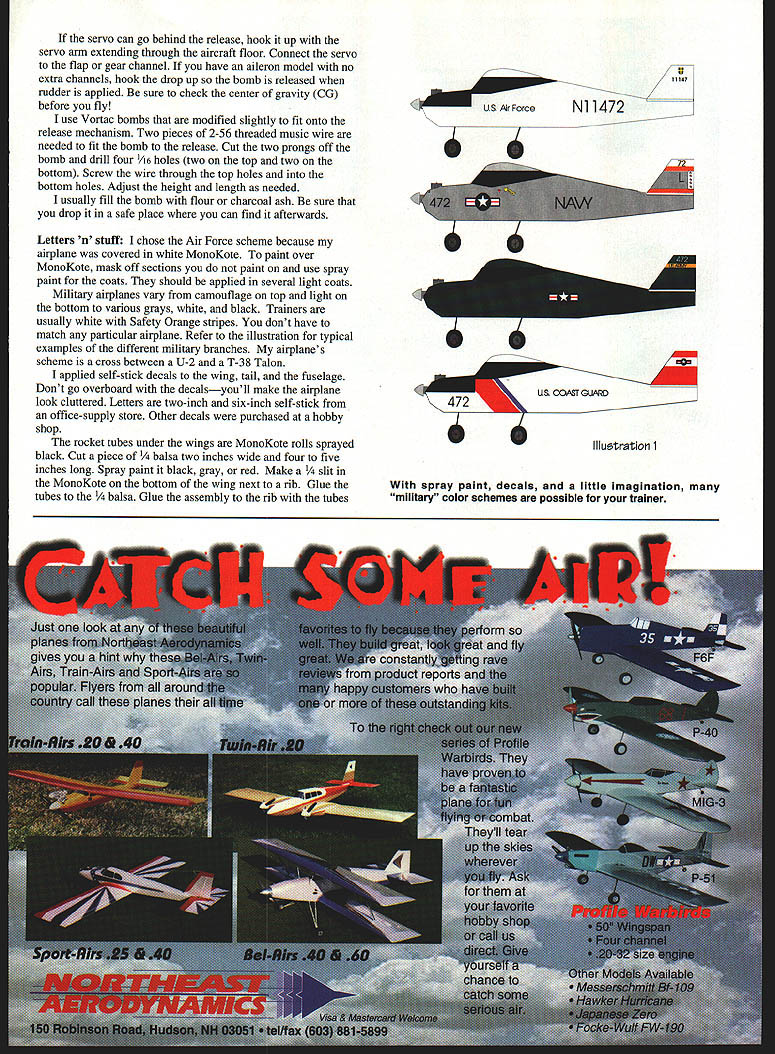
I chose an Air Force scheme because my airplane was covered in white MonoKote. To paint over MonoKote, mask off sections you do not want to paint and use spray paint in several light coats.
Military airplanes vary from camouflage on top with light undersides to various grays, white, and black. Trainers are usually white with safety orange stripes. You don't have to match any particular airplane. Refer to typical examples of the different military branches for inspiration. My airplane's scheme is a cross between a U-2 and a T-38 Talon.
Apply self-stick decals to the wing, tail, and fuselage. Don't overdo it—you'll make the airplane look cluttered. I used two-inch and six-inch self-stick letters from an office-supply store. Other decals were purchased at a hobby shop.
Rocket tubes under the wings
- Use leftover MonoKote rolls sprayed black for the tubes.
- Cut a piece of 1/4" balsa 2" wide and 4–5" long. Spray paint it black, gray, or red.
- Make a 1/4" slit in the MonoKote on the bottom of the wing next to a rib. Glue the tubes to the 1/4" balsa.
- Glue the assembly to the rib with the tubes suspended about 3/4" below the wing.
- Fold 1/2" wide pieces of MonoKote in half and iron them onto the wing pylon. For foam wings, cut a slot in the balsa and epoxy the slot.
Electrical Lighting
The landing light is simple to install. Get the following parts from Radio Shack:
- Mini Flat Lever Switch (Cat. No. 275-634B)
- AA battery holder (Cat. No. 270-382A)
- 9V battery connectors (for the battery holder)
- HPR 52 Halogen Light (Cat. No. 272-1190)
- 1 x 1" piece of thin aluminum
- Two small screws
- 16-gauge wire
- 1/8" plywood mounting plate
Assembly steps
- Assemble the battery holder and the switch as shown in the diagram.
- Drill a 3/16" hole in the center of the plywood mounting plate and the thin aluminum.
- Drill two 1/8" holes in the bottom corner of the plate for the wire and two 1/16" holes in opposite corners for the mounting screws.
- Glue the plywood plate onto the nose of the aircraft.
- Strip the negative wire and feed it through the 1/8" hole in the plywood. Feed the stripped end through the two holes in the aluminum plate and solder.
- Feed the positive wire through the 3/16" hole in the plywood plate and solder the positive wire to the end of the light.
- Push the light into place, screw the aluminum plate onto the plywood, and you're finished!
Diagram 2: Lighting setup is quick and straightforward. Parts are from Radio Shack (part numbers above).
Go to your workshop and grab those extra MonoKote tubes you've been saving. Steal some flour from the kitchen and take a quick trip to the hobby shop. Before you know it, you'll be honing your bombardier skills! The next time you're on final with your landing light on, someone may be waiting for a full-scale airplane to be flaring — they'll be wondering when you had time to build a new airplane.
Chris Batcheller Box 14-2506 600 S. Clyde Morris Blvd. Daytona Beach, FL 32114
Transcribed from original scans by AI. Minor OCR errors may remain.

