

The Engine Shop
135 Waugh Avenue, New Wilmington PA 16142
My first Model Aviation column isn't out yet, so no reader response has come in, but I have ample engine topics for this column. Some model engine columns feature detailed analysis and performance tests of new power plants, or troubleshooting for older power plants—I don't plan to use much of either. I've seldom met a model flier who cared greatly about technical trivia, such as whether an engine's piston was made from sintered iron or Meehanite. And although performance tests are all right in their own way, engines from the same production batch can vary widely in behavior and output.
Troubleshooting
Major malfunctions (and wear-outs and crash damage) should be taken care of by professionals. The U.S. model engine manufacturers I know of are well equipped to repair their products—at least those not more than a decade or two old. The official importers of foreign-made engines (Dr. Diesel, Indy Sales, Sig, Tower Hobbies, etc.) generally provide the same level of careful and economical service for the engines they import as U.S. makers offer for their own merchandise.
There are also independent model engine restorers. Despite 60 years of experience working (and playing) with model engines, I often turn to them when I encounter serious troubles such as a piston–cylinder assembly with bad compression. Two I recommend are:
- George Aldrich, 12822 Tarrytown, San Antonio, TX 78233 — has competently solved several tricky engine rebuilding problems for me.
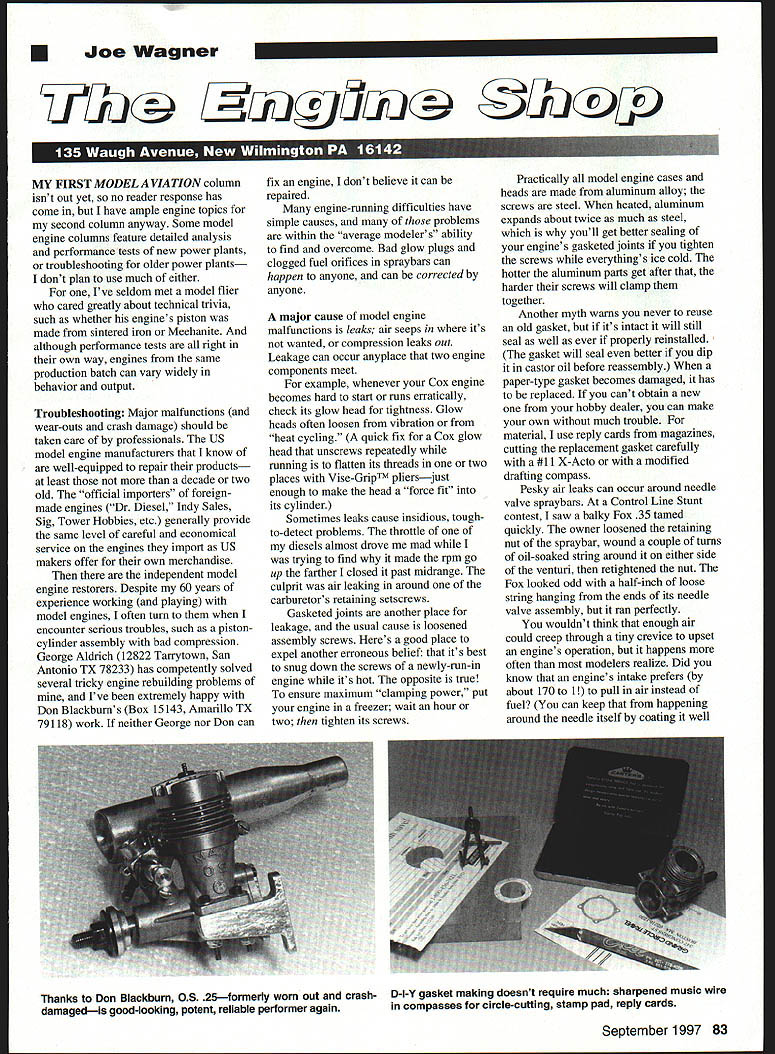
- Don Blackburn, Box 15143, Amarillo, TX 79118 — I've been extremely happy with his work.
Many engine-running difficulties have simple causes, and many of those problems are within the average modeler's ability to find and overcome. Bad glow plugs and clogged fuel orifices in spraybars can happen to anyone and can be corrected by anyone.
A major cause of model engine malfunctions is leaks: air seeps in where it's not wanted, or compression leaks out. Leakage can occur anywhere two engine components meet.
- Glow heads: Whenever your Cox engine becomes hard to start or runs erratically, check the glow head for tightness. Glow heads often loosen from vibration or from heat cycling. A quick fix for a Cox glow head that unscrews repeatedly while running is to flatten its threads in one or two places with Vise‑Grip™ pliers—just enough to make the head a force fit into its cylinder.
- Carburetor and retaining screws: Sometimes leaks cause insidious, tough-to-detect problems. The throttle of one of my diesels once ran up in rpm when I closed it past midrange; the culprit was air leaking in around one of the carburetor's retaining setscrews.
- Gasketed joints: These are another place for leakage, usually because assembly screws have loosened. Contrary to a common belief, it's not best to snug down the screws of a newly run-in engine while it's hot. To ensure maximum clamping power, put your engine in a freezer, wait an hour or two, then tighten its screws. Practically all model engine cases and heads are made from aluminum alloy while the screws are steel; when heated, aluminum expands about twice as much as steel. Tightening while cold gives better sealing as the assembly warms and the aluminum expands against the steel screws.
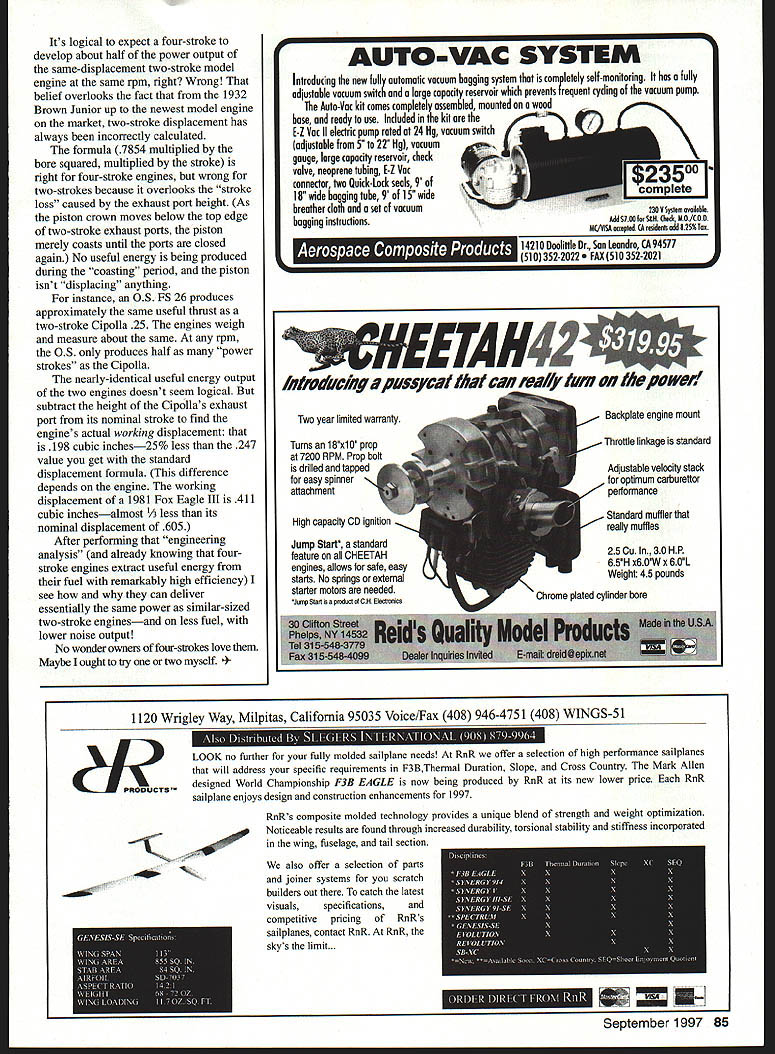
- Reusing gaskets: Another myth warns you never to reuse an old gasket. If it's intact, it will still seal as well as ever if properly reinstalled. The gasket will seal even better if you dip it in castor oil before reassembly. If a paper-type gasket becomes damaged and must be replaced and you can't obtain a new one from your hobby dealer, you can make one yourself from reply cards (magazine reply cards) and cut it carefully with a #11 X‑Acto or a modified drafting compass.
- Needle-valve and spraybar leaks: Pesky air leaks can occur around needle-valve spraybars. At a Control Line Stunt contest I saw a balky Fox .35 tamed quickly: the owner loosened the retaining nut of the spraybar, wound a couple of turns of oil‑soaked string around it on either side of the venturi, then retightened the nut. The Fox looked odd, but it ran perfectly. You wouldn't think that enough air could creep through a tiny crevice to upset an engine's operation, but it happens more often than most modelers realize.
Did you know that an engine's intake prefers about a 17:1 air-to-fuel ratio? You can help preserve that by coating the needle with silicone grease (for example, Radio Shack's "Lube Gel").
I've seen mysterious malfunctions in radio-control (RC) engines that were caused by "razor-slit" leakage in silicone fuel supply lines. These slits developed as the silicone flexed against sharp-edged brass fuel tank tubing. To prevent that in my RC models, I solder copper-wire "rim rings" around the ends of every brass fuel tube to which my silicone fuel tubing fits, and I carefully smooth all edges with a jeweler's file before installing the fuel tube. I haven't suffered razor-slit leakage problems since I began doing that.
Fuel tubing recommendations:
- Use silicone only for the flexing "clunk" pickup tube.
- Use Tygon for all external fuel tubing—it's extremely durable, impervious to fuels, unaffected by age, heat up to a couple of hundred degrees Fahrenheit, and resistant to UV. It even takes considerable effort to cut Tygon with a knife.
Fuel systems and corrosion
Speaking of fuel supply systems, I recently learned that brass can act as a catalyst to decompose some brands of glow fuel, producing acetic acid, and acetic acid promotes rust.
I conducted a lengthy investigation of internal corrosion in model engines and during those months never succeeded in causing rust by exposing parts to various glow fuels—even after contaminating them with water. Chemists at Powermaster and FHS debunked a common belief by assuring me that nitromethane deterioration cannot cause rust nor can it turn into nitric acid. If corrosion were caused by such fuel chemistry, aluminum parts would be attacked first—not the steel components.
I have found a definite cause of model engines' "rusty ball bearing" problems: when you pump your model's tank "dry" after a flying session, the small amount of fuel remaining in the clearance space aft of the clunk is enough for the brass clunk to catalyze production of acetic acid. It doesn't take much acetic acid to do damage. I tested this by placing a large steel screw in a plastic canister with three drops of acetic acid; that screw was coated with rust in a few hours.
Not all brands of glow fuel react that way with brass. I can't give specific brand names to beware of, but you can check your tank clunk: if it looks bright and clean after several fillings, blast out your tank with WD‑40 (or something similar) after every flying session to remove fuel residue. If the clunk turns dark rather than remaining bright, there's probably no great danger of acetic acid formation with the fuel you're using.
Safer practices:
- Tin the outer surfaces of your fuel tank clunk with solder before installation. It takes a lot of heat to get a clean, shiny solder coating all over a heavy brass clunk, but once it's on it will stop most catalyzing action.
- Blast the tank to remove residue after flying sessions if the clunk remains bright.
Note: Don't worry too much about transient contact—fuel passes through the tubing quickly and prolonged contact is what promotes catalysis.
Four-stroke model engines
Although I don't fly with four-strokes yet, some of my friends have been enthusiastic about them for years. They like the more realistic sound, small and inconspicuous mufflers, fuel economy, and professional appearance. They're also impressed by the engines' power output.
At first this surprised me because four-strokes fire only once per two propeller revolutions while two-strokes produce a power stroke every time the piston travels downward. The usual displacement formula (.7854 × bore² × stroke) is correct for four-stroke engines, but wrong for two-strokes because it overlooks "stroke loss" caused by the exhaust port height. As the piston crown moves below the top edge of two-stroke exhaust ports, the piston merely coasts until the ports are closed again—no useful energy is produced during that coasting period, and the piston isn't displacing anything.
Example comparisons:
- An O.S. FS 26 produces approximately the same useful thrust as a two-stroke Cipolla .25. The engines weigh and measure about the same, yet the O.S. only produces half as many power strokes at any rpm as the Cipolla. The reason: subtract the height of the Cipolla's exhaust port from its nominal stroke to find the engine's actual working displacement. In that example the working displacement is about .198 cubic inches—25% less than the nominal .247 value given by the standard formula.
- Another example: the working displacement of a 1981 Fox Eagle III is about .411 cubic inches—almost 7% less than its nominal displacement of .605 cubic inches.
After that engineering analysis (and knowing that four-stroke engines extract useful energy from fuel with high efficiency) it's clear how they can deliver essentially the same power as similar-sized two-stroke engines—and on less fuel, with lower noise output. No wonder owners of four-strokes love them. Maybe I ought to try one myself.
Practical tips and acknowledgments
- If a Cox glow head unscrews repeatedly during running, make its threads a force fit by flattening them slightly with pliers.
- To ensure gasketed joints seal tightly, tighten screws when the engine is cold (put it in a freezer for an hour or two first).
- Reuse intact gaskets if desired; dip them in castor oil before reassembly for a better seal.
- If you must make a paper gasket, use magazine reply cards and cut carefully with a #11 X‑Acto and a circle cutter or modified drafting compass.
- To stop silicone tube slitting at brass fittings, solder copper rim rings around the brass tube ends and smooth edges with a jeweler's file.
- Use silicone grease on the needle valve and Radio Shack "Lube Gel" is one recommended product.
- Use silicone tubing only for the flexing clunk pickup; use Tygon for all external fuel lines.
Thanks to Don Blackburn for tips on the O.S. .25 and for do-it-yourself gasket-making techniques. Inspect fuel tubing regularly and replace any that looks aged, nicked, or slit.
Transcribed from original scans by AI. Minor OCR errors may remain.

