
D.B. Mathews
Flying for Fun
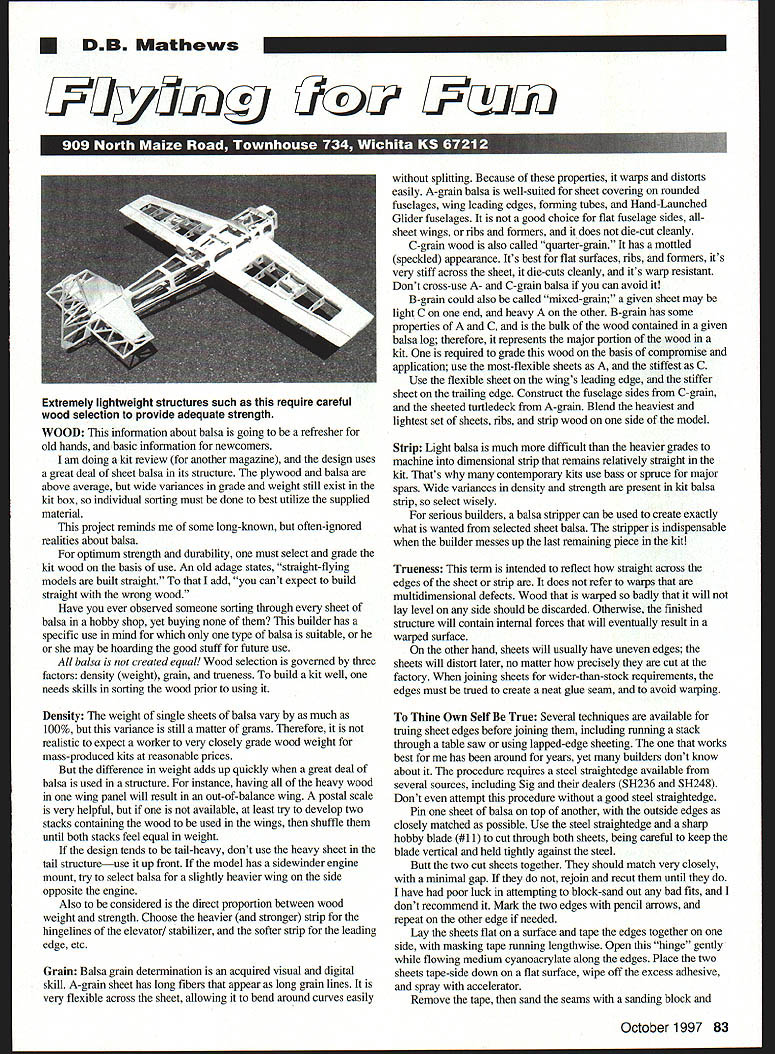
This information about balsa is going to be a refresher for old hands, and basic information for newcomers.
I am doing a kit review (for another magazine), and the design uses a great deal of sheet balsa in its structure. The plywood and balsa are above average, but wide variances in grade and weight still exist in the kit box, so individual sorting must be done to best utilize the supplied material.
This project reminds me of some long-known, but often-ignored realities about balsa.
For optimum strength and durability, one must select and grade the kit wood on the basis of use. An old adage states, "straight-flying models are built straight." To that I add, "you can't expect to build straight with the wrong wood."
Have you ever observed someone sorting through every sheet of balsa in a hobby shop, yet buying none of them? This builder has a specific use in mind for which only one type of balsa is suitable, or he or she may be hoarding the good stuff for future use.
All balsa is not created equal! Wood selection is governed by three factors:
- Density (weight)
- Grain
- Trueness
To build a kit well, one needs skills in sorting the wood prior to using it.
Density
The weight of single sheets of balsa can vary by as much as 100%, but this variance is still a matter of grams. Therefore, it is not realistic to expect a worker to very closely grade wood weight for mass-produced kits at reasonable prices.
The difference in weight adds up quickly when a great deal of balsa is used in a structure. For instance, having all of the heavy wood in one wing panel will result in an out-of-balance wing. A postal scale is very helpful, but if one is not available, at least try to develop two stacks containing the wood to be used in the wings, then shuffle them until both stacks feel equal in weight.
If the design tends to be tail-heavy, don't use the heavy sheet in the tail structure — use it up front. If the model has a sidewinder engine mount, try to select balsa for a slightly heavier wing on the side opposite the engine.
Also to be considered is the direct proportion between wood weight and strength. Choose the heavier (and stronger) strip for the hingelines of the elevator/stabilizer, and the softer strip for the leading edge, etc.
Grain
Balsa grain determination is an acquired visual and tactile skill. A-grain sheet has long fibers that appear as long grain lines. It is very flexible across the sheet, allowing it to bend around curves easily without splitting. Because of these properties, it warps and distorts easily. A-grain balsa is well-suited for sheet covering on rounded fuselages, wing leading edges, forming tubes, and hand-launched glider fuselages. It is not a good choice for flat fuselage sides, all-sheet wings, or ribs and formers, and it does not die-cut cleanly.
C-grain wood is also called "quarter-grain." It has a mottled (speckled) appearance. It's best for flat surfaces, ribs, and formers; it's very stiff across the sheet, it die-cuts cleanly, and it's warp resistant. Don't cross-use A- and C-grain balsa if you can avoid it!
B-grain could also be called "mixed-grain;" a given sheet may be light C on one end, and heavy A on the other. B-grain has some properties of A and C, and is the bulk of the wood contained in a given balsa log; therefore, it represents the major portion of the wood in a kit. One is required to grade this wood on the basis of compromise and application; use the most-flexible sheets as A, and the stiffest as C.
Use the flexible sheet on the wing's leading edge, and the stiffer sheet on the trailing edge. Construct the fuselage sides from C-grain, and the sheeted turtledeck from A-grain. Blend the heaviest and lightest set of sheets, ribs, and strip wood across the model sides.
Strip
Light balsa is much more difficult than the heavier grades to machine into dimensional strip that remains relatively straight in the kit. That's why many contemporary kits use bass or spruce for major spars. Wide variances in density and strength are present in kit balsa strip, so select wisely.
For serious builders, a balsa stripper can be used to create exactly what is wanted from selected sheet balsa. The stripper is indispensable when the builder messes up the last remaining piece in the kit!
Trueness
This term is intended to reflect how straight across the edges of the sheet or strip are. It does not refer to warps that are multidimensional defects. Wood that is warped so badly that it will not lay level on any side should be discarded. Otherwise, the finished structure will contain internal forces that will eventually result in a warped surface.
Sheets will usually have uneven edges; the sheets will distort later, no matter how precisely they are cut at the factory. When joining sheets for wider-than-stock requirements, the edges must be trued to create a neat glue seam, and to avoid warping.
To Thine Own Self Be True
Several techniques are available for truing sheet edges before joining them, including running a stack through a table saw or using lapped-edge sheeting. The one that works best for me has been around for years, yet many builders don't know about it. The procedure requires a steel straightedge available from several sources, including Sig and the dealers (SH236 and SH248).
Don't even attempt this procedure without a good steel straightedge.
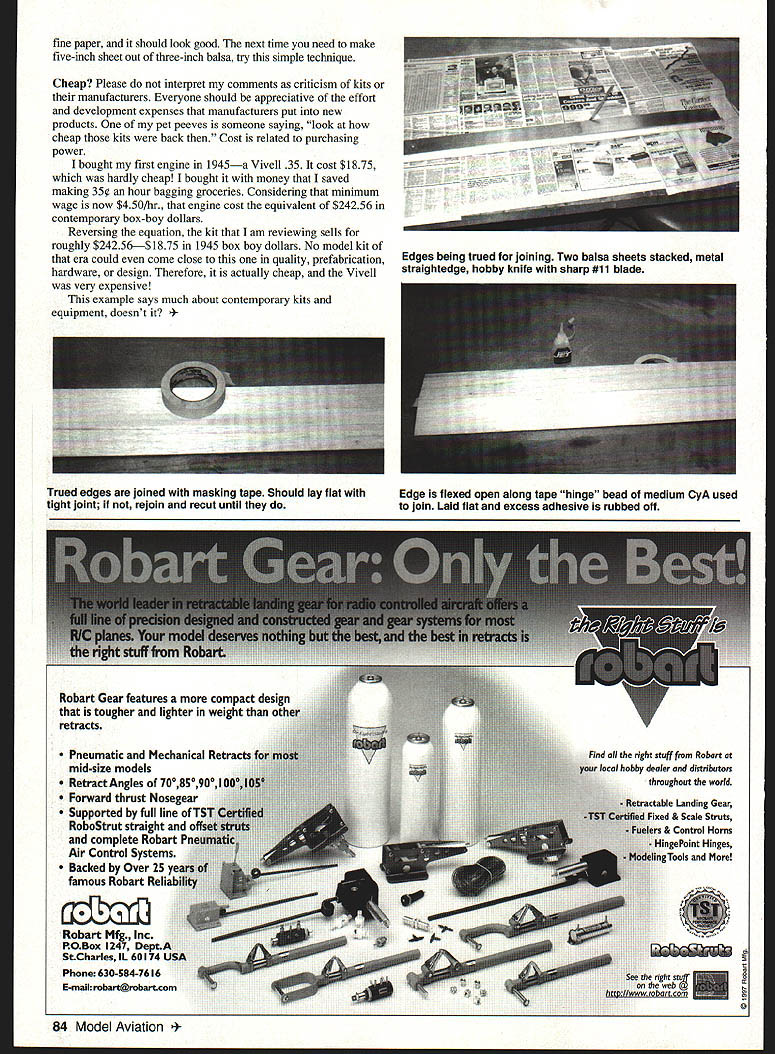
Pin one sheet of balsa on top of another, with the outside edges as closely matched as possible. Use the steel straightedge and a sharp hobby blade (#11) to cut through both sheets, being careful to keep the blade vertical and held tightly against the steel.
The two cut sheets should match very closely, with a minimal gap. If they do not, rejoin and recut until they do. I have had poor luck in attempting to block-sand out any bad fits, and I don't recommend it. Mark the two edges with pencil arrows, and repeat on the other edge.
Lay the sheets flat on a surface and tape the edges together on one side, with masking tape running lengthwise. Open this "hinge" gently while flowing medium cyanoacrylate along the edges. Place the two sheets tape-side down on a flat surface, wipe off the excess adhesive, and spray with accelerator.
Remove the tape, then sand the seams with a sanding block and fine paper, and it should look good. The next time you need to make five-inch sheet out of three-inch balsa, try this simple technique.
Cheap?
Please do not interpret my comments as criticism of kits or their manufacturers. Everyone should be appreciative of the effort and development expenses that manufacturers put into new products. One of my pet peeves has been someone saying, "look at how cheap those kits were back then." Cost is related to purchasing power.
I bought my first engine in 1945—a Vivell .35. It cost $18.75, which was hardly cheap! I bought it with money that I saved making 35¢ an hour bagging groceries. Considering that minimum wage is now $4.50/hr., that engine cost the equivalent of $242.56 in contemporary box-boy dollars.
Reversing the equation, the kit that I am reviewing sells for roughly $242.56—$18.75 in 1945 box-boy dollars. No model kit of that era could even come close to this one in quality, prefabrication, hardware, or design. Therefore, it is actually cheap, and the Vivell was very expensive!
This example says much about contemporary kits and equipment, doesn't it?
Transcribed from original scans by AI. Minor OCR errors may remain.

