
Flying for Fun
D.B. Mathews 909 North Maize Road, Townhouse 734, Wichita KS 67212
Decorations
My four- and eight-year-old granddaughters decided that they and grandpa should decorate a birthday cake. The results were less than an artistic triumph, but to those little girls it was the most "beautifulest" cake ever.
That delightful project leads into this month's topic: model aircraft trim and decoration. As with the cake, personal preferences and expression can lead to very interesting model airplane aesthetics. Occasionally the results can be less than pretty, but so what?
Scale subjects are limited to what can be found to document color and markings; however, some of the following is applicable to both scale and non-scale models. This month I'll look at air-dry finishes, personal preferences, catalyzed materials, and perhaps Mylars®.
Color
One's selection is not necessarily limited to premixed shades and hues. Businesses that specialize in finishing materials for auto‑body repair shops can create unlimited custom mixes and computer‑match and mix a likeness of any color.
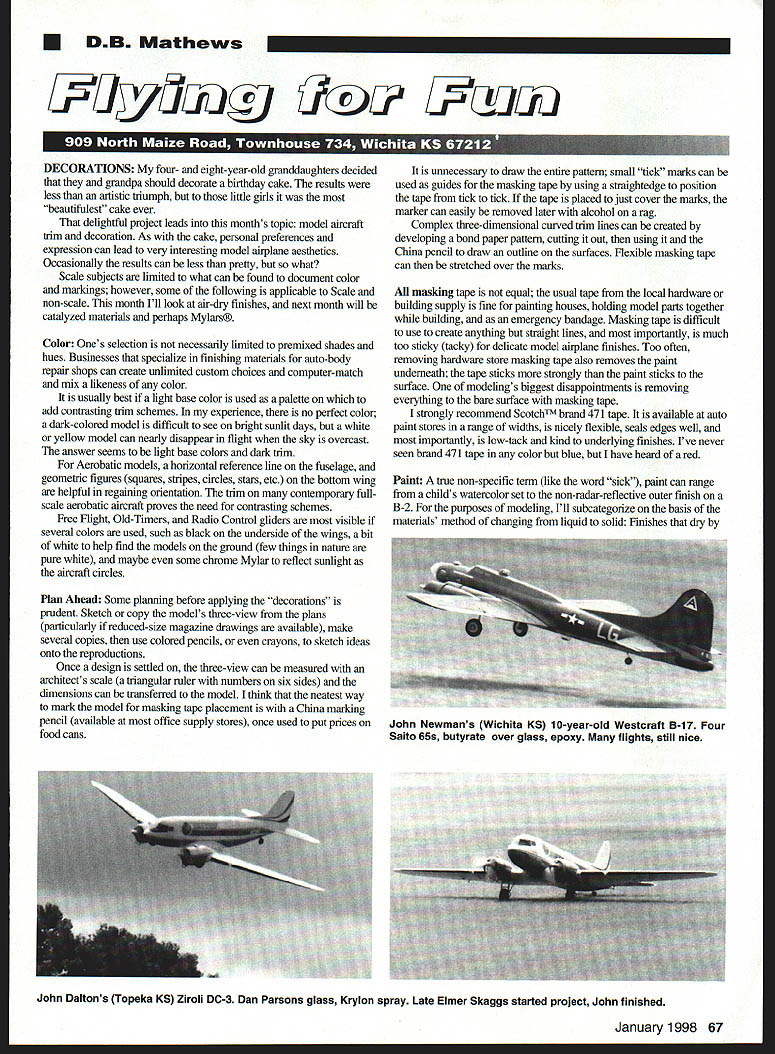
It is usually best if a light base color is used as a palette on which to add contrasting trim schemes. In my experience, there is no perfect color: a dark-colored model is difficult to see on bright sunlit days, but a white or yellow model can nearly disappear in flight when the sky is overcast. The answer seems to be light base colors with dark trim.
For aerobatic models, a horizontal reference line on the fuselage and geometric figures (squares, stripes, circles, stars, etc.) on the bottom wing are helpful in regaining orientation. The trim on many contemporary full-scale aerobatic aircraft proves the need for contrasting schemes.
Free Flight, Old-Timers, and radio-control gliders are most visible if several colors are used, such as black on the underside of the wings, a bit of white to help find the models on the ground (few things in nature are pure white), and maybe even some chrome Mylar to reflect sunlight as the aircraft circles.
Plan Ahead
Some planning before applying the "decorations" is prudent. Sketch or copy the model's three-view from the plans (particularly if reduced-size magazine drawings are available), make several copies, then use colored pencils or even crayons to sketch ideas onto the reproductions.
Once a design is settled on, the three-view can be measured with an architect's scale (a triangular ruler with numbers on six sides) and the dimensions transferred to the model. I think the neatest way to mark the model for masking tape placement is with a China marking pencil (available at most office supply stores), once used to put prices on food cans.
It is unnecessary to draw the entire pattern; small "tick" marks can be used as guides for the masking tape by using a straightedge to position the tape from tick to tick. If the tape is placed to just cover the marks, the marker can easily be removed later with alcohol on a rag.
Complex three-dimensional curved trim lines can be created by developing a bond paper pattern, cutting it out, then using it and the China pencil to draw an outline on the surfaces. Flexible masking tape can then be stretched over the marks.
Masking Tape
All masking tape is not equal. The usual tape from the local hardware or building supply is fine for painting houses, holding model parts together while building, and as an emergency bandage. Masking tape is difficult to use to create anything but straight lines and, most importantly, is much too sticky (tacky) for delicate model airplane finishes. Too often, removing hardware‑store masking tape also removes the paint underneath; the tape sticks more strongly than the paint sticks to the surface. One of modeling's biggest disappointments is removing everything down to the bare surface with masking tape.
I strongly recommend Scotch™ brand 471 tape. It is available at auto paint stores in a range of widths, is nicely flexible, seals edges well, and most importantly, is low‑tack and kind to underlying finishes. I've never seen brand 471 tape in any color but blue, though I have heard of a red.
Paint
"Paint" is a broad term, ranging from a child's watercolor set to the non‑radar‑reflective outer finish on a B‑2. For modeling purposes, I'll subcategorize on the basis of the materials' method of changing from liquid to solid: finishes that dry by vaporizing solvents, finishes that cure by chemical reaction (two‑part paints), and catalyzed materials.
Solvent‑drying finishes
Finishes that dry by vaporizing solvents are mostly lacquers, dope, and enamels. The drying method presents special considerations: you need time between coats to allow the release of solvents; otherwise blushing (white scum), bubbling, and spider‑webbing can occur. Slow setting also delays resistance to fuels containing alcohol or nitromethane.
Nitrocellulose (nitrate) dope
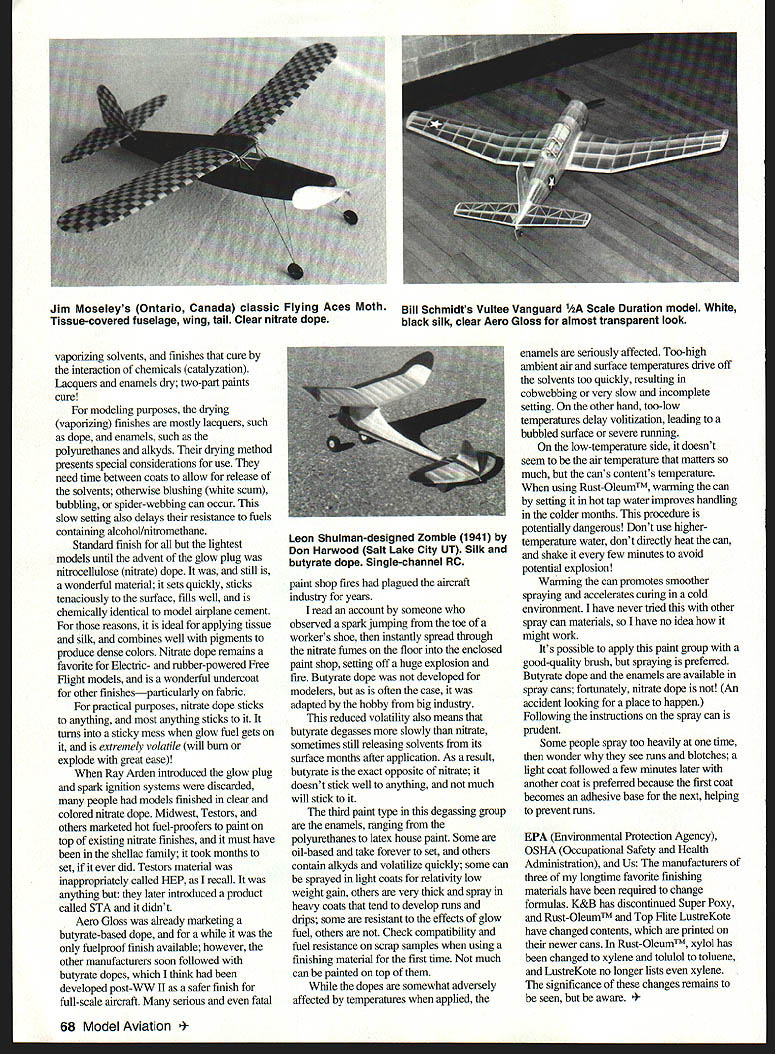
The standard finish for the lightest, traditionally built models was nitrocellulose (nitrate) dope until the advent of glow‑plug engines. It was, and still is, a wonderful material: it sets quickly, sticks tenaciously to the surface, fills well, and is chemically identical to model airplane cement. For those reasons, it is ideal for applying tissue and silk, and combines well with pigments to produce dense colors. Nitrate dope remains a favorite for electric‑ and rubber‑powered Free Flight models, and is a wonderful undercoat for other finishes—particularly on fabric.
For practical purposes, nitrate dope sticks to anything, and most anything sticks to it. It turns into a sticky mess when glow fuel gets on it, and is extremely volatile (will burn or explode with great ease)!
When Ray Arden introduced the glow plug and spark ignition systems were discarded, many people had models finished in clear and colored nitrate dope. Testors and other makers marketed hot‑fuel proofers to paint on top of existing nitrate finishes; these were slow to set and often ineffective. Testors' material was, inappropriately, called HEP, as I recall. It was anything but. They later introduced a product called Sta‑'N‑It and it didn't fare much better.
Butyrate dope
Aero Gloss was already marketing a butyrate‑based dope, and for a while it was the only fuelproof finish available; however, other manufacturers soon followed with butyrate dopes, which I think had been developed post‑WWII as a safer finish for full‑scale aircraft. Many serious and even fatal paint‑shop fires had plagued the aircraft industry for years.
I read an account by someone who observed a spark jumping from the toe of a worker's shoe, then instantly spread through the nitrate fumes on the floor into the enclosed paint shop, setting off a huge explosion and fire. Butyrate dope was not developed for modelers, but as is often the case, it was adapted by the hobby from the big industry.
This reduced volatility also means that butyrate degasses more slowly than nitrate, sometimes still releasing solvents from its surface months after application. As a result, butyrate is the exact opposite of nitrate: it doesn't stick well to anything, and not much will stick to it.
Enamels
The third paint type in this degassing group is the enamels, ranging from oil‑based and late‑drying to fast types. Some are heavily pigmented and take forever to set; others are sprayed in light coats for relatively low weight gain. Some are very heavy and tend to develop runs and drips; some are resistant to the effects of glow fuel, others are not. Check compatibility and fuel resistance on scrap samples; some enamels will craze when used on balsa covered with nitrate dope. Not much can be painted on top of them.
While the dopes are somewhat affected by temperature when applied, enamels are seriously affected. Too‑high ambient air and surface temperatures drive off the solvents too quickly, resulting in cobwebbing or very slow and incomplete setting. On the other hand, too‑low temperatures delay volatilization, leading to a bubbled surface or severe running.
On the low‑temperature side, it doesn't seem to be the air temperature that matters so much, but the can's contents temperature. When using Rust‑Oleum™, warming the can by setting it in hot tap water improves handling in the colder months. This procedure is potentially dangerous! Don't use higher‑temperature water, don't directly heat the can, and shake it every few minutes to avoid potential explosion.
Warming the can promotes smoother spraying and accelerates curing in a cold environment. I have never tried this with other spray‑can materials, so I have no idea how it might vary.
Application tips
It's possible to apply this paint group with a good‑quality brush, but spraying is preferred. Butyrate dope and many enamels are available in spray cans; fortunately, nitrate dope is not (an accident looking for a place to happen). Following the instructions on the spray can is prudent.
Some people spray too heavily at one time, then wonder why they see runs and blotches; a light coat followed a few minutes later by another coat is preferred because the first coat becomes an adhesive base for the next, helping to prevent runs.
Regulatory and formulation changes
EPA (Environmental Protection Agency), OSHA (Occupational Safety and Health Administration), and the manufacturers of my longtime favorite finishing materials have required formulation changes. K&B has discontinued Super Epoxy, and Rust‑Oleum™ and Top Flite LusterKote have changed contents, which are printed on their newer cans. In some cases xylene and other solvents have been replaced or reduced. The significance of these changes remains to be seen, but be aware.
Transcribed from original scans by AI. Minor OCR errors may remain.

