

Foam Carver
By Joe Beshar
Since day one I used balsa, plywood, and basswood selectively when building models; only recently did I become interested in using foam. I learned to work it with a band saw, the hot-wire method, and sanding by hand or power.
All of those methods worked well for straight lines, but curves could only be cut in a straight-line fashion. When it came to carving, I could not find a way to shape foam satisfactorily because the foam pellets dislodged.
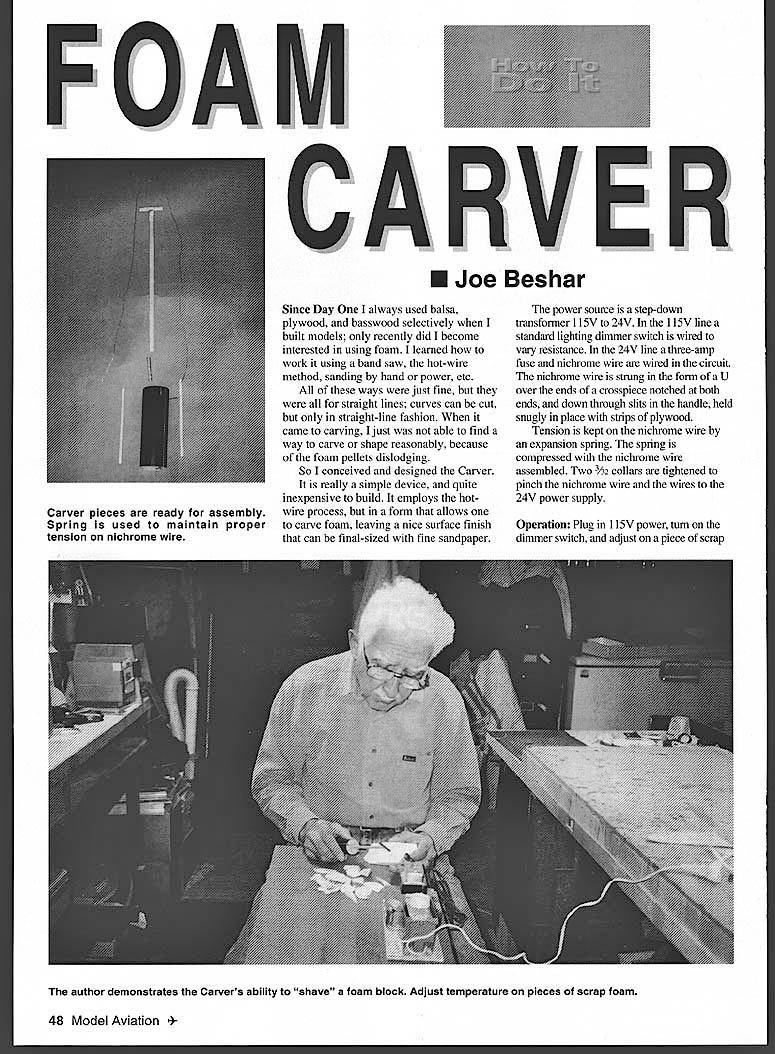
To solve that I conceived and designed the Carver. It is a simple, inexpensive device that employs the hot-wire process in a form that allows carving foam and leaving a nice surface finish that can be final-sized with fine sandpaper.
Description
- Power source: step-down transformer, 115V to 24V.
- In the 115V line a standard lighting dimmer switch is wired to vary resistance.
- In the 24V line a three-amp fuse and nichrome wire are wired in the circuit.
- The nichrome wire is strung in a U over the ends of a crosspiece notched at both ends, and down through slits in the handle, held snugly in place with strips of plywood.
- Tension is kept on the nichrome wire by an expansion spring. The spring is compressed with the nichrome wire assembled. Two 3/32" collars are tightened to pinch the nichrome wire and the wires to the 24V power supply.
Operation
- Plug in the 115V power.
- Turn on the dimmer switch and adjust on a piece of scrap foam until the proper cutting temperature is reached.
- Carve the desired foam shape. Wingtips, nose blocks, and any compound-curve foam surface can be shaped with this tool.
Note: If increased throat depth is desired, use a larger-diameter handle dowel and increase the length of the crosspiece accordingly.
Materials / Parts
- CYA (cyanoacrylate) glue
- Crosspiece: 1/4" dowel, 1-1/2" long
- Nichrome wire (see fig.)
- 1/4" dowel, 8" long
- Handle: 1/2" dowel, 4" long
- "F" drill to 1/4" from bottom
- Expansion spring: 7/32" O.D. x 2" long (Servastar Hardware #2)
- 3/32" collar (2)
- 24V lead-in wires (2)
- 3/32" x 3/16" plywood strips, 4" long (2)
- Wide razor saw or band saw: slit 1/3" deep
Contact
Joe Beshar 198 Merritt Dr. Oradell, NJ 07649
Transcribed from original scans by AI. Minor OCR errors may remain.

