

Foam Techniques
The conclusion of this three-part coverage explains everything you'll ever need to know about 'skinning.' ■ Bill Evans and Max Lester
Part 3
FAST CONSTRUCTION is one of the best reasons for using Polystyrene foam-core wings. Once the techniques of cutting cores (described in Parts I and II) are learned, the equally simple foam covering techniques can be acquired almost before you can sort out all the parts for a built-up wing. These techniques will be made clear as you read on, and background given to enable you to get the maximum advantages from foam while avoiding pitfalls.
Properties of Foam and Reasons for Covering
Mechanical Damage
Denting: Foam is relatively soft. It can be permanently deformed easily by harder materials. This same characteristic allows it to absorb shock better than a hard brittle material. By covering foam with a firmer material, the force is spread over a larger area and the shock is absorbed by the foam. This protects the foam from denting and the firmer covering material from breaking.
Breaking: Foam has relatively low tensile and flexural strength. Balsa at 8 pcf is 100 times stronger with the grain than 1-pcf density beadboard (foam), or 30 times stronger than 1.8-pcf styrofoam. Balsa and 1.8-pcf styrofoam are about the same strength across the grain.
Balsa has about 10 times the compressive strength of 1-pcf density beadboard. Bonding a thin skin of heavier, higher strength material—such as cardboard, balsa, or plywood—to the foam significantly increases the ability of the foam to withstand high wing loadings. Similarly, these materials have much higher shear strength, which provides greater protection against breaking a wing on impact.
Chemical Damage
Solvents: The greatest chemical danger to foam wings is generally due to use of adhesives containing solvents which attack foam. Some cannot be used at all for bonding foam to foam, or foam to balsa or other covering materials used to sheet wings. Others can be used only with great care.
The second most frequent source of chemical damage is the application of paints and finishes containing these solvents, either directly to the foam or to semi-porous sheeting materials. Another common source of chemical damage to foam is from the fuels used in model aircraft engines and the cleaning materials used to remove the fuel.
In addition to covering materials, protective coatings such as epoxy paints (except those with a solvent carrier like most spray cans), shellac, and water-based paints can be used to protect the foam from chemical damage.
Ultraviolet light, particularly sunlight, eventually damages foam. Anything that screens the foam from the light, in the way of covering or opaque coating materials, will protect the foam.
Effect of Different Coverings — Properties of Skin Materials
Shape: The foam holds the skin bonded to it in shapes that increases the resistance to bending in the same manner that a tube resists bending compared to a flat sheet. The closer the cross section approaches a round tube, the greater the resistance to bending.
General
- Tensile Strength, with the grain (psi): Aircraft Plywood*: 6300; Balsa: 100; 1.0 pcf Foam: 21; 2.0 pcf Styrofoam: 70
- Compressive, with the grain (psi): Aircraft Plywood*: 700; Balsa: 150; 1.0 pcf Foam: 15; 2.0 pcf Styrofoam: 45
- Shear (psi): Aircraft Plywood*: 5500; Balsa: 1700; 1.0 pcf Foam: 19; 2.0 pcf Styrofoam: 45
- Wt. in lbs/cu. ft.: Aircraft Plywood*: 40–50; Balsa: 8; 1.0 pcf Foam: 1–2
*Estimated from birch lumber data A symmetrical wing is therefore stronger in resistance to bending than a flat bottom wing.
Spars and Plates
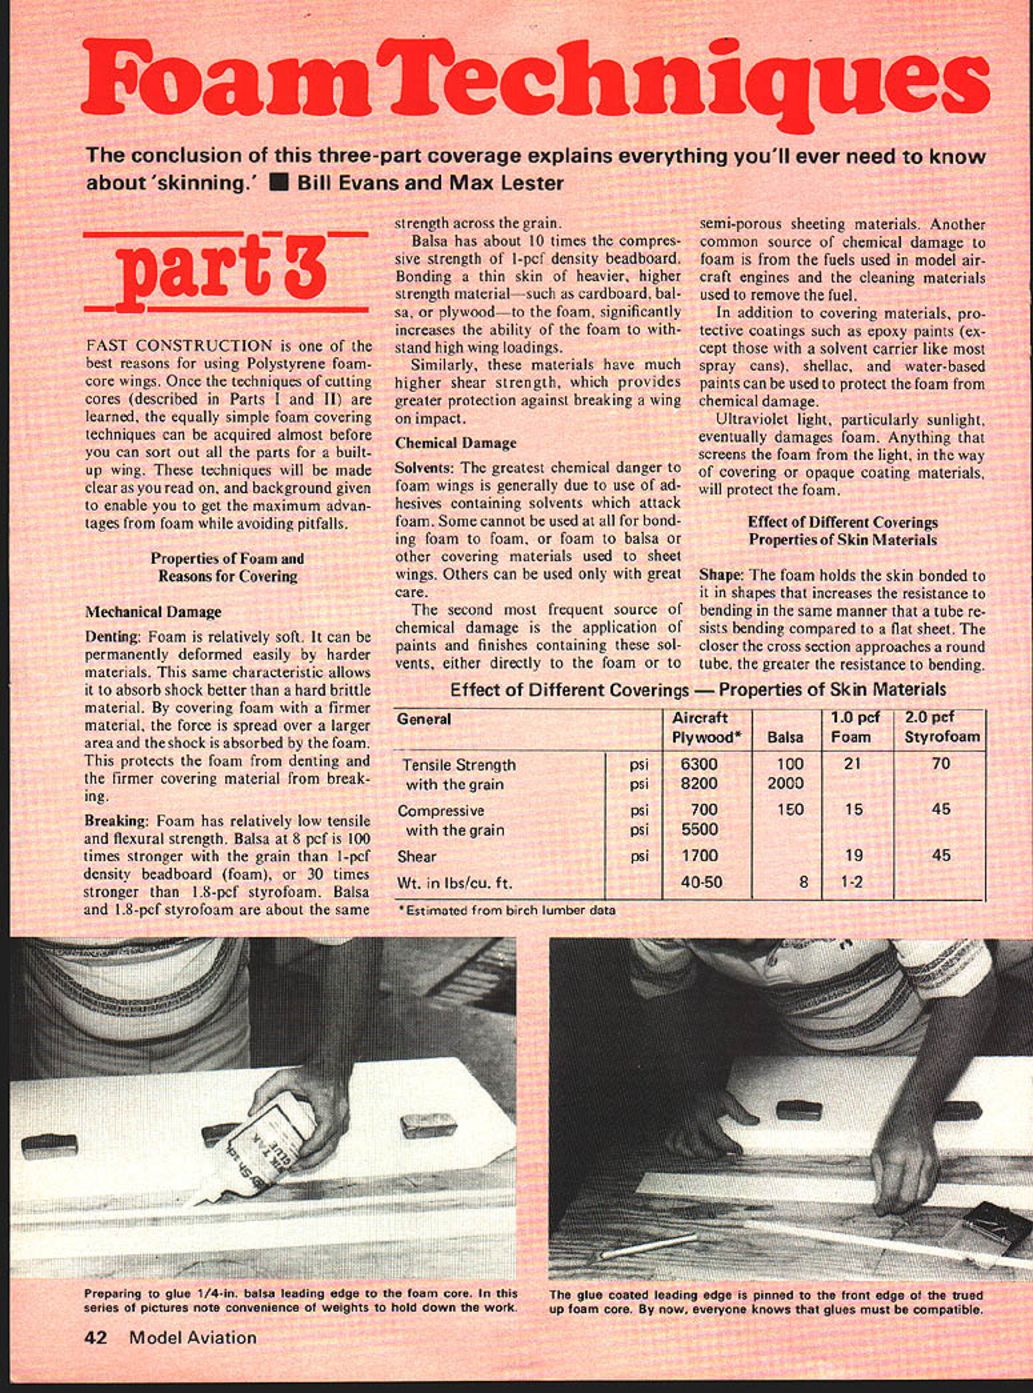
Leading Edge Spars
These serve several purposes. They add strength and hardness to protect the leading edge when it strikes an object. They provide a strong bond to anchor the skin. The author generally uses 1/4 x 1/4" balsa; however, spruce may be used for high speed aircraft for added strength.
Trailing Edge Spars
These also are used for strength and added protection against denting, and to provide a strong bond to anchor the sheeting. They provide a strong base for attaching ailerons for designs that require them. Balsa is generally used. However, spruce or plywood may be required for strength in some high performance designs. The author usually uses 1/4 x 1/4" balsa.
Adhesives for spars: L.E. and T.E. spars can be attached with the same adhesives used to bond the skin. A stronger bond is obtained with one of the aliphatic glues, such as Quik Tak or Titebond, or one of the white glues. While strong, epoxy has the disadvantage of being difficult to sand.
Internal Spars
These can be full depth or partial depth. They are used primarily to strengthen wings against flight stress, vertical to the chord line of the wing. They also are used to provide a strong base for attaching landing gear in some designs. It is seldom necessary to make the spar full length, unless there is an unusually high wing loading.
A partial depth spar acts as a T beam and a full-depth spar as an I beam, when the wing is sheeted. Even 1/16" aircraft plywood makes a strong spar (if deep enough), because a thin flange beam normally fails by twisting, which is prevented by the foam bonded to both sides. If anything thicker than 3/16" aircraft plywood is considered for a full depth spar, except for the portion used for attaching landing gear, you probably should consider 1/64" plywood sheeting, which normally eliminates the need for a spar.
A full depth, full length spar can be installed by cutting the core span-wise with a saw or hot wire cutter. A channel for a spar two thirds the span length and, say, two thirds the chord depth, can be cut with a table or radial saw. If the wing is not a constant chord depth, the core may have to be turned over in the blank from which it was cut, to maintain the proper taper for a 3/8" depth spar.
To lay out the spar, simply slide the spar into the slot and use the wing surface as the marking guide. The edge of the spar should be cut just outside the line and sanded with a block sander until it is exactly flush with the wing surface. The spar is liberally coated with the same glue used for the leading edge spar, and slid into place. A full span spar adds considerable strength.
Adhesives and Coatings
Adhesives were covered in detail in the previous articles so only a summary will be given here. Some of the specific products known by the authors to be satisfactory are as follows:
Contact Cements: Light Dex, Carl Goldberg Blue Goo, Core Grip, Southern Sorghum, and 3M 77 Scotch Grip (a spray adhesive).
Slower Drying Adhesives: Quick Tak. Titebond, Wilhold Glue Saver. Paints: Foam Luster, Perfect Paint, and Styromate.
There are other good products. We have mentioned only those we have had an opportunity to try and test. We have used so many good epoxies that we did not name the brands.
As a general rule, the following types of coatings and adhesives can safely be applied directly on polystyrene foam: White glues, aliphatic glues, water-based contact cements, epoxies (except those with a solvent carrier like most spray cans), silicone adhesives, and the natural glues (casein, animal, etc.), water-based paints, and shellac.
Generally avoid coatings and adhesives which contain solvents—such as: Acetone, Butanone, Esters, Ketones, MEK, Naptha, Nitrocellulose, Petroleum Distillates, Styrene, Toluol, Turpentine, Xylol—or direct contact with foam, or in heavy applications on sheeting materials covering foam. A few specific examples of materials to avoid include airplane dope, Ambroid modeling glue, Hot Stuff, and Polyester resins.
Balsa Sheeting:
The first step in sheeting with balsa is to glue sheets together to make one that is the width of the top surface, and another the width of the bottom surface, with a slight excess for trimming. Balsa sheets are not normally available in these widths.
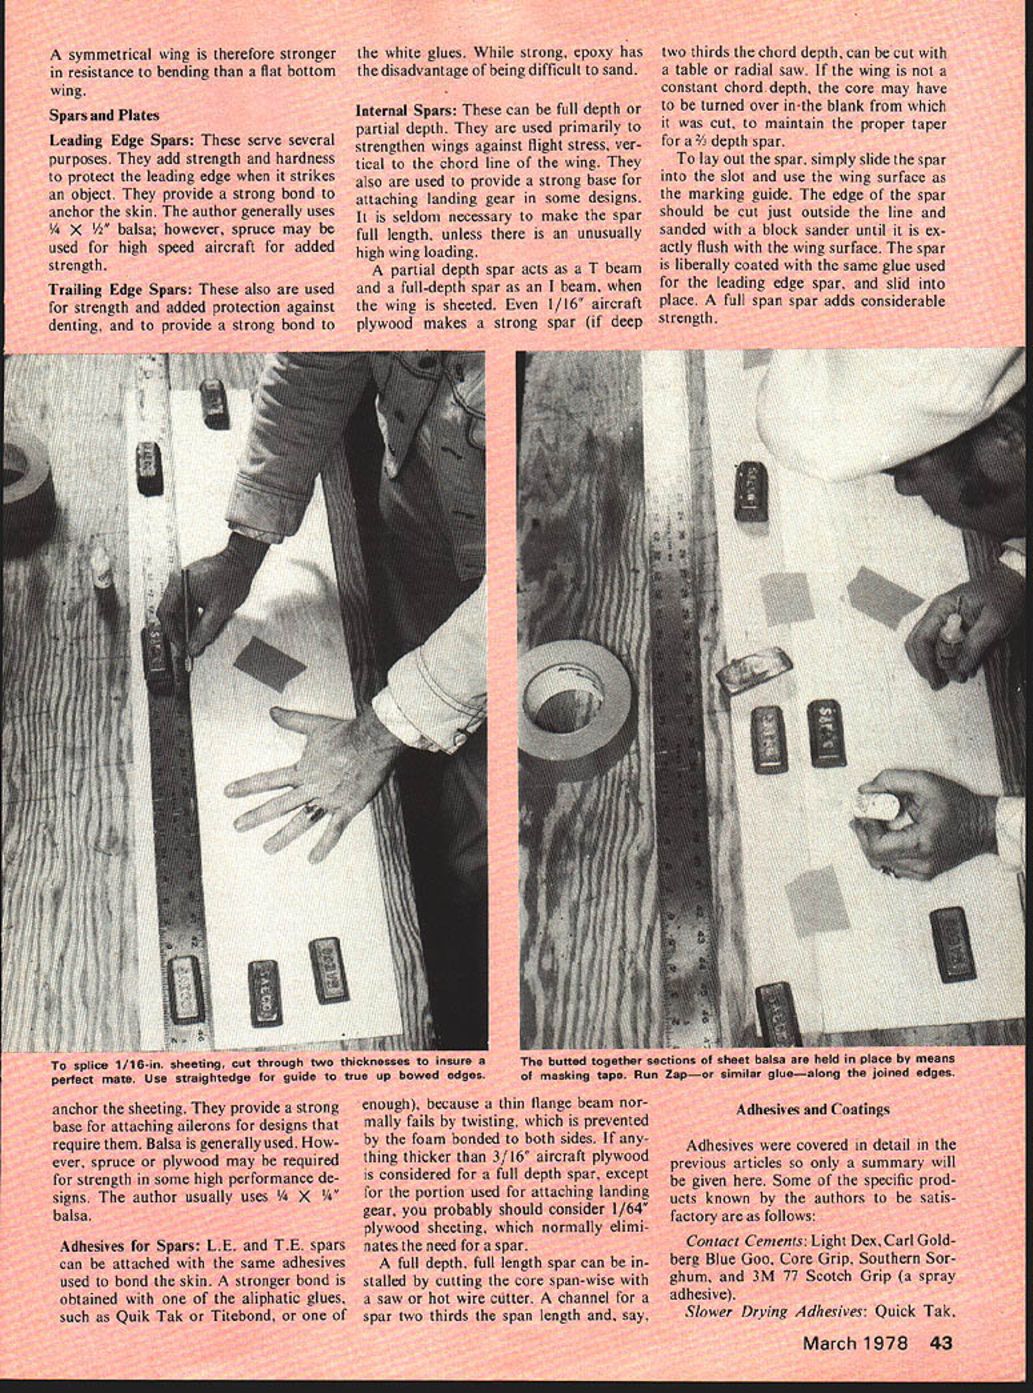
A flat working surface is needed for this operation. Assume you need an 11" x 30" sheet for the top. You can use three 4" x 32" sheets of the desired thickness. Try fitting the long edges together; if there is a slight bow creating a gap, trim the mating edges with a straight edge and your X-acto knife. One trick is to overlap the two pieces slightly like shingles and cut both the mating edges at one time.
Next, fit the long edges tightly together on a flat surface and tape them together with masking tape. Tape at four or five points will work, but if you are a perfectionist, tape them full length. Turn them over. Run a bead of one of the cyanoacrylate glues like ZAP along the seams with the sheets lying flat.
A slightly better bond is obtained with full length taping, raising the sheets from the underside to open the joint, and running a bead with white glue, or an aliphatic glue like Titebond, down each seam. Lay the sheet flat and scrape off the excess glue with a single edge razor blade or similar tool. Place weights on the sheet to keep it flat, and allow it to dry.
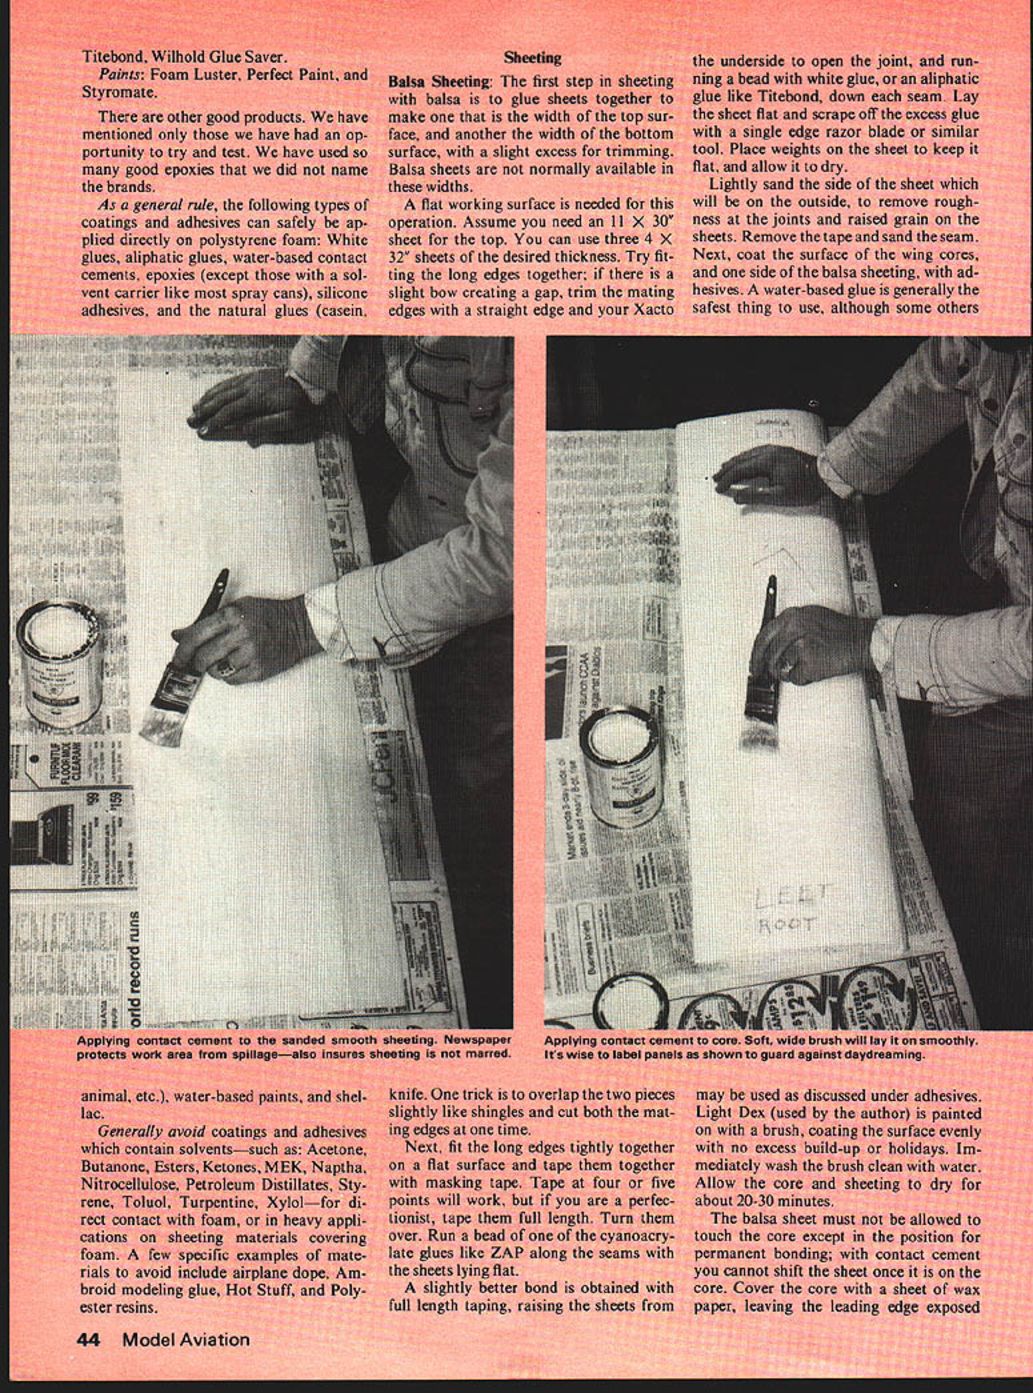
Lightly sand the side of the sheet which will be on the outside, to remove roughness at the joints and raised grain on the sheets. Remove the tape and sand the seam. Next, coat the surface of the wing core, and one side of the balsa sheeting, with adhesives. A water-based glue is generally the safest thing to use, although some others may be used as discussed under adhesives. Light Dex (used by the author) is painted on with a brush, coating the surface evenly with no excess build-up or hollows. Immediately wash the brush clean with water. Allow the core and sheeting to dry for about 20-30 minutes.
The balsa sheet must not be allowed to touch the core except in the position for permanent bonding; with contact cement you cannot shift the sheet once it is on the core. Cover the core with a sheet of wax paper, leaving the leading edge exposed. about one inch. Now position the sheet over the core so that it slightly overlaps the leading edge and each end. Press the edge and smooth it firmly, for the full length. Now lift the rear of the balsa sheet, remove the wax paper with the other hand, and lower the sheet, rolling it down front to back, and smoothing it with the other hand. Place the sheeted side in the other half of the cradle (from which the core was cut), or on the work table, and repeat the steps used to sheet the first side.
Wrap-Around Sheeting
An alternative sheeting method is to wrap one piece of balsa, plywood, or cardboard around the wing core. This method provides a seamless covering and eliminates the leading-edge spar.
Advantages are: A more smooth leading edge due to absence of any seam, one-piece application is faster, eliminates leading-edge spar.
Disadvantages are: Can be used only when leading edge is fairly blunt and rounded; encourages the elimination of the leading-edge spar which, in some cases may be necessary for strength; may require more splicing; requires a bit more sheeting material.
The procedure for one-piece covering is as follows: Using the wing core as a template, lay out and cut the sheeting 1/2 in. oversize; mark the leading-edge centerline on the sheeting, and on the root and tip of the core; apply a strip of 2 in. masking tape to the outside of the sheeting along the leading edge. This is to help prevent cracking or buckling of the sheeting material while bonding to the core.
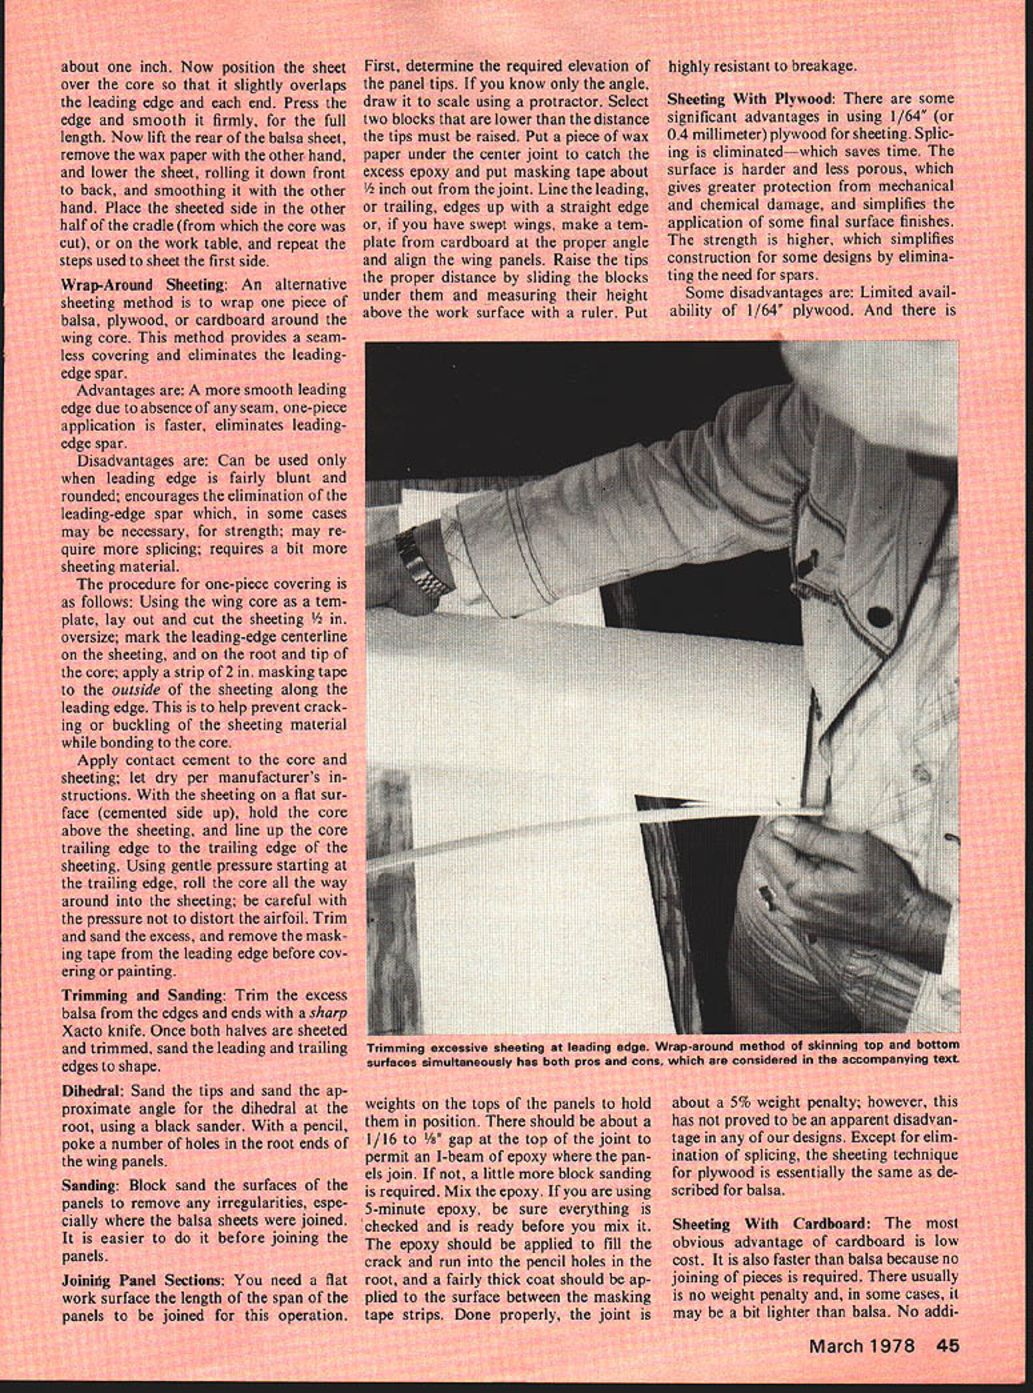
Apply contact cement to the core and sheeting; let dry per manufacturer's instructions. With the sheeting on a flat surface (cemented side up), hold the core above the sheeting, and line up the core trailing edge to the trailing edge of the sheeting. Using gentle pressure starting at the trailing edge, roll the core all the way around into the sheeting; be careful with the pressure not to distort the airfoil. Trim and sand the excess, and remove the masking tape from the leading edge before covering or painting.
Trimming and Sanding
Trim the excess balsa from the edges and ends with a sharp Xacto knife. Once both halves are sheeted and trimmed, sand the leading and trailing edges to shape.
Dihedral
Sand the tips and sand the approximate angle for the dihedral at the root, using a block sander. With a pencil, poke a number of holes in the root ends of the wing panels.
Sanding
Block sand the surfaces of the panels to remove any irregularities, especially where the balsa sheets were joined. It is easier to do it before joining the panels.
Joining Panel Sections
You need a flat work surface the length of the span of the panels to be joined for this operation.
First, determine the required elevation of the panel tips. If you know only the angle, draw it to scale using a protractor. Select two blocks that are lower than the distance the tips must be raised. Put a piece of wax paper under the center joint to catch the excess epoxy and put masking tape about 1/2 inch out from the joint. Line the leading, or trailing, edges up with a straight edge or, if you have swept wings, make a template from cardboard at the proper angle and align the wing panels. Raise the tips the proper distance by sliding the blocks under them and measuring their height above the work surface with a ruler. Put weights on the tops of the panels to hold them in position. There should be about a 1/16 to 1/8 in. gap at the top of the joint to permit an I-beam of epoxy where the panels join. If not, a little more block sanding is required. Mix the epoxy. If you are using 5-minute epoxy, be sure everything is checked and is ready before you mix it. The epoxy should be applied to fill the crack and run into the pencil holes in the root, and a fairly thick coat should be applied to the surface between the masking tape strips. Done properly, the joint is highly resistant to breakage.
Sheeting With Plywood
There are some significant advantages in using 1/64" (or 0.4 millimeter) plywood for sheeting. Splicing is eliminated—which saves time. The surface is harder and less porous, which gives greater protection from mechanical and chemical damage, and simplifies the application of some final surface finishes. The strength is higher, which simplifies construction for some designs by eliminating the need for spars.
Some disadvantages are: Limited availability of 1/64" plywood. And there is about a 5% weight penalty; however, this has not proved to be an apparent disadvantage in any of our designs. Except for elimination of splicing, the sheeting technique for plywood is essentially the same as described for balsa.
Sheeting With Cardboard
The most obvious advantage of cardboard is low cost. It is also faster than balsa because no joining of pieces is required. There usually is no weight penalty and, in some cases, it may be a bit lighter than balsa. No additional protection is provided. Not just any cardboard will do. The following characteristics are important:
Thickness should be about that of the heavier business cards, match book covers, playing cards, file folders, etc. It should have a fairly hard non-porous surface. It should be long enough with the grain (yes there is a grain to cardboard) to cover a wing panel without splicing.
Finding Grain Direction:
Cardboard bends more easily parallel to the grain and, conversely, is stiffer perpendicular to the grain.
If you are not sure of grain direction, cut a piece from one corner, first marking it so that you can return it to its original position. Fold it in half in each direction. It will fold fairly smoothly parallel to the grain. It will tend to wrinkle, and not fold smoothly on a straight line, perpendicular to the grain.
Try this on a business card or a file card. You will find you can soon detect grain direction by the lower resistance to bending along the grain, without actually folding. Unfortunately, much of the cardstock has the grain parallel to the short side, so be sure the side parallel to the grain is slightly longer than the wing panel you plan to cover.
Applying the Cardboard Sheeting:
After marking the grain direction, lay out the top and bottom pieces for each panel, allowing for a little overhang for alignment error. Mark the grain direction of any material which will be left over after cutting. To be sure you have allowed enough material, it is a good idea to show a center line parallel to the grain, and to scribe a center line at each end of the leading edge of the core. Then, starting with the marks on the center line, roll the core carefully without slipping back to the trailing edge, and draw a line lightly along the trailing edge. Then add at least a half inch for overlap. Also allow overlap at the ends.
Lightly sand the side which has the layout lines on it to break the glaze, so the glue will penetrate better. Coat this side of the cardboard, and the core, as previously described for covering with balsa. The same process is used for applying the cardboard covering as that described for balsa. Note that the sheeting should be applied with the core in the correct half of the blank from which it was cut, to retain the washout you may have cut at the trailing edge tips.
Landing Gear:
Support for landing gear is installed after sheeting. This can be done before or after joining the panels. The method used for the fixed gear was as follows:
Two pieces of plywood, 1/4 x 1 3/4 x 2", were cut and positioned on the bottom of the wing, centered over the location for the landing gear attaching points. Center lines were drawn on the wing and the plywood. The outline of the plywood was then drawn on the wing, and the sheeting was cut along these lines with a sharp X-acto knife, using a steel rule as a guide. We routed the foam with a Dremel tool, but it could easily have been done with a single edge razor blade, or the round blade of an X-acto knife. The bottom of the hole does not need to be perfectly flat, since the epoxy will fill in the irregularities and provide a stronger bond.
Epoxy blocks in place flush with the surface of the skin. The landing gear was positioned and screwed to the support blocks after covering with Solarfilm was completed.
Follow the same technique if you use a one-piece hardwood landing gear block, except that it should not be glued in place until after the wing halves have at least been trial joined to insure proper alignment and dihedral.
Ailerons: If the design calls for ailerons, you probably will be using full length "strip" ailerons. The authors find that Scotch, or similar, tape makes a neat, durable, easy-to-install hinge. The controls are attached in the same manner as a built-up wing.
If you are sufficiently experienced to be building a design with in-set ailerons the following suggestions may prove helpful for techniques found successful for foam wings.
Pushrods Through Wing: One way to make a hole for a pushrod through the wing, is to cut it in the core with the cutting bow. This must be done before sheeting. Make root and tip templates with a hole drilled in the desired location, and cut a thin slot in the template just large enough for the cutting wire. Pass the hot wire down through the slot around the hole and back out the slot.
Another way is to cut a channel with a saw, a Dremel tool, or even an X-acto knife, using a guide. If you want to eliminate the bellcrank and use a flexible control rod, cut a slot that curves back to the trailing edge, large enough for a piece of Nyrod.
Inset Ailerons
One method is to install a hinge mount in the foam core prior to sheeting. First, lay out the aileron on the core with a fine tip marking pen. Cut a hard piece of 1/8" x 3/4" to 1" balsa, about 1/4" shorter than the aileron. Lay this in place and trace around it with the marking pen. Rout out a 1/8" deep slot so that it fits flush and glue it in place. It must be flush with the foam because you will sheet over it.
Cut the aileron out of the wing after sheeting. A number of methods can be used to complete the aileron. One is to remove sufficient material and sheet the exposed foam edges. Another is to remove sufficient material and install concave-convex mating hardwood aileron strips. Another approach is to use a rod through the foam near the leading edge of the aileron, which can be used as a combination hinge and control arm.
Applying Finishes and Coatings
After the wing is sheeted you are ready to apply a finish or coating for looks and protection of the sheeting material from fuel, moisture, etc. The easiest and fastest coating is Solarfilm, Monokote, etc. Preparation consists of sanding the balsa sheeting, and edges of plywood and cardboard sheeting.
If you plan to cover unsheeted foam wings with iron-on films, sand and put on a coat of water-based paint to insure a smooth job. Use extra care with the iron, keeping it moving to avoid softening the foam.
Preparation for other finishes involves a bit more sanding for balsa and plywood, ending with about 320 wet-or-dry if you want a higher quality finish.
You can use almost any type of paint to cover the cardboard, balsa, or plywood sheeting, provided you take certain precautions with the materials that attack foam. When using airplane dope, lacquer, spray paints containing solvents, etc., the following precautions must be taken or the foam core may be ruined. First, make sure that all cracks and edges are sealed. Second, apply the first two or three coats in very thin coatings and allow to dry thoroughly between coats. That doesn't mean just to the touch; the solvents that soaked into the surface of the balsa, cardboard, or even plywood, must have time to completely evaporate before the next coat. Otherwise, the trapped solvents will soak through and may attack the foam core. It is preferable to apply a primer coat of a material that won't attack the foam, and that is also compatible with the finish coats. With all materials, several light coats are better than one heavy coat to get a hard, smooth, high gloss, durable finish.
The information presented in this series of articles is a serious effort to provide you with sufficient detail which, when used as described, will enable you to enjoy the advantages of foam wing construction. For handy use, you may wish to cut out the text and place it in a folder.
Transcribed from original scans by AI. Minor OCR errors may remain.

