
FREE FLIGHT DURATION
Louis Joyner 4257 Old Leeds Road, Birmingham, AL 35213
Tapered wings and jigs
Last month I began discussing tapered wings. If you read that column, you have the basics down about building a jig. As mentioned last time, you can either make separate tapered jigs (one for each panel of the wing) or construct a single constant-chord jig that matches the bottom curvature of the wing at the root.
The next step is to cut the ribs. This is probably the single reason why everybody doesn't build tapered wings for every model: cutting a set of ribs for a tapered wing is a lot more trouble than cutting a bunch of identical ribs for a constant-chord wing.
Cutting ribs and airfoil modification
In the previous article I mentioned that there are some aerodynamic advantages to reducing the percentage thickness and percentage camber at the dihedral break and, again, at the tip. That means you can't simply take the root rib and reduce it on the office photocopy machine. That would reduce the absolute size of the airfoil (and of course its actual thickness) but would not change its percentage thickness or camber.
To reduce percentage thickness and camber you must plot the modified break and tip airfoils. You can do this the old-fashioned way, by plotting the airfoil coordinates with a sharp pencil, or you can use a computer program for plotting airfoils. Either way, draw the exact airfoils at the correct size for the root, break, and tip.
At this point, don't worry about notches for spars or the leading and trailing edges; just draw the airfoils as accurately as possible. Make note of the exact calculated thickness at 30% chord.
Templates and mass production
Photocopy the airfoil plots and glue one set of photocopies to a suitable template material. I've used 3/32" or 1/8" plywood, 1/16" aluminum, and printed circuit board. Unless you plan to mass-produce wings, plywood will work fine. Carefully cut the three different-size templates. File and sand to exact shape, checking against the original plots for shape and (especially) thickness. Remember the finished wing will be no more accurate than the templates you use to make it.
Once the templates are made, the fun begins. Forget the old way of tracing around the template with a sharp X-Acto. With accurate templates you can stack up oversized strips of balsa between two templates and sand out all the ribs for a wing panel at one time. It is unbelievably quick.
To help hold this sandwich together while sanding, you can use a couple of straight pins and thumb pressure. Ed Williamson uses two short lengths of bicycle spokes and uses the nipples to hold the stack of ribs together. Threaded rod, available at the hobby shop, could also be used. The biggest drawback is that the holes can weaken the balsa ribs.
It's a good idea to number each rib so you'll know where it goes in the sequence. If the plans call for false ribs, you can either make extra full-length ribs and discard the back portion, or stack up short blanks for the false ribs and shape them separately.
Constant-chord jig technique and D-box construction
I usually make a single constant-chord jig. This very closely approximates the bottom curvature of the reduced-camber break and tip ribs. Besides saving the trouble of making four jigs, this means the bottoms of all the ribs will be the same. So I make a single root-rib template and cut out all the wing ribs the same size and shape.
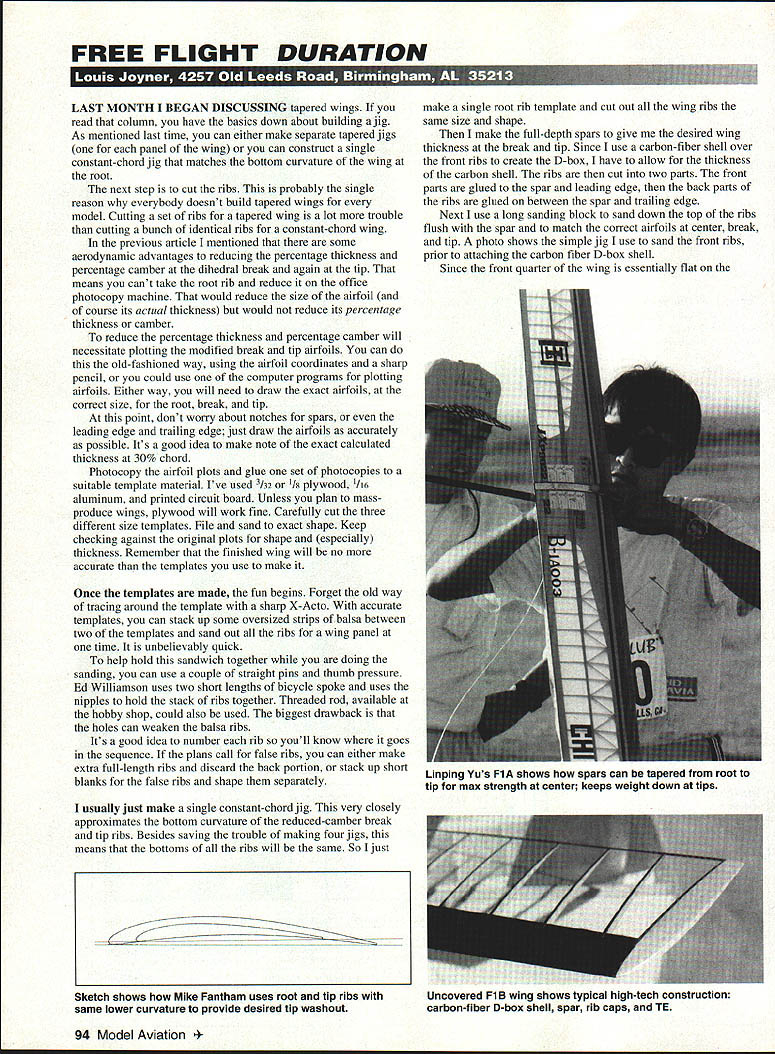
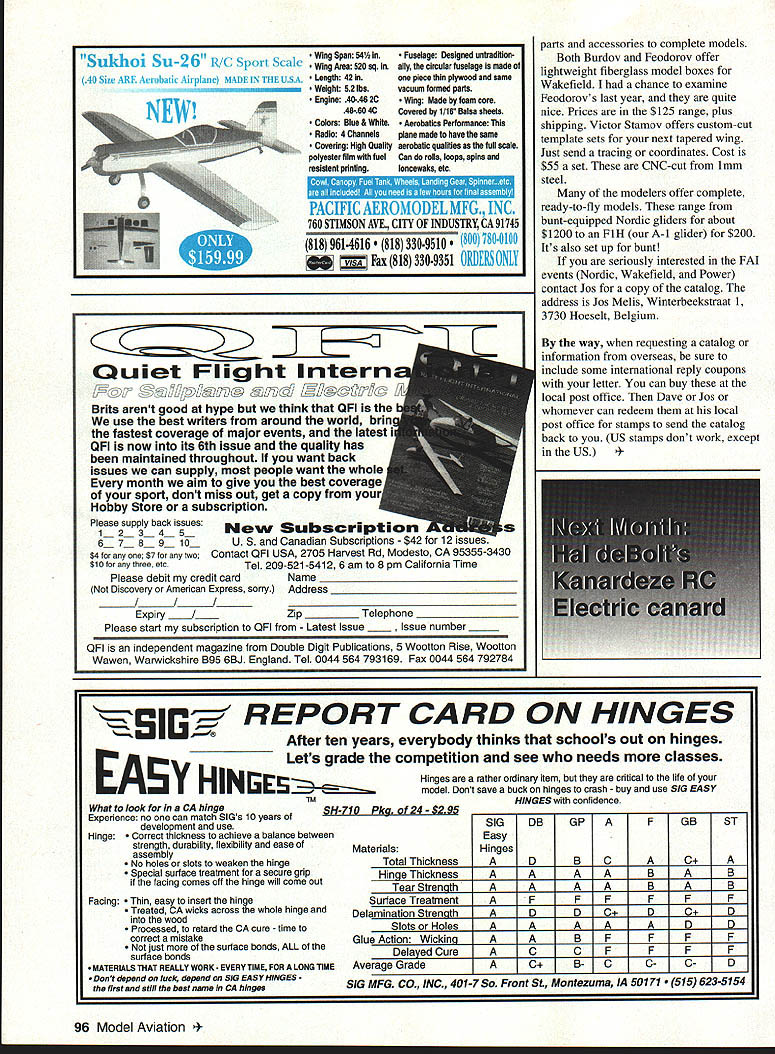
Then I make full-depth spars to give the desired wing thickness at the break and tip. Since I use a carbon-fiber shell over the front ribs to create the D-box, I have to allow for the thickness of the carbon shell. The ribs are then cut into two parts: the front parts are glued to the spar and leading edge, then the back parts of the ribs are glued on between the spar and trailing edge.
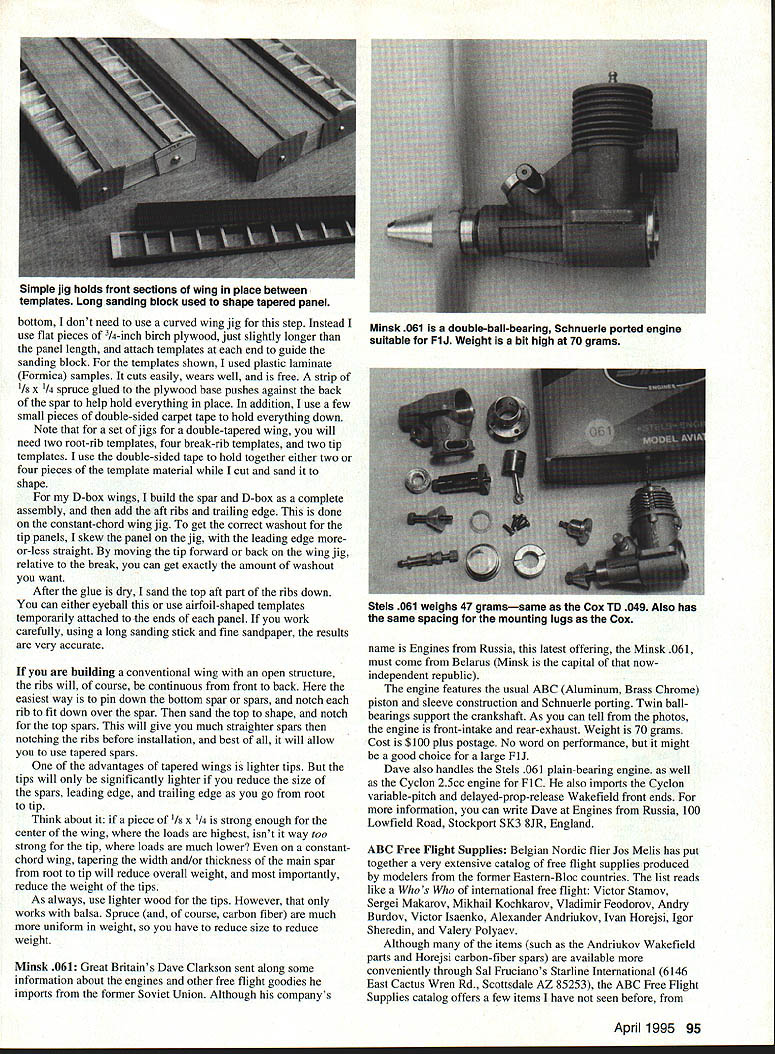
Next, I use a long sanding block to sand down the top of the ribs flush with the spar and to match the correct airfoils at center, break, and tip. A photo shows the simple jig I use to sand the front ribs prior to attaching the carbon-fiber D-box shell.
On the bottom, I don't need to use a curved wing jig for this step. Instead I use flat pieces of 3/4" birch plywood, just slightly longer than the panel length, and attach templates at each end to guide the sanding block. For the templates shown, I used plastic laminate (Formica) samples — they cut easily, wear well, and are free. A strip of 1/8" x 1/4" spruce glued to the plywood base pushes against the back of the spar to help hold everything in place. In addition, I use a few small pieces of double-sided carpet tape to hold everything down.
Note: for a set of jigs for a double-tapered wing, you will need two root-rib templates, four break-rib templates, and two tip templates. I use double-sided tape to hold together either two or four pieces of the template material while I cut and sand it to shape.
For my D-box wings I build the spar and D-box as a complete assembly, and then add the aft ribs and trailing edge. This is done on the constant-chord wing jig. To get the correct washout for the tip panels, I skew the panel on the jig, keeping the leading edge more-or-less straight. By moving the tip forward or back on the wing jig, relative to the break, you can get exactly the amount of washout you want.
After the glue is dry, I sand the top aft part of the ribs down. You can either eyeball this or use airfoil-shaped templates temporarily attached to the ends of each panel. If you work carefully, using a long sanding block and fine sandpaper, the results are very accurate.
Conventional open-structure wings
If you are building a conventional wing with an open structure, the ribs will, of course, be continuous from front to back. The easiest way here is to pin down the bottom spar or spars, notch each rib to fit down over the spar, then sand the top to shape and notch for the top spars. This will give you much straighter ribs than notching the ribs before installation, and best of all, it allows you to use tapered spars.
Weight reduction and tapered spars
One of the advantages of tapered wings is lighter tips. But the tips will only be significantly lighter if you reduce the size of the spars, leading edge, and trailing edge as you go from root to tip.
Think about it: if a piece of 1/8" x 1/4" is strong enough for the center of the wing, where the loads are highest, isn't it way too strong for the tip, where loads are much lower? Even on a constant-chord wing, tapering the width and/or thickness of the main spar from root to tip will reduce overall weight, and most importantly, reduce the weight of the tips.
As always, use lighter wood for the tips. However, that only works with balsa. Spruce (and, of course, carbon fiber) is much more uniform in weight, so you must reduce size to reduce weight.
Parts and accessories to complete models
- Burdow and Feodorov offer lightweight fiberglass model boxes for Wakefield. I examined Feodorov's last year and they are quite nice. Prices are in the $125 range, plus shipping.
- Victor Stanov offers custom template sets for your next tapered wing. Just send a tracing or coordinates. Cost is $55 a set. These are CNC-cut from 1 mm steel.
- Many modelers offer complete, ready-to-fly models. These range from punt-equipped Nordic gliders for about $1,200 to an F1H (our A-1 glider) for $200. It's also set up for bungee!
If you are seriously interested in the FAI events (Nordic, Wakefield, and Power), contact Jos for a copy of the catalog:
Jos Melis Winterbeekstraat 1 3730 Hoeselt, Belgium
When requesting a catalog or information from overseas, be sure to include some international reply coupons with your letter. You can buy these at the local post office. Then Dave or Jos or whomever can redeem them at his local post office for stamps to send the catalog back to you. (U.S. stamps don't work, except in the U.S.)
Transcribed from original scans by AI. Minor OCR errors may remain.

