
FREE FLIGHT DURATION
Louis Joyner, 4221 Old Leeds Road, Birmingham AL 35213
"YOU MEAN there's no radio?"
If you have ever tried to explain Free Flight to a non-modeler, or someone who is only familiar with Radio Control or Control Line, I'm sure you've heard that response. And it's often followed by the question, "How do you keep them from crashing?"
A Free Flight model, even the simplest hand-launched glider, is actually performing a delicate balancing act on every flight. Through the years, those of us who fly Free Flight have learned, often by trial and error, to make the very small adjustments to a model that not only make it fly without crashing, but also climb the highest and glide the best. We have even learned to adjust our models to seek out thermals and avoid downdrafts.
Let's examine the ways that we have learned to adjust a model for successful flight. Hopefully this will help explain the challenges of Free Flight to those readers who are not familiar with this type of model, and provide a good review for the rest of us.
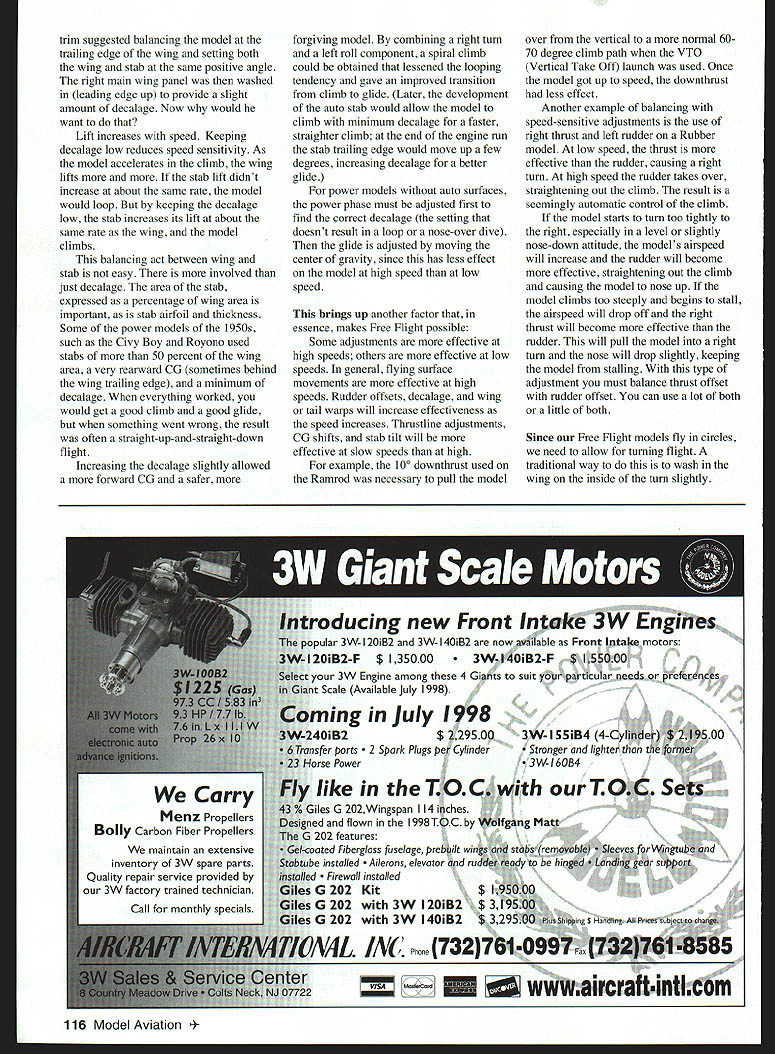
(For this column, we will be discussing the adjustments to a locked-up model — one without timer or torque-actuated auto rudder, auto stab, or other variable geometry. Auto-surface-equipped models, although slightly more difficult to build and rig, allow the climb and glide phases of flight to be adjusted separately; a much simpler proposition than a locked-up model.)
Dihedral and roll stability
The one physical characteristic that sets Free Flight models apart from most other models and full-scale aircraft is dihedral.
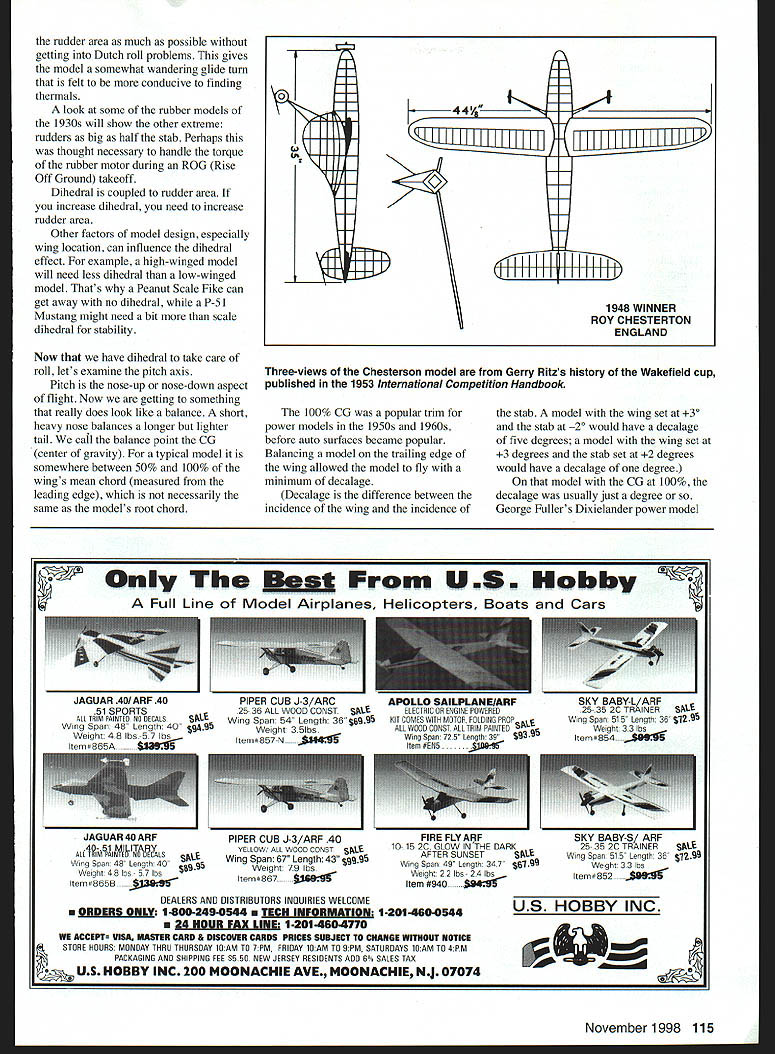
The bent-up wings of the typical Free Flight model help to stabilize it in the roll axis and allow circling flight without spiraling in. Circling flight helps to minimize the distance a model travels, and, more importantly, allows the model to center in thermals.
Simply stated, dihedral works by increasing the lift of the low wing during a bank and decreasing the lift on the high wing, tending to bring the model out of the bank.
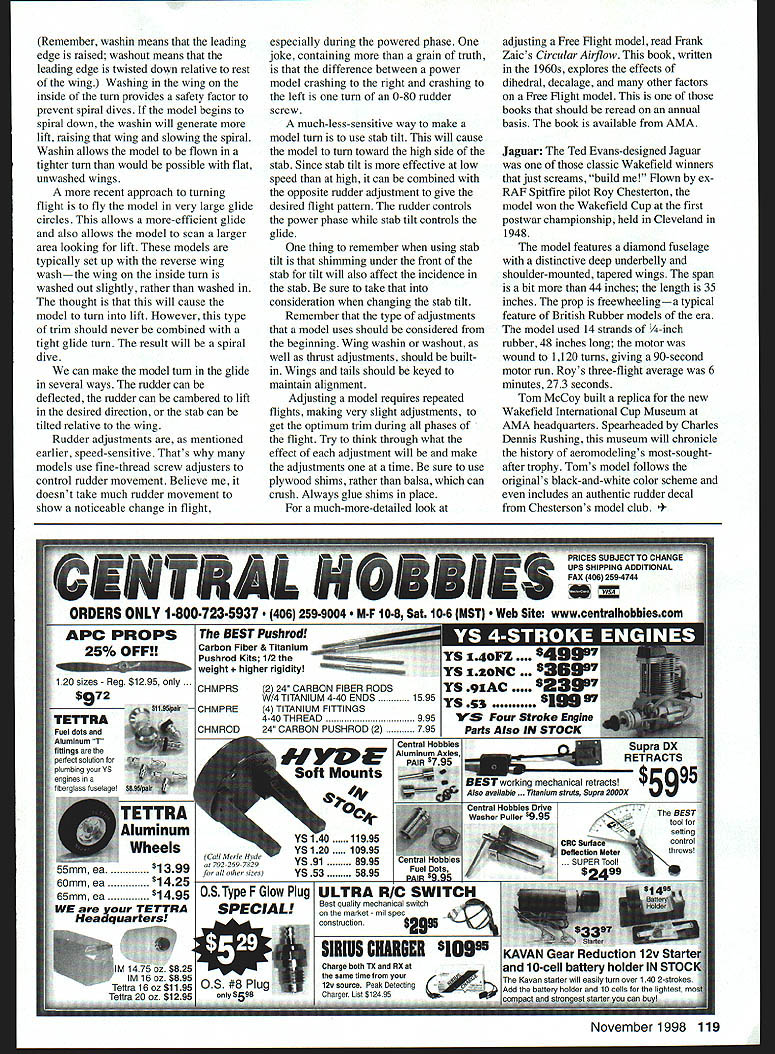
The amount of dihedral must be closely balanced by the rudder area. Too big a rudder can cause the model to spiral in easily, as any offset in the rudder overpowers the corrective effect of the dihedral. Too small a rudder, on the other hand, can result in a Dutch roll — a series of alternating partial rolls in each direction. The trend over time has been to reduce rudder area and increase dihedral.
Other factors in model design, especially wing location, can influence the dihedral effect; for example, a high-winged model will need less dihedral, a low-winged model more. That's why a Peanut Scale Fike can get away with no dihedral; a P-51 Mustang might need a bit of scale dihedral for stability.
Pitch, balance and decalage
Now that we have dihedral to take care of roll, let's examine the pitch axis — the nose-up, nose-down aspect of flight. Here we get to something that really does look like balance. A short heavy nose balances a longer lighter tail; we call the balance point the CG (center of gravity). On a typical model it is somewhere between 50% and 60% of the wing's mean chord, measured from the leading edge (not necessarily the same as the model's root chord).
Decalage is the difference between the incidence of the wing and the incidence of the stab. For example:
- If the wing is set at +3° and the stab at +2°, the decalage is 1°.
- If the wing is set at +3° and the stab at −2°, the decalage is 5°.
For models trimmed with the CG in the usual location, decalage is usually just a degree or two.
The "100% CG" was a popular trim for power models in the 1950s and 1960s before auto surfaces became common. Balancing a model on the trailing edge of the wing allowed the model to fly with a minimum of decalage. Increasing the decalage slightly allowed a more forward CG and a safer, more forgiving model. By combining a right turn and a left roll component, a spiral climb could be obtained that lessened the looping tendency and gave an improved transition from climb to glide.
Later, the development of the auto stab allowed the model to climb with minimum decalage for a faster, straighter climb; at the end of the engine run the stab trailing edge would move up a few degrees, increasing decalage for a better glide.
Trimming power models
For power models without auto surfaces, the power phase must be adjusted first to find the correct decalage (the setting that doesn't result in a loop or a nose-over dive). Then the glide is adjusted by moving the CG, since CG changes have less effect at high speed than at low speed.
Speed-sensitive adjustments
Some adjustments are more effective at high speeds; others are more effective at low speeds. In general:
- More effective at high speed: rudder offsets, decalage, wing or tail warps.
- More effective at low speed: thrustline adjustments, CG shifts, stab tilt.
Examples:
- The 10° downthrust used on the Ramrod was necessary to pull the model over from the vertical to a more normal 60–70° climb path when the VTO (vertical takeoff) launch was used. Once the model got up to speed, the downthrust had less effect.
- On a rubber model, using right thrust and left rudder can produce a desirable speed-sensitive balance: at low speed the thrust is more effective and causes a right turn; at high speed the rudder becomes more effective and straightens the climb. The result is an almost automatic control of the climb.
When the model starts to turn too tightly to the right, especially in a level or slightly nose-down attitude, the model's airspeed will increase and the rudder will become more effective, straightening out the climb and causing the model to nose up. If the model climbs too steeply and begins to stall, the airspeed will drop and the right thrust will become more effective than the rudder. This will pull the model into a right turn and the nose will drop slightly, keeping the model from stalling. With this type of adjustment you must balance thrust offset with rudder offset; you can use a lot of both or a little of both.
Turning and wing twist
Since Free Flight models fly in circles, we need to allow for turning flight. A traditional way to do this is to wash in the wing on the inside of the turn slightly.
(Remember: washin means that the leading edge is raised; washout means that the leading edge is twisted down relative to the rest of the wing.) Washin on the inside wing provides a safety factor to prevent spiral dive. If the model begins to spiral down, the washin will generate more lift, raising that wing and slowing the spiral. Washin allows the model to be flown in a tighter turn than would be possible with flat, unwashed wings.
A more recent approach is to fly the model in very large glide circles. This allows a more-efficient glide and also allows the model to scan a larger area looking for lift. These models are typically set up with the reverse wing wash — the wing on the inside of the turn is washed out slightly, rather than washed in. The idea is that this will cause the model to turn into lift. However, this type of trim should never be combined with a tight glide turn; the result will be a spiral dive.
Making the model turn in the glide
We can make the model turn in the glide in several ways:
- Deflect the rudder.
- Camber the rudder to lift in the desired direction.
- Tilt the stab relative to the wing.
Rudder adjustments are speed-sensitive, which is why many models use fine-thread screw adjusters to control rudder movement. It doesn't take much rudder movement to show a noticeable change in flight, especially during the powered phase. One joke, with more than a grain of truth, is that the difference between a power model crashing to the right and crashing to the left is one turn of a 0-80 rudder screw.
A less-sensitive way to make a model turn is to use stab tilt. This will cause the model to turn toward the high side of the stab. Since stab tilt is more effective at low speed than at high, it can be combined with the opposite rudder adjustment to give the desired flight pattern: the rudder controls the power phase while stab tilt controls the glide.
One thing to remember when using stab tilt is that shimming under the front of the stab for tilt will also affect the incidence on the stab. Be sure to take that into consideration when changing the stab tilt.
Building and adjusting practice
Remember that the type of adjustments that a model uses should be considered from the beginning. Wing washin or washout, as well as thrust adjustments, should be built in. Wings and tails should be keyed to maintain alignment.
Adjusting a model requires repeated flights and very slight adjustments to get the optimum trimming during all phases of the flight. Try to think through the effect of each adjustment and make adjustments one at a time. Be sure to use plywood shims, rather than balsa, which can crush. Always glue shims in place.
Further reading
For a much more detailed look at adjusting a Free Flight model, read Frank Zaic's Circular Airflow. This book, written in the 1960s, explores the effects of dihedral, decalage, and many other factors on a Free Flight model. This is one of those books that should be reread on an annual basis. The book is available from AMA.
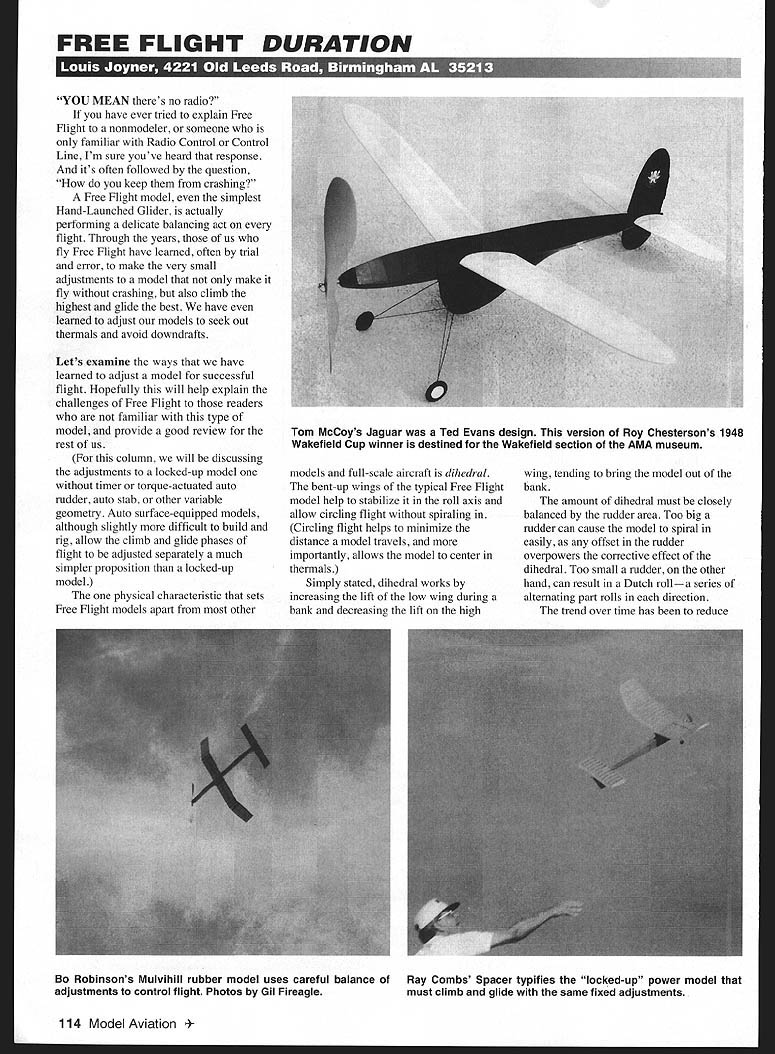
Jaguar
The Ted Evans-designed Jaguar was one of those classic Wakefield winners that just screams "build me!" Flown by ex-R/C Spitfire pilot Roy Chesterson, the model won the Wakefield Cup at the first postwar championship, held in Cleveland in 1948.
The model features a diamond fuselage with a distinctive deep underbelly and shoulder-mounted, tapered wings. The span is a bit more than 44 inches; the length is 35 inches. The prop is freewheeling — a typical feature of British rubber models of the era. The model used 14 strands of 1/4-inch rubber, 48 inches long; the motor was wound to 1,120 turns, giving a 90-second motor run. Roy's three-flight average was 6 minutes, 27.3 seconds.
Tom McCoy built a replica for the new Wakefield International Cup Museum at AMA headquarters. Spearheaded by Charles Dennis Rushing, this museum will chronicle the history of aeromodeling's most-sought-after trophy. Tom's model follows the original's black-and-white color scheme and even includes an authentic rudder decal from Chesterson's model club.
Transcribed from original scans by AI. Minor OCR errors may remain.

