
Free Flight: DURATION
Bob Meuser
Rib-template follow-up
Since I presented non-skid devices and rib templates in the February 1982 issue, several other methods have come to my attention:
- O. C. Stewart
- Uses templates of 1/32-in. plywood or aluminum.
- Puts two dabs of rubber cement on the template; one dabbing will glue several ribs.
- Any cement remaining on the ribs can be removed simply by rubbing with a finger.
- Cyrus Stow and Tom Sanders
- Use an aluminum template placed on a softwood surface and hammer a nail through a couple of strategic locations.
- The resulting burr bites into the balsa rib stock and provides neat pinholes for aligning ribs prior to stacking.
- Romak-Meuser scheme
- Provides neat pinholes for alignment, but the step may be unnecessary since the completed structure will—or should—be sanded before covering.
Winglets
If you missed my columns in January 1978 and August 1977, you might not be aware that winglets have been a recurring topic. A few notes:
- Impact on Free Flight competition
- Surprisingly, winglets have had essentially zero impact on competition Free Flight model aviation. A small increase in span will usually outperform what a winglet can do, especially in limited-span events (Pennyplane, Payload, Cargo, FAI Indoor, etc.).
- Commercial and experimental applications
- Winglets (and multiple winglets) have appeared on several commercial aircraft.
- Developers at the Cranfield Institute of Technology (England) applied tri-winglets to a crop-duster and cited a 10% fuel saving plus better distribution of crop-dusting material. They referred to the devices as “sails.”
- How winglets must be done
- You cannot simply stick any airfoil on a wing tip at arbitrary angles. The forward-most winglet must be set at a rather large negative angle of incidence; because the airflow curls up around the tip, the winglet experiences a positive angle of attack relative to the local flow and can produce a useful forward lift component.
- Successive winglets sit in progressively straighter local airflow and must be set at progressively less-negative incidences.
- Tip plates vs. true winglets
- After Richard “Coke-bottle” Whitcomb’s work, many models used what were called winglets but were really tip plates: flat plates set parallel to the aircraft centerline and glued to the wing tips.
- Tip plates can suppress tip vortices and reduce induced drag, but they also add parasitic drag and may shift aerodynamic center ahead of the CG, requiring a larger fin (which adds drag). It’s a trade-off of costs vs. benefits.
- The Cranfield work deserves credit for a commercially viable multiple-winglet application, though the concept is hardly new—nature (e.g., turkey vultures) shows there are many possible solutions.
Two-piece rib
- Idea by Ed Hopkins (appeared in Ralph Prey’s Satellite):
- Avoids cutting rectangular spar slots in ribs (a common headache for Nostalgia and Old-Timer class models) by making the rib in two pieces.
- Use hard square strips for the lower part and softer material for the upper part. This puts more hard wood near the leading and trailing edges where ribs tend to be weakest.
- A variation: use hard balsa for the bottom piece to beef up the rib at LE and TE joints.
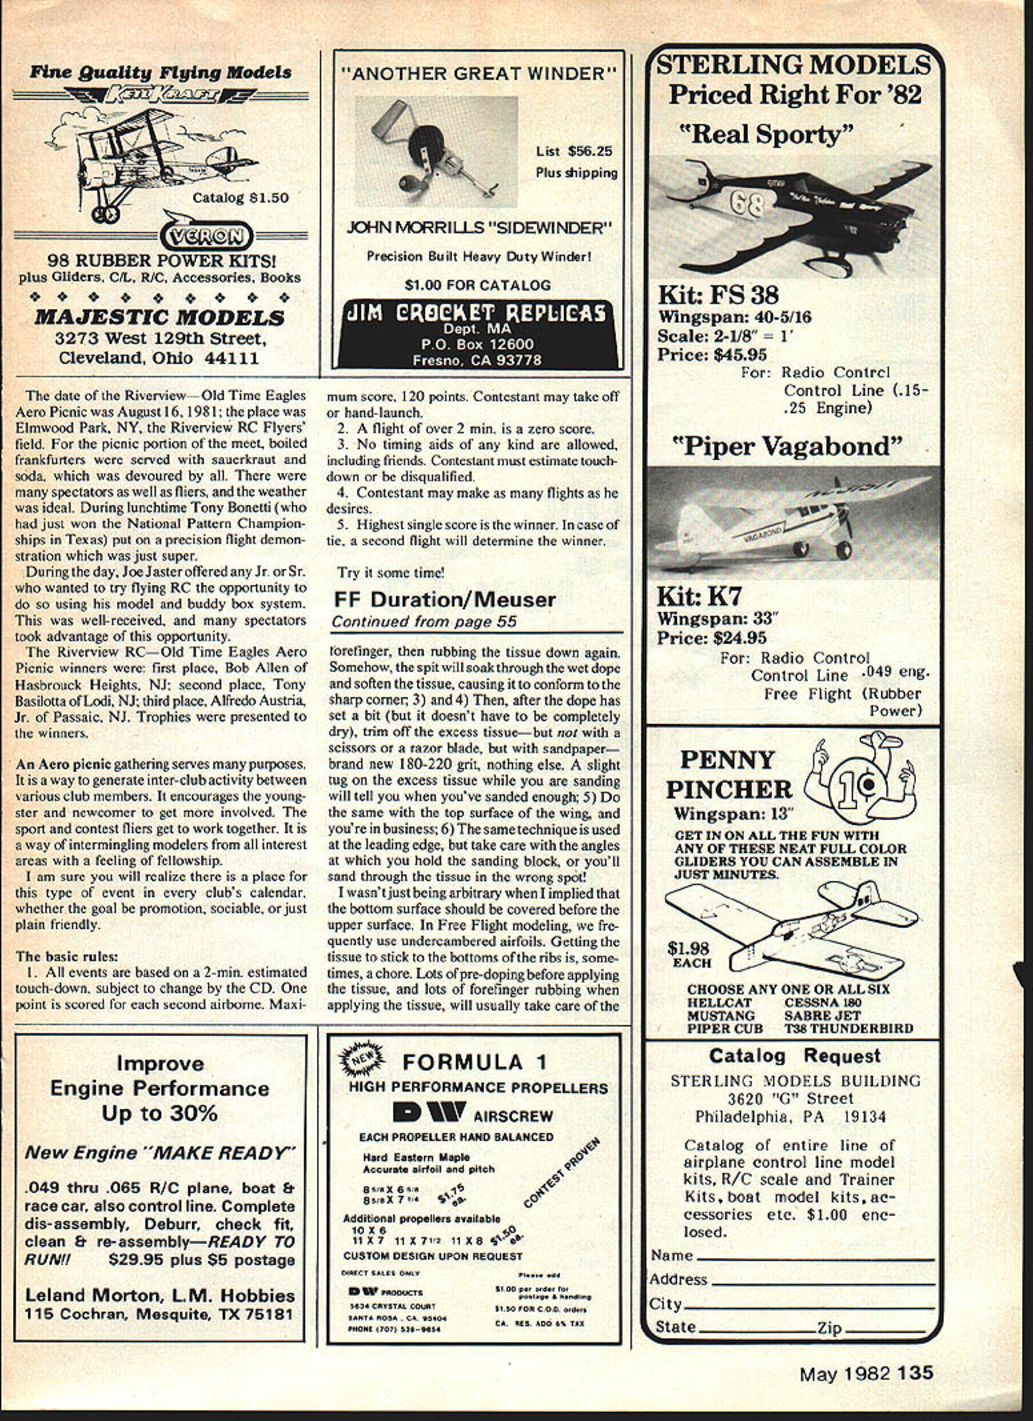
Super-simple torque indicator
- Concept
- A very simple torque indicator (not a calibrated meter) can be made in minutes and at almost zero cost.
- Wind a motor fully (one turn before it breaks), then bend a length of wire so the cut ends line up. Repeatable alignment indicates comparable windings.
- Construction and tuning
- Use wire the same size as the prop-shaft wire, or one size smaller. Smaller wire gives greater sensitivity but may yield or break.
- The twisting portion should be as long as practical (up to about 6 in. is workable) to increase sensitivity.
- Calibration: wind a test motor and tweak the wire ends until they align at the desired torque indication.
- Notes
- It’s an indicator because it lacks a calibrated scale, though you could make a scale by calibration.
- Classy home-brew torque meters by Fred Pearce and Jim O’Reilly have appeared in Free Flight and the NFFS Digest; I wrote a similar article in June 1970 for American Aircraft Modeller.
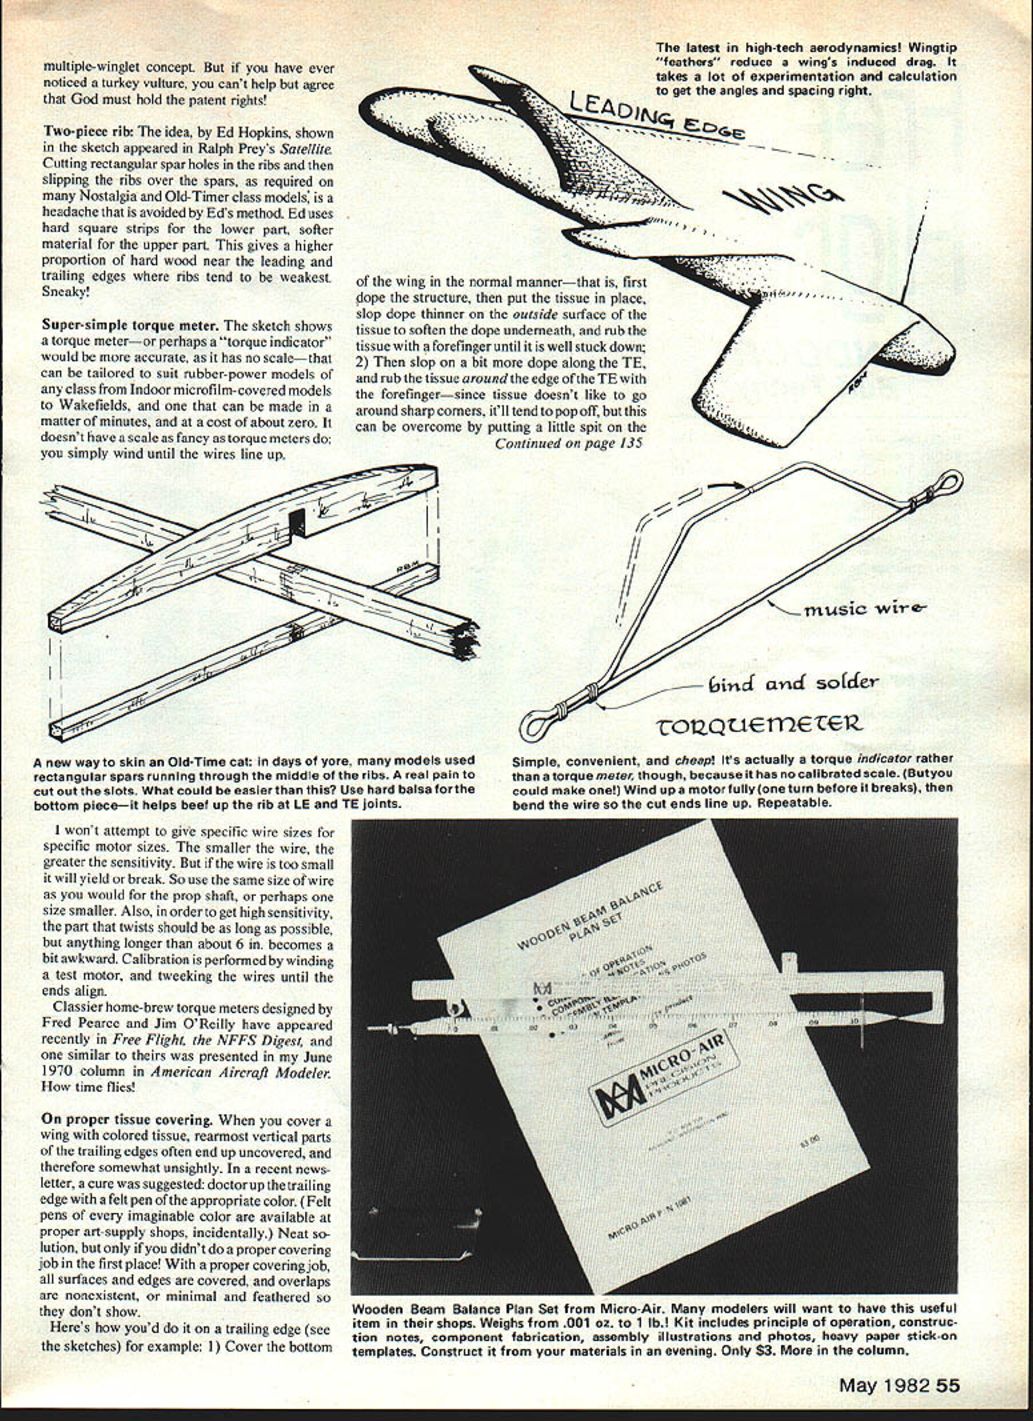
Proper tissue covering
When covering wings with colored tissue, trailing edges can look unsightly if not done properly. Here’s a reliable method for neat TE seams (also useful for LE and compound curves):
- Cover the bottom surface first.
- Dope the structure, place the tissue, then apply thinned dope to the outside of the tissue to soften the dope underneath.
- Rub the tissue with your forefinger until it is well stuck down.
- Dress the trailing edge.
- Apply a bit more dope along the TE and rub the tissue around the edge with the forefinger.
- Tissue resists sharp corners; put a little spit on the forefinger to help the tissue conform. The spit soaks through the wet dope and softens the tissue for a tight corner.
- Trim excess tissue.
- After the dope has set somewhat (not necessarily completely dry), trim excess tissue with sandpaper (brand-new 180–220 grit), not scissors or a razor.
- A slight tug on the excess while sanding tells you when you’ve sanded through the unwanted material.
- Cover the top surface.
- Repeat the same procedure for the top surface; covering the bottom first helps with undercambered airfoils because tissue tends to lift off the bottoms of ribs.
- Compound curves (cowls, wheel pants, etc.)
- Slit the tissue where it tends to overlap and use lots of spit on the forefinger to keep it pliable.
- Let it overlap; when the dope is about half-dry, cut through both layers at the overlaps, remove the waste, and end up with butt-jointed tissue—no gaps, no unsightly overlaps.
Elegant covering may not win you contests, but it makes you feel better about the job—and about losing!
Rules, records and the FFCB
There’s an important administrative issue that often escapes notice: rule changes can affect AMA National Records because records are tied to the rules in effect when they were set.
- Responsibility
- Deciding whether to keep or vacate records after rule changes is properly the duty of the various Contest Boards. In Free Flight, that body is the FFC Contest Board (FFCB).
- In practice, the task has often fallen to AMA HQ staff (notably Frank Ehling) for convenience, deadlines, and communication reasons, but the responsibility belongs to the Contest Board.
- FFCB policy (adopted recently)
- If the new rule is less restrictive than the old rule, existing records will stand.
- If the new rule is more restrictive, the FFCB will decide on a case-by-case basis whether the record could have been set under the new rule. If it could, the record stands; if it couldn’t, the record is vacated.
- Practical problems
- Documentation of original record flights is often sketchy or incomplete, making determinations difficult.
- Vacating records can create ill will and controversy; nevertheless, some policy was necessary.
- Timing and voting
- FFCB members should know how proposed rule changes might affect existing records before they cast final ballots. That information would likely influence votes.
- Current situation (impact of recent changes)
- Frank Ehling currently has a stack of record applications at AMA HQ that cannot be accepted until the FFCB determines how recent rule changes will affect previous National Records.
- Indoor categories were heavily impacted by Phil Klintworth’s proposal to adopt FAI ceiling categories and limits.
- The new Cat. I upper limit is lower than the previous AMA Cat. I limit; the new Cat. II upper limit is greater than the previous AMA Cat. I limit. Thus, old Cat. I records might become new Cat. II records, and old Cat. III records might become new Cat. II records.
- The previous Cat. II upper limit was greater than both new Cat. II and Cat. III limits, so previous Cat. II records could become new Cat. IV records, provided they exceeded the old Cat. III records.
- Outdoor: P30 is directly affected (we now have 2-minute maxes instead of 3). Category I Gas events are affected by the VTO/ROG engine run-time bonus; Category I ROW is not affected.
- Practical advice
- Records are established under the rules in effect at the time of the flight. If a pending rule change might affect a record attempt, consider making the attempt before the change becomes effective—or be prepared for re-examination afterward.
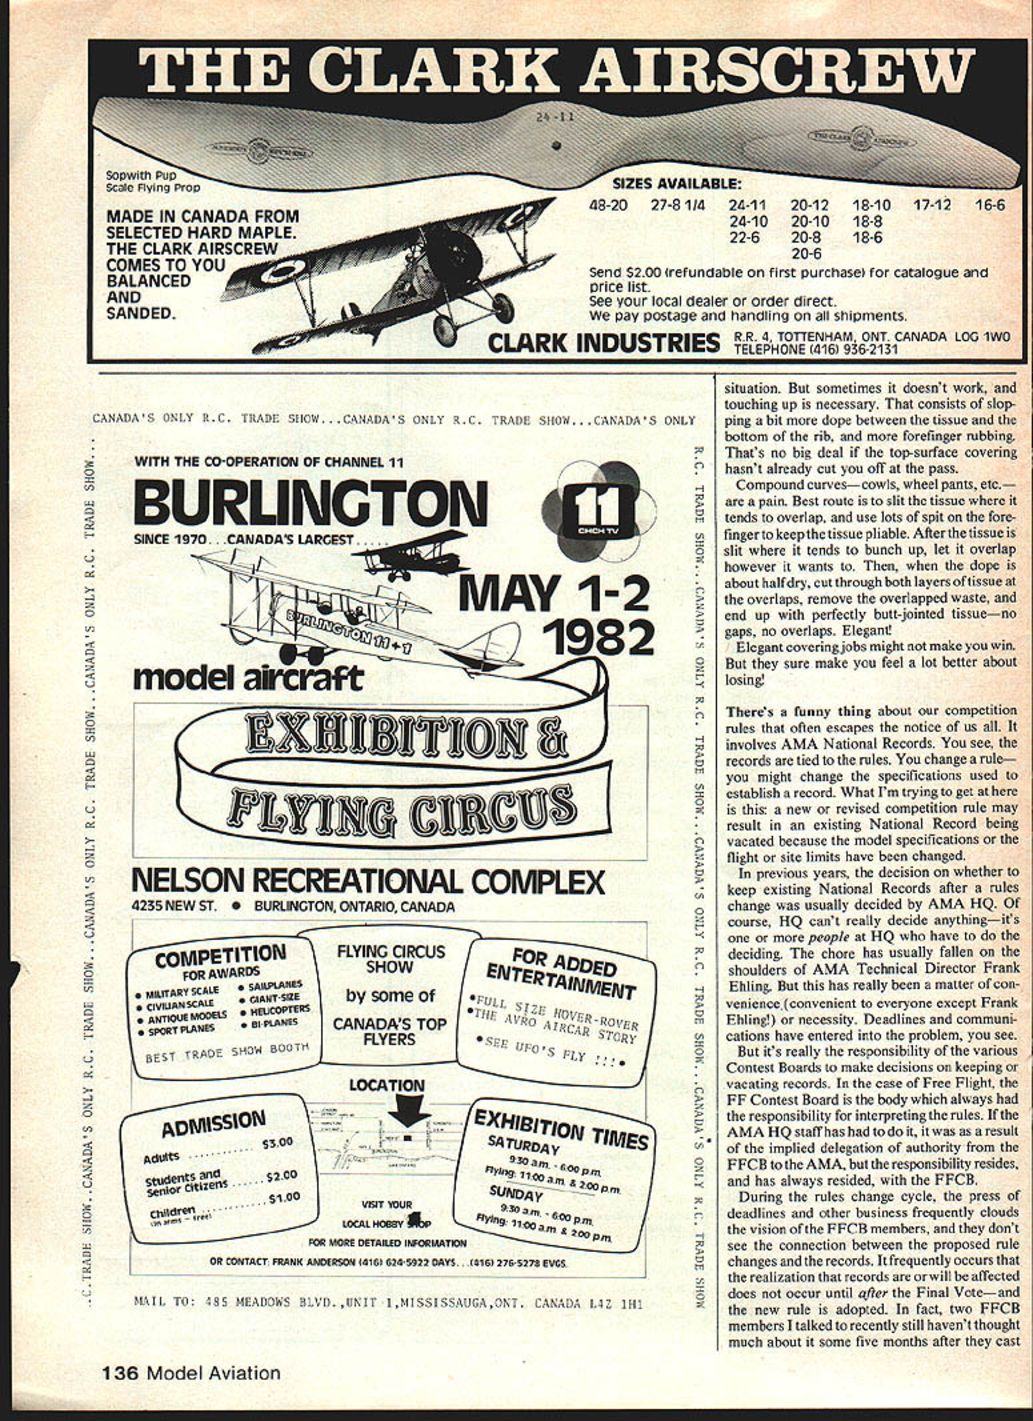
Small precision balance (Micro-Air kit)
- Description
- A compact balance, about 14 in. overall, capable (according to the literature) of measuring from 0.001 oz. to 1 lb.
- Kit includes five pages of instructions and a 4 1/4 x 11-in. set of heavy paper stick-ons with self-adhesive backing for the graduated beam scale, a conversion table, and templates for the sheet-metal and wire parts.
- Builder supplies sheet-metal stock, wood for the balance beam, and common hardware.
- Calibration and use
- Calibrate with a 1-oz. check weight (modeling clay recommended).
- Trim a paper clip (with added solder or wire) until the beam balances at the .10 mark; make the small sliding weight from copper wire for the fractional range.
- With the smaller sliding weight you can weigh up to 0.1 oz. with 0.0001-oz. graduations; with the larger weight, up to 1 oz. with 0.01-oz. graduations. Using a 1-lb. initial check weight allows weighing up to a pound in 0.01-oz. steps.
- Caveats
- The distance between the knife-edge and the holes in the balance-pan support bracket must be exactly 1 in. per the instructions. A 0.010-in. error corresponds to a single smallest graduation error if you’re working at 0.001-oz. resolution.
- Practical minimum useful accuracy is about 0.001 oz., limited by friction and air currents.
- Price: $3.00 postpaid from Micro-Air Precision Products, PO Box 1129, Richland, WA 99352.
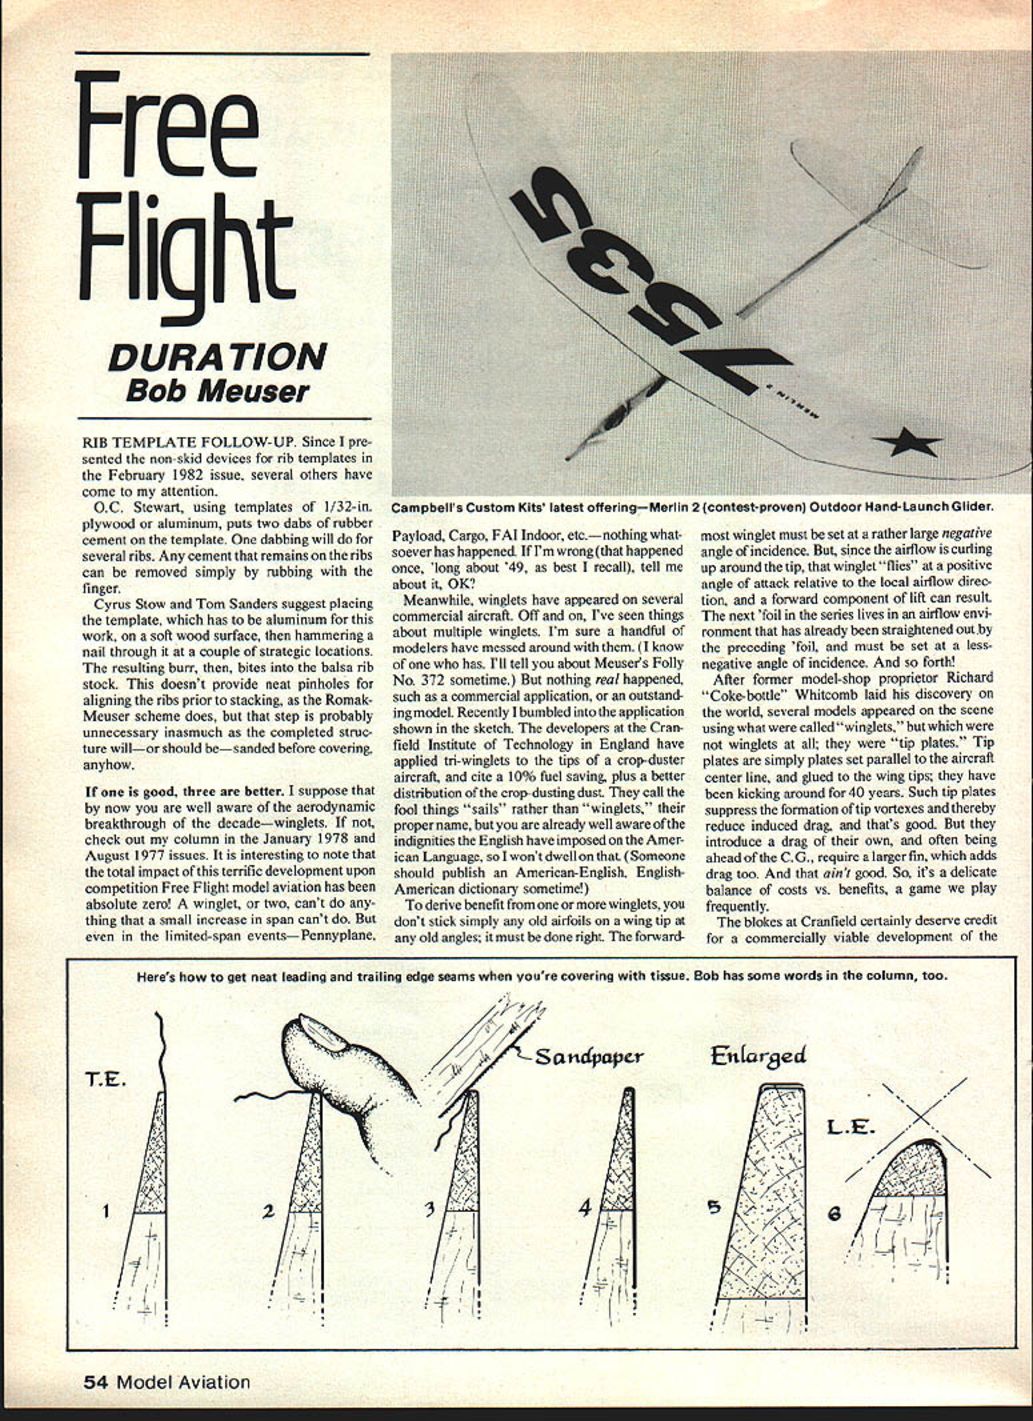
New kit: Campbell’s Merlin 2
- Campbell’s Custom Kits has released the 18-in.-span Merlin 2 Outdoor Hand-Launched Glider.
- Proven contest design: 1st place at the 1975 Canadian Nats (designer Chuck Weise), 2nd place at the 1981 Canadian Nats (Junior, John Renkin).
- Kit quality is up to Campbell’s usual standards; includes 1/4-in. wing plank with tapered trailing edge and a one-piece precut spruce fuselage.
- Price: $4.98 at hobby shops. Order direct from Campbell’s Custom Kits, PO Box 5996, Lake Worth, FL for the same price plus $2.00 shipping and handling.
Fly safe, enjoy the sport, and remember that technique, craftsmanship and common sense usually serve you better than chasing gimmicks.
Bob Meuser 4200 Gregory St. Oakland, CA 94619
Transcribed from original scans by AI. Minor OCR errors may remain.

