

Free Flight: INDOOR
Bud Tenny
QUESTIONS! QUESTIONS! Any model construction article such as Walt Van Gorder's "Easy B" article (Pieces, January 1982 M/A) answers many questions, but it is also likely to raise new questions as well. In particular, someone with just a little experience will be able to get a lot of good from the article, but invariably the lack of specific experience will cause a hangup in communications. This did happen with Walt's article, and the following questions came from trying to clear up points he made there:
- What advantage is an assortment of props for one model? How do you know when to use a different one?
- What is meant by "changing flying conditions?"
- Of course, lighter models should fly longer, but how do you learn to build lighter models?
- What are some different ways to wind a motor?
- Explain what washin and washout are, and when to use them.
- How do you make thrust angle adjustments, and when are they needed?
A tall order! Those questions may be more than can easily be covered in one column, but let's give it a try.
To begin with, even if most builders built two props "exactly alike," they wouldn't be! Assuming that there is nothing of major importance wrong with either of two "identical" props, minute differences in wood, blade alignment, weight, and strength of the wood used in the blades (talking about Easy B props, now) mean each prop will work slightly differently. In some cases, one prop will be clearly superior in performance. It is likely that only a very experienced flier will be able to decide just what the difference is, and perhaps be able to repair or change the poor prop for better performance.
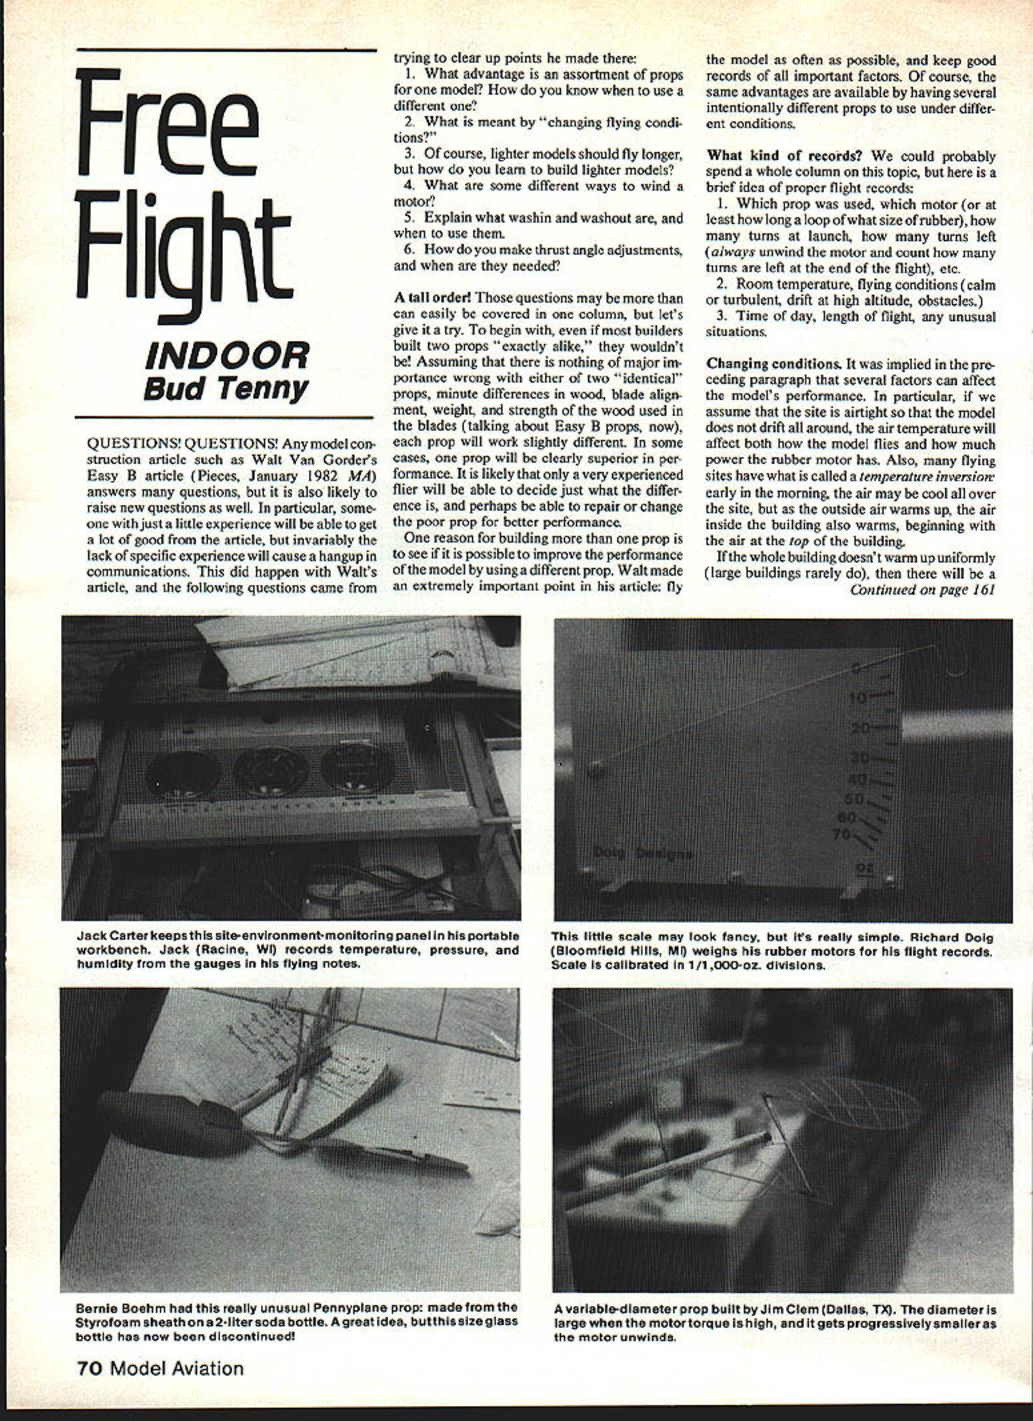
One reason for building more than one prop is to see if it is possible to improve the performance of the model by using a different prop. Walt made an extremely important point in his article: fly the model as often as possible, and keep good records of all important factors. Of course, the same advantages are available by having several intentionally different props to use under different conditions.
Flight records
What kind of records? We could probably spend a whole column on this topic, but here is a brief idea of proper flight records:
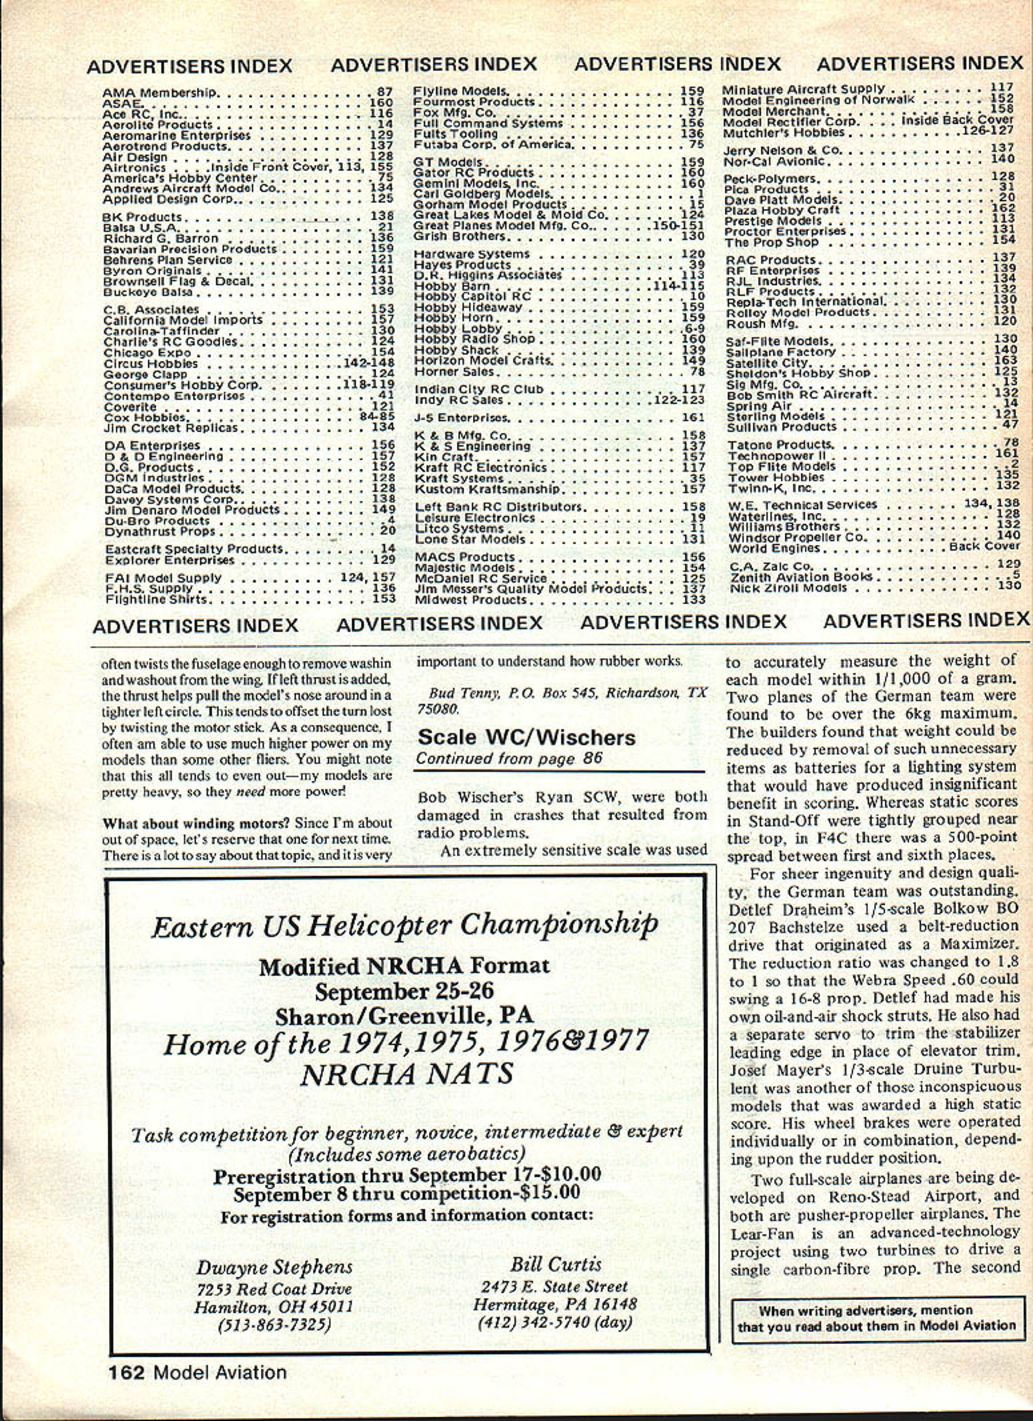
- Which prop was used, which motor (or at least how long a loop of what size of rubber), how many turns at launch, how many turns left (always unwind the motor and count how many turns are left at the end of the flight), etc.
- Room temperature, flying conditions (calm or turbulent, drift at high altitude, obstacles).
- Time of day, length of flight, any unusual situations.
Changing conditions
Several factors can affect the model's performance. In particular, if we assume that the site is airtight so that the model does not drift all around, the air temperature will affect both how the model flies and how much power the rubber motor has. Also, many flying sites have what is called a temperature inversion early in the morning; the air may be cool all over the site, but as the outside air warms up the air inside the building also warms, beginning with the air at the top of the building. If the whole building doesn't warm up uniformly (large buildings rarely do), then there will be a warm air layer at the top that may take quite a bit of power for the model to break out into the cooler air.
As soon as the model gets into the warm air, the motor will absorb warmth from the surrounding air, increase in temperature and translate into extra energy available to the motor. In addition, air turbulence will often upset the model and it will lose altitude and flight time.
Building light models
To a certain extent the following remarks are a simplification. The ability to build light models depends as much on technique as on having super-light wood. Briefly, keep careful records of the weight of each part of the model at various stages of building. After you have flown the first model and see anything that is too weak, you can build that part on the next model a little bit lighter, again keeping record weights.
After some practice, some part of the latest model will be too light, and we will break it often. At that point, we have discovered the limits for one part of the model. After we have discovered how light each part of the models can be, the resulting models will be much lighter than the first models we built. After much practice, even those limits are likely to be outmoded, since we will have learned to handle lighter models safely.
Washin and washout
These two terms refer to intentional wing twist (warp).
- Washin means that the leading edge of half of the wing or stab is higher than the trailing edge; that is, the surface is twisted into a higher angle of attack.
- Washout is just the opposite—wing twist that reduces the angle of attack.
The reasons for having washin/washout adjustments in a wing are twofold: to control torque and to compensate for turning flight. If we think about a model flying in a circle, we realize that the inboard wing tip is traveling a smaller circle than the outboard wing tip; therefore, it is actually flying slower. Consequently, to derive the same lift from the inboard wing, it is necessary to increase the angle of attack of the airfoil. Washin will do this nicely.
In the same way, we can use reverse twist (washout) to help reduce the excess lift generated by the faster-flying outboard wing. Many model designs minimize the amount of washin and washout required by making the inboard wing longer to get extra lift from having more area on the inboard side of the model.
What about torque? Torque is the reaction of the model to the twisting force applied to the propeller by the rubber motor. That is, when the motor turns the propeller clockwise, it is also trying to turn the fuselage counterclockwise. This adds a downward force to the inboard wing, and extra washin, extra area, or a combination of the two will help overcome this force.
Thrust adjustments
The ability to change the angle of the thrust line (a line through the prop shaft) is very useful when adjusting indoor models. In order to be able to make this adjustment, the model must have a double thrust bearing. That is, the prop shaft is supported by a bearing in front and (usually) a hook in the rear. If the thrust bearing can be bent, or otherwise adjusted, the prop shaft can be made to point some direction other than straight forward.
Some fliers actually plan ahead and build their favorite thrust adjustments during construction of the model. For example, I nearly always use at least a small amount of left thrust, and may install more after early test flights.
What is the benefit of thrust adjustments? Different adjustments "take hold" at different times; for example, turn installed in a rudder increases effectiveness as the model speed increases. Turn caused by stab tilt is largely a low-speed adjustment, and thrust line adjustments have the greatest effect when thrust is high.
One problem which many indoor models have is a tendency for the trim to open up (get wider) during the power burst. Much of this problem comes from the fact that the tightly wound motor distorts the model. The major effects on Easy B-type models are that the motor stick twists a lot, which sometimes causes reverse stab tilt, and it often twists the fuselage enough to remove washin and washout from the wing. If left thrust is added, the thrust helps pull the model's nose around in a tighter left circle. This tends to offset the turn lost by twisting the motor stick. As a consequence, I often am able to use much higher power on my models than some other fliers. You might note that this all tends to even out—my models are pretty heavy, so they need more power!
What about winding motors? Since I'm about out of space, let's reserve that one for next time. There is a lot to say about that topic, and it is very important to understand how rubber works.
Bud Tenny P.O. Box 545, Richardson, TX 75080.
Transcribed from original scans by AI. Minor OCR errors may remain.

