
Free Flight: Indoor
Bud Tenny Box 545 Richardson, TX 75080
And in the center ring
Well, it isn't a three-ring circus. It's more fun! In a reprise of the events of 1988, the 1990 edition of the Johnson City Indoor competition includes the 1990 Indoor World Championships (June 4–6, 1990) and the 1990 NFFS U.S. Indoor Championships (June 7–9, 1990). Running concurrently with the USIC is the 1990 AMA Indoor Nationals. The NFFS crew has a solid track record under the unequaled leadership of Tony Italiano. If you haven't made plans to go, get to it: send a business-sized SASE to Tony Italiano for entry forms at 1655 Revere Dr., Brookfield, WI 53005.
Flying opportunities
The following are the only currently known contest dates.
California
- San Diego: Monthly sessions in Cat. I.
Contact: Howard Haupt, 3860 Ecochee Ave., San Diego, CA 92117.
Florida
- Miami: Contact Dr. John Martin, 2180 Tigertail Ave., Miami, FL 33133; phone 1-305-858-6363.
- MIAMA Meet #6: May 12–13, 1990 at MacDill AFB, Tampa.
Kansas
- Topeka: TOPMAC Indoor Meet, May 13, 1990. Club Record Trials and Mini Contest.
Contact: Jack Koehlar, 3425 SW Arrowhead Rd., Topeka, KS 66614-3845; phone 1-913-272-8439.
Pennyplane rubber control
The problem
Pennyplanes in general, and Novice Pennyplanes in particular, have a problem with rubber knots jamming and failing to unwind. Under very high torque the motor tends to creep up on the hook, regardless of the hook's design. The problem is greatest with Novice Pennyplanes because the limited prop diameter requires very long rubber loops. Full Pennyplane props (approaching 20 in. diameter) require a relatively higher rubber cross section for the same rubber weight; therefore the loops are shorter and have less tendency to bunch and creep.
Classic rubber theory
Classic rubber theory indicates the maximum theoretical duration of a rubber-powered model will occur when the rubber weight is twice the airframe weight. From a practical standpoint, a ratio of 1:3 (airframe:rubber? — intended meaning: rubber weight about one-third of airframe weight) is easier to handle and yields about 95% of the maximum theoretical duration. Even then, when you try to accommodate 3.9 grams of rubber on a very short Pennyplane fuselage, there will definitely be problems!
Anticreep and antibunch techniques
Two of the most successful suggestions I've received are vertical hooks and rubber-tubing sleeves.
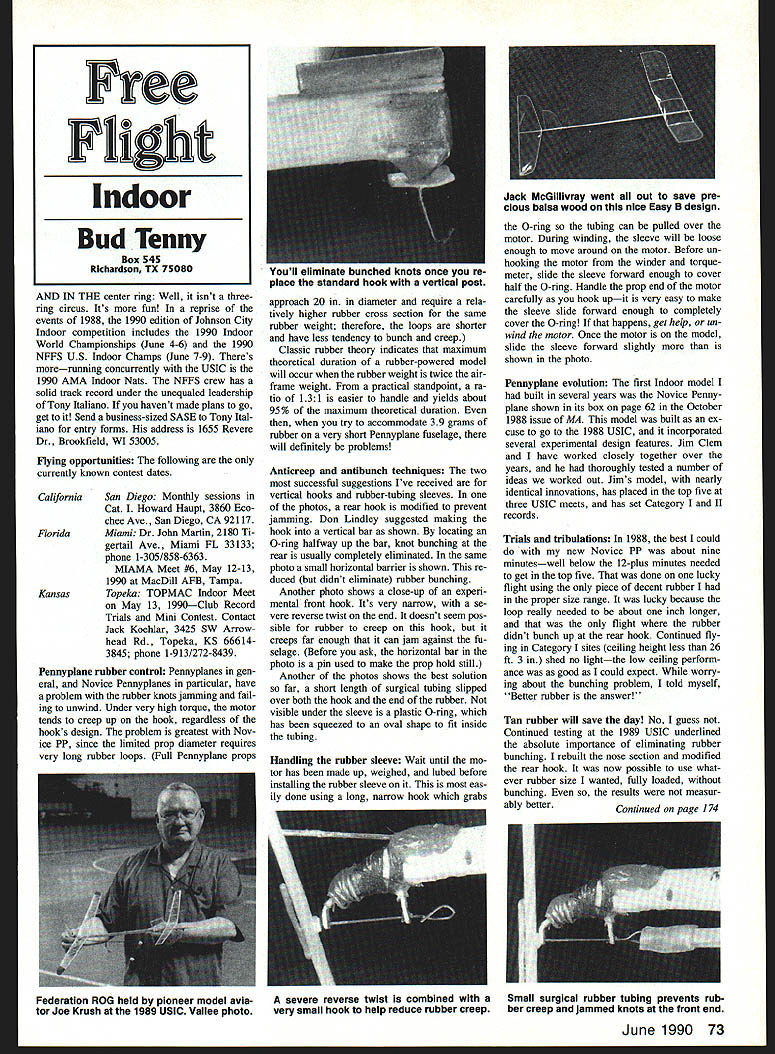
- Vertical-bar rear hook: Don Lindley suggested making the rear hook a vertical bar. By locating an O-ring halfway up the bar, knot bunching at the rear is usually completely eliminated. A small horizontal barrier can reduce bunching but often does not eliminate it.
- Narrow reverse-twist front hook: An experimental front hook that is very narrow with a severe reverse twist on the end makes it difficult for the rubber to creep onto the hook. If creep does occur far enough, the rubber can jam against the fuselage.
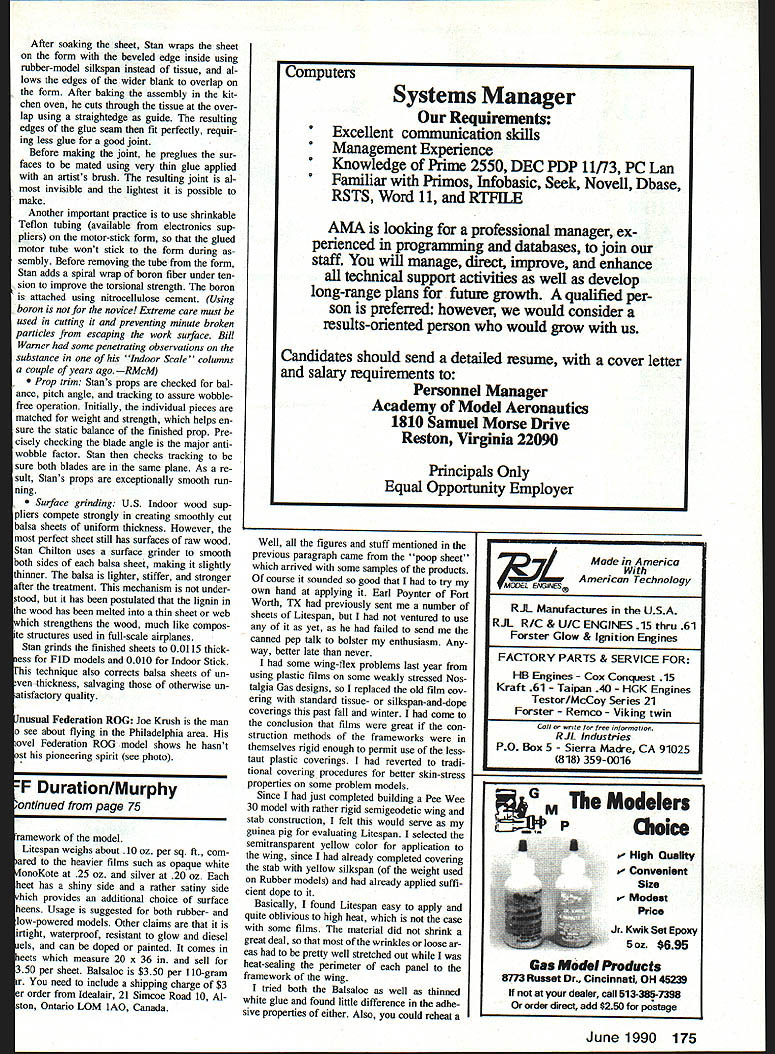
- Surgical tubing sleeve: The best solution so far is a short length of surgical tubing slipped over both the hook and the end of the rubber. Under the sleeve is a plastic O-ring squeezed to an oval shape so it fits inside the tubing. This combination significantly reduces jamming.
Handling the rubber sleeve
- Wait until the motor has been made up, weighed, and lubed before installing the rubber sleeve.
- Use a long, narrow hook to grab the O-ring so the tubing can be pulled over the motor.
- During winding the sleeve will be loose enough to move around on the motor. Before unhooking the motor from the winder and torquemeter, slide the sleeve forward enough to cover half of the O-ring.
- Handle the prop end of the motor carefully when hooking up — it is very easy to make the sleeve slide forward enough to completely cover the O-ring. If that happens, get help or unhook the motor.
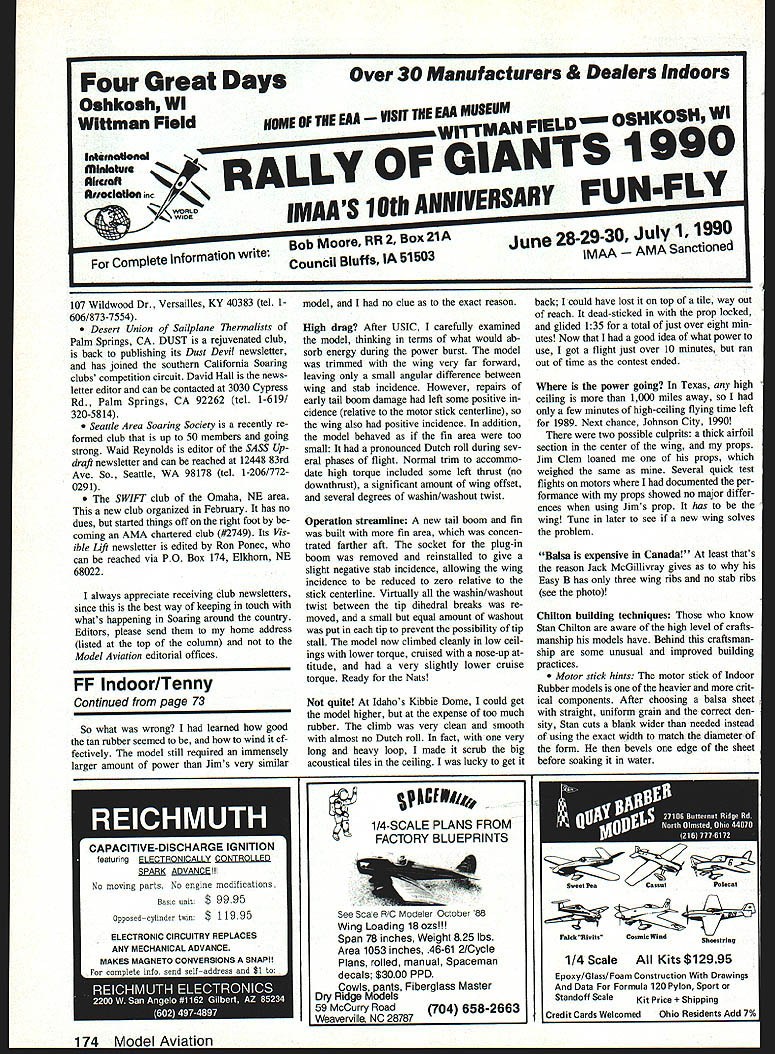
Pennyplane evolution
Origins
The first indoor model I built in several years was a Novice Pennyplane shown in its box on page 62 of the October 1988 issue of MA. This model was built as an exercise to go to the 1988 USIC and incorporated several experimental design features. Jim Clem and I have worked closely over the years; he had thoroughly tested a number of ideas we developed. Jim's model, with nearly identical innovations, has placed in the top five at three USIC meets and has set Category I and II records.
Trials and tribulations
In 1988 the best I could do with my new Novice Pennyplane was about nine minutes — well below the 12-plus minutes needed to get into the top five. That was achieved on one lucky flight using the only piece of decent rubber I had in the proper size range; the loop really needed to be about an inch longer, yet the flight didn't bunch up at the rear hook.
Continued flying in Category I sites (ceiling heights less than 26 ft. 3 in.) showed that low-ceiling performance was as good as I could expect. While worrying about the bunching problem, I told myself, "Better rubber is the answer!" Testing in 1989 underlined the absolute importance of eliminating rubber bunching. I rebuilt the nose section and modified the rear hook so it was possible to use whatever rubber size I wanted, fully loaded, without bunching. Even so, the results were not measurably better.
High drag? Operation streamline
After the USIC I carefully examined the model to find what was absorbing energy during the power burst. The model had been trimmed with the wing very far forward, leaving only a small angular difference between wing and stab incidence. Repairs of early tail-boom damage had left some positive incidence (relative to the motor stick centerline), so the wing also had positive incidence. The model also exhibited a pronounced Dutch roll in some flight phases, suggesting the fin area might be too small. High torque included some left thrust, a significant wing offset, and several degrees of washin/washout twist.
Modifications made:
- Built a new tail boom and fin with more fin area concentrated farther aft.
- Removed and reinstalled the socket for the plug-in boom to give a slight negative stab incidence, allowing wing incidence to be reduced to zero (or near zero) relative to the stick centerline.
- Removed virtually all washin/washout twist, re-strengthened the two dihedral breaks, and added a small but equal amount of washout in each tip to prevent tip stall.
After these changes the model climbed cleanly in low-ceiling sites with lower torque, cruised with a nose-up attitude, and had a slightly lower cruise torque. I thought it was ready for the Nationals.
Kibbie Dome and ceiling effects
At Idaho's Kibbie Dome the model climbed higher but at the expense of using too much rubber. The climb was clean and smooth with almost no Dutch roll. With one very long and heavy loop I scrubbed the big acoustical tiles in the ceiling and was lucky to get the model back. It dead-sticked in with the prop locked and glided 1:35 for a total of just over eight minutes. I later got a flight just over ten minutes, then ran out of time as the contest ended.
Where is the power going?
With high ceilings more than 1,000 miles away, I had only limited high-ceiling flying time left for 1989. Two possible culprits remained: a thick airfoil section in the center of the wing, and my props. Jim Clem loaned me one of his props, which weighed about the same as mine. Several quick test flights on motors where I had documented the performance with my props showed no major differences when using Jim's prop. That left the wing as the likely issue. Tune in later to see if a new wing solves the problem.
Transcribed from original scans by AI. Minor OCR errors may remain.

