
OLD TIMERS
Clarence Haught
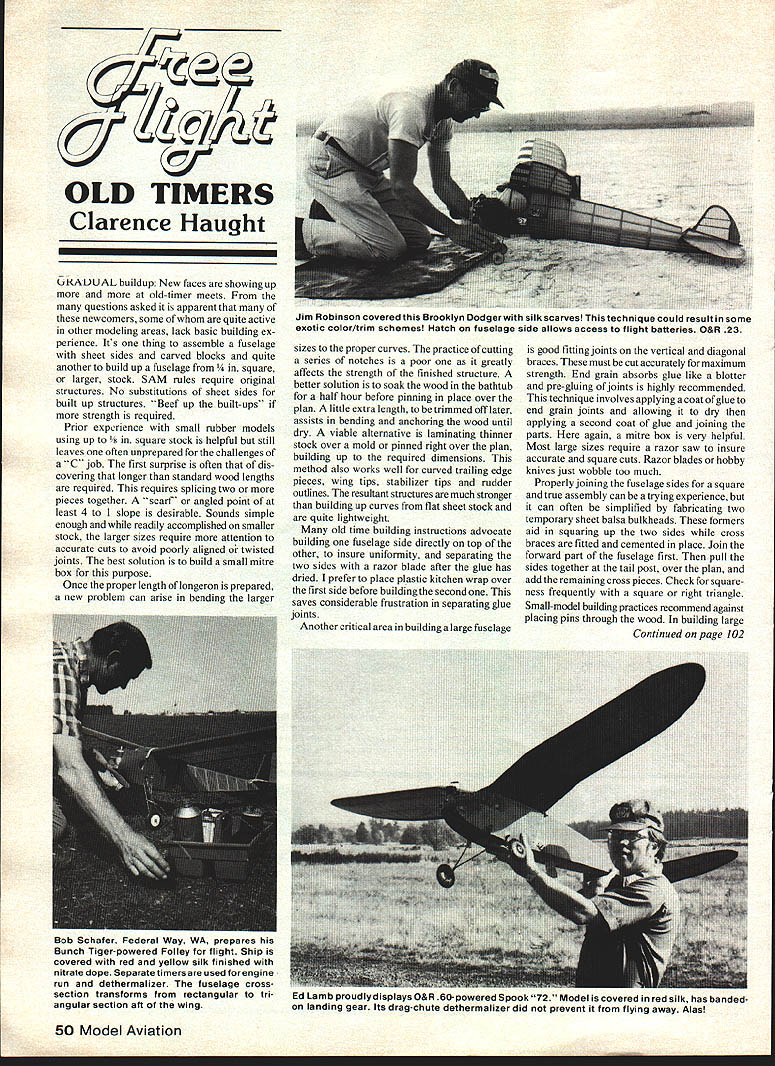
Gradual buildup: New faces are showing up more and more at old-timer meets. From the many questions asked it is apparent that many of these newcomers, some of whom are quite active in other modeling areas, lack basic building experience. It's one thing to assemble a fuselage with sheet sides and carved blocks and quite another to build up a fuselage from 1/4-in. square, or larger, stock. SAM rules require original structures — no substitutions of sheet sides for built-up structures. "Beef up the built-ups" if more strength is required.
Materials and stock lengths
Prior experience with small rubber models using up to 1/8-in. square stock is helpful but still leaves one often unprepared for the challenges of a "C" job. The first surprise is often discovering that longer-than-standard wood lengths are required. This requires splicing two or more pieces together. A "scarf" or angled point of at least 4:1 slope is desirable. Sounds simple enough, and while readily accomplished on smaller stock, the larger sizes require more attention to accurate cuts to avoid poorly aligned or twisted joints. The best solution is to build a small mitre box for this purpose.
Splicing and bending
Once the proper length of longeron is prepared, a new problem can arise in bending the larger sizes to the proper curves. The practice of cutting a series of notches is a poor one as it greatly affects the strength of the finished structure. A better solution is to soak the wood in the bathtub for a half hour before pinning in place over the plan. A little extra length, to be trimmed off later, assists in bending and anchoring the wood until dry.
A viable alternative is laminating thinner stock over a mold or pinned right over the plan, building up to the required dimensions. This method also works well for curved trailing-edge pieces, wing tips, stabilizer tips and rudder outlines. The resultant structures are much stronger than building up curves from flat sheet stock and are quite lightweight.
Building fuselage sides
Many old-time building instructions advocate building one fuselage side directly on top of the other to insure uniformity, and separating the two sides with a razor blade after the glue has dried. I prefer to place plastic kitchen wrap over the first side before building the second one. This saves considerable frustration in separating glue joints.
Another critical area in building a large fuselage is good-fitting joints on the vertical and diagonal braces. These must be cut accurately for maximum strength. End grain absorbs glue like a blotter, and pre-gluing of joints is highly recommended. This technique involves applying a coat of glue to the end-grain joints, allowing it to dry, applying a second coat of glue, and joining the parts again. A mitre box is very helpful.
Tools and squaring the assembly
Most large sizes require a razor saw to ensure accurate square cuts. Razor blades or hobby knives just wobble too much. Properly joining the fuselage sides for a square, true assembly can be a trying experience, but can often be simplified by fabricating two temporary sheet-balsa bulkheads. These formers aid in squaring up the two sides while cross braces are fitted and cemented in place. Join the forward part of the fuselage first. Then pull the sides together at the tail post, over the plan, and add the remaining cross pieces. Check squareness frequently with a square or right triangle.
Pins and permanent fasteners
Small-model building practices recommend against placing pins through the wood. For large models, it is often helpful to use permanent pins to increase strength. Larger-than-standard pins are available in most sewing shops, and can be driven into the structure or building board with a small tack hammer.
Longevity, planking, and internal sheeting
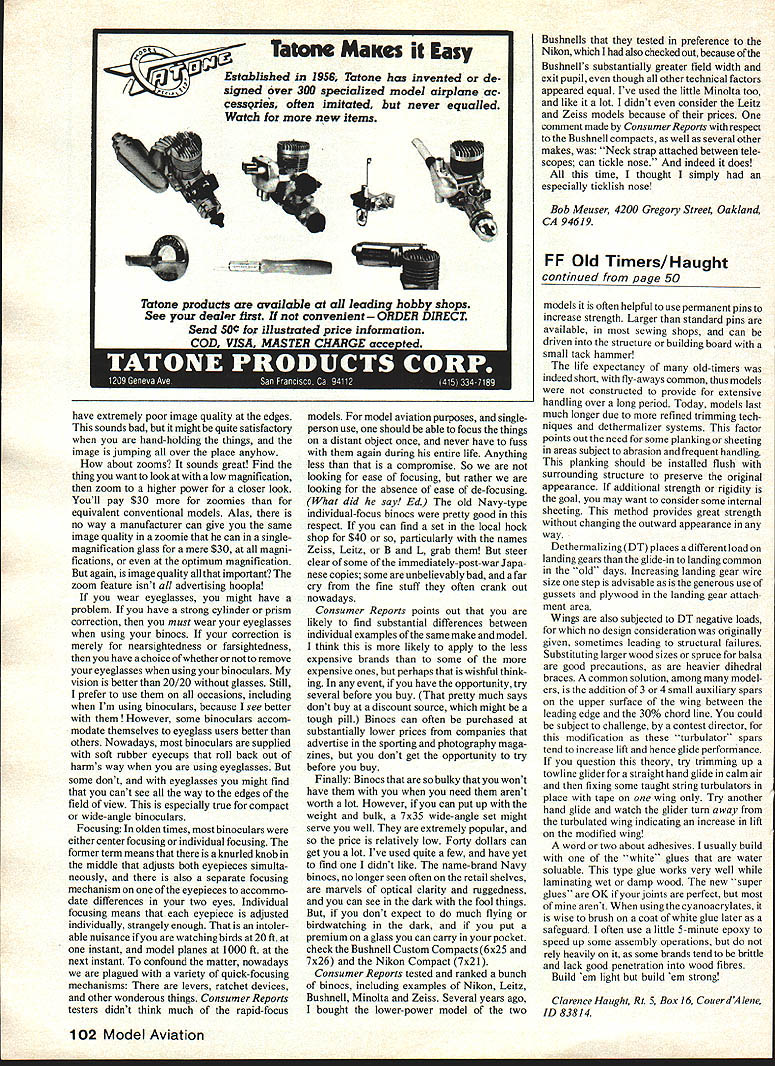
The life expectancy of many old-timers was indeed short, with fly-aways common; thus models were not constructed to provide for extensive handling over a long period. Today, models last much longer due to more refined trimming techniques and better materials. This points out the need for some planking or sheeting in areas subject to abrasion and frequent handling. This planking should be installed flush with the surrounding structure to preserve the original appearance. If additional strength or rigidity is the goal, consider some internal sheeting. This method avoids changing the outward appearance in any way.
Landing gear, dethermalizing (DT), and reinforcements
Dethermalizing (DT) places a different load on the landing gear than the glide-in-to-land common in the "old" days. Increasing landing-gear wire size or stepping up the wire is advisable; the generous use of gussets and plywood in the landing-gear area also adds strength.
Wings are likewise subjected to DT negative loads, for which no design consideration was originally given. Some builders have added gussets at the spar junctions, built up the spar section, or used plywood reinforcement to strengthen the wing roots. A common solution among many modelers is the addition of a small auxiliary spar or a strip on the upper surface of the wing between the leading edge and the 30% chord line to help resist the loads imposed by DT landings.
Whenever you add reinforcements, try to install them so they are flush and blend with the original structure to maintain the model's appearance. Reasonable reinforcement and careful detailing can greatly extend the life and usefulness of an old-timer without substantially altering its outward lines.
Address
Clarence Haught R.F.D. 5, Box 16 Coeur d'Alene, ID 83814
Transcribed from original scans by AI. Minor OCR errors may remain.

