
Free Flight: Old-Timers
Clarence Haught
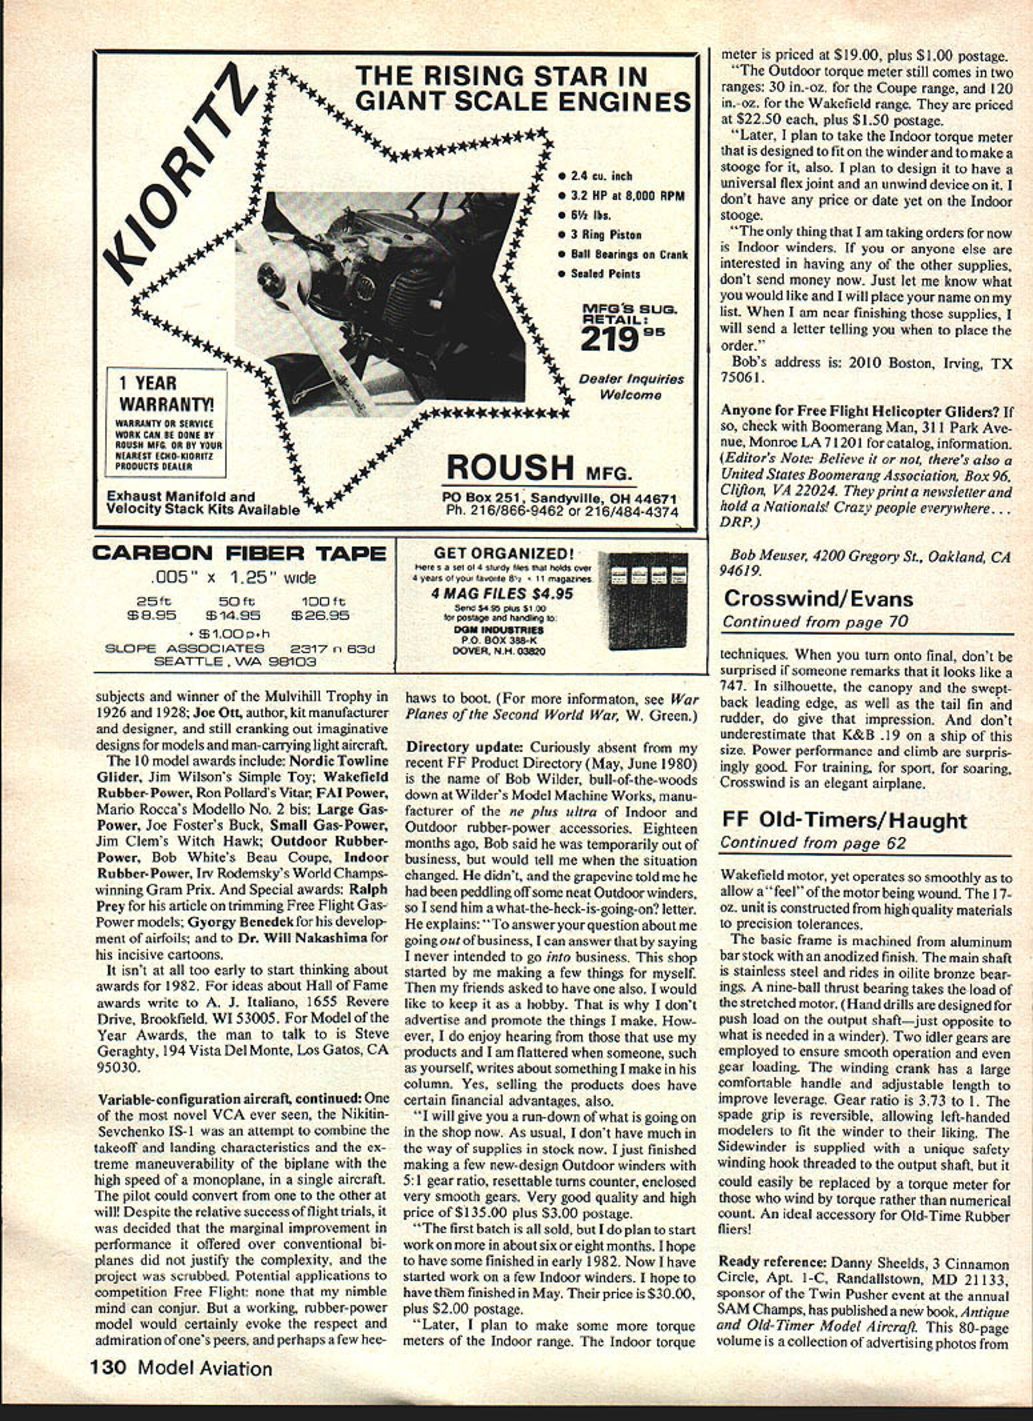
Colored Silkspan
From the very beginning, Free Flighters have recognized the value of lightweight finishes. The nature of Free Flight also dictates visible finishes to assist in keeping the model in sight during long chases and locating it among concealing brush and tall weeds. Colored dope, being both costly and heavy, led the way to colored paper finished with clear dope. I don't personally date back to the bamboo paper/banana-oil covering methods, but I do recall abundant supplies of colored silkspan stored in rolls on hobby shop shelves. Bright sun shining through colored silkspan finished with clear dope is forever etched on my earliest recollection of my ventures into gas model flight. Today, colored silkspan is not readily available, and Japanese tissue, a viable alternative when double-covered, is getting scarce in some colors.
A recent shop project forced a little soul-searching and brought to mind a technique used years ago when I had plenty of white silkspan available and no money to purchase colored silkspan. My solution then was to dye the white tissue to the desired color.
The procedure is simple:
- Prepare the structure by applying two coats of clear dope, with a light sanding between coats.
- Cut the silkspan to the approximate size.
- Dissolve a package of Rit cloth dye (obtainable at any variety store) in a pan of water.
- Submerge the silkspan in the dye solution, moving the paper around in the dye to ensure even coloring, until the desired color intensity is achieved.
- Remove the silkspan and blot it between sheets of newspaper to remove excess water.
- Lay the dyed silkspan on the structure and smooth out wrinkles. Lift the edges back and apply clear dope to the structure, then stick the tissue down and pull out wrinkles.
Continue the process, being careful to match the color on succeeding pieces. As the dye strength gets weaker, it will need more time to obtain the desired color match. Don't forget to dye a few scraps for patching material. Just hang them up to dry and ignore the puckered appearance — they will work fine when applied damp.
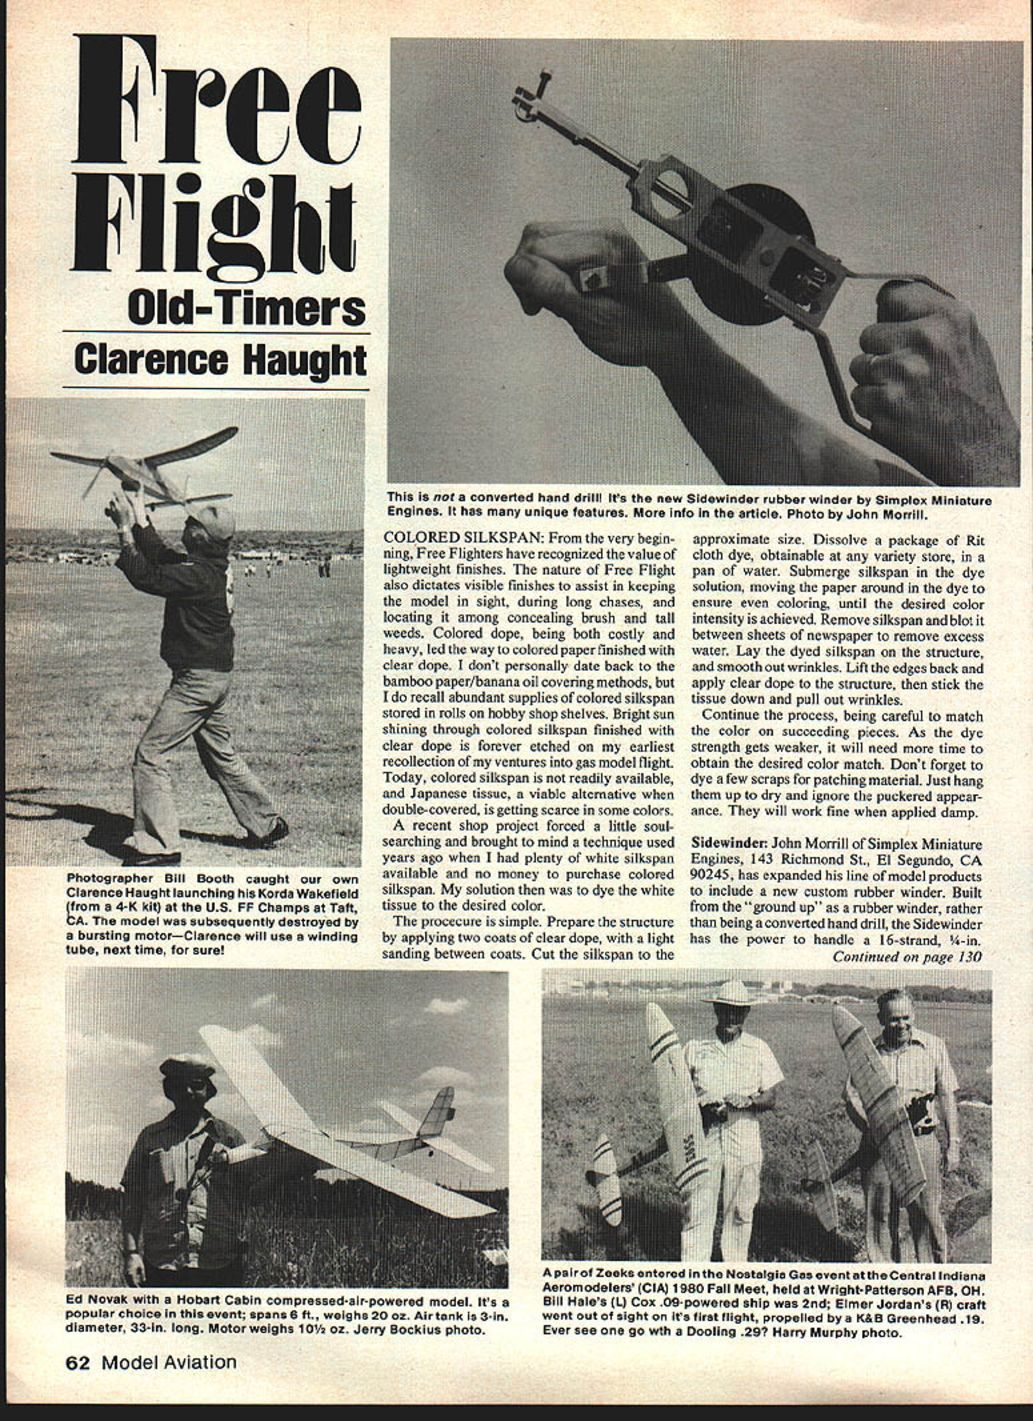
Sidewinder
John Morrill of Simplex Miniature Engines, 143 Richmond St., El Segundo, CA 90245, has expanded his line of model products to include a new custom rubber winder. Built from the "ground up" as a rubber winder, rather than being a converted hand drill, the Sidewinder has the power to handle a 16-strand, 1/4-in. Wakefield motor, yet operates so smoothly as to allow a "feel" of the motor being wound. The 17-oz. unit is constructed from high-quality materials to precision tolerances.
Features:
- Basic frame machined from aluminum bar stock with an anodized finish.
- Main shaft is stainless steel and rides in oilite bronze bearings.
- Nine-ball thrust bearing takes the load of the stretched motor (hand drills are designed for push load on the output shaft—just opposite to what is needed in a winder).
- Two idler gears ensure smooth operation and even wind on the motor.
- Winding crank with a large comfortable handle and adjustable length for improved leverage.
- Gear ratio is 3.73 to 1.
- Supplied with the usual hooks and safety mechanisms to fit the winding tube. The winding tube is a safety feature to help release the output shaft, but it could easily be replaced by a torque meter for those who need torque rather than numerical count.
An ideal accessory for Old-Time Rubber fliers!
Ready reference
Danny Shields, 3 Cinnamon Circle, Apt. 1-C, Randallstown, MD 21133, sponsor of the Twin Pusher event at the annual SAM Champs, has published a new book, Antique and Old-Time Model Aircraft. This 80-page volume is a collection of advertising photos from virtually every model ever kitted, as well as pictures from construction articles of the more popular models. Also included is a complete listing of the models appearing in Frank Zaic's 1935–38 Yearbooks. One need only refer to the table of contents to quickly locate and refresh his memory of over 250 Old-Timers! A valuable aid in selecting that perfect model. Ten bucks postpaid.
Technical Tip from Tom
A recent engine ailment encountered by Tom Arden of Vancouver, B.C., published in the SAM 8 (Seattle Area) newsletter:
"I had trouble with my O&R .60 all weekend—the new one in the Buccaneer C. Hard starting, very inconsistent running, and impossible to set needle valve. I suspected fuel feed problems—dirt, constrictions, improper assembly of venturi, etc., but all checks failed to improve the situation. I was quite sure of my ignition wiring, and new batteries didn't help. I had noticed a piece of copper protruding from under the moving point at the junction with the moving arm, but failed to think what that meant. Finally, on the test stand Monday, the cam point fell off! Cold braze! If the joint had been properly heated, that copper would have flowed into the joint and not been protruding off the edge. Happy finale—silver-brazed the point properly—engine now runs fine."
Tom Cope experienced a similar problem:
Transcribed from original scans by AI. Minor OCR errors may remain.

