
Free Flight: Old-Timers
Clarence Haught
COLOR ME VISIBLE
Color schemes and combinations have always been difficult for me. I once covered a Clipper with orange silk on the flying surfaces and dark blue on the fuselage. It should have been a good combination; instead it looked like it should have had a big Union 76 sticker on the side. At least it's easy to follow in the sky and shows up pretty well when it's down in weeds or brush.
Some colors are easy for the timer to lose. Take silver MonoKote or Mylar — it should stand out like a mirror in the sky, which it does in the sun; but try flying such a ship on a cloudy day and it disappears into a mass of gray. Green, for instance, shows as black in the distant sky but blends with the grass on the ground. Yellow sometimes gets lost among flowers. Blue locates easily on the ground but blends into the sky. Red also shows as black in the distance. White works surprisingly well in the air or on the ground.
The best bet is to combine two colors with enough of the model finished in each color to cancel any disadvantage the other might have. Silver Mylar trim tape used on leading edges or as a fuselage stripe will flash in the sun as the model turns but has no effect on dull days.
Ken Sykora, editor of SCIF Flightplug, mentioned the use of Day-Glo paints for added visibility and quipped: "Would the OT equivalent be 'Night Ignition'?" Even with the best color scheme, a ship can go out of sight in a good thermal, so be sure to include your name and telephone number in your overall decor.
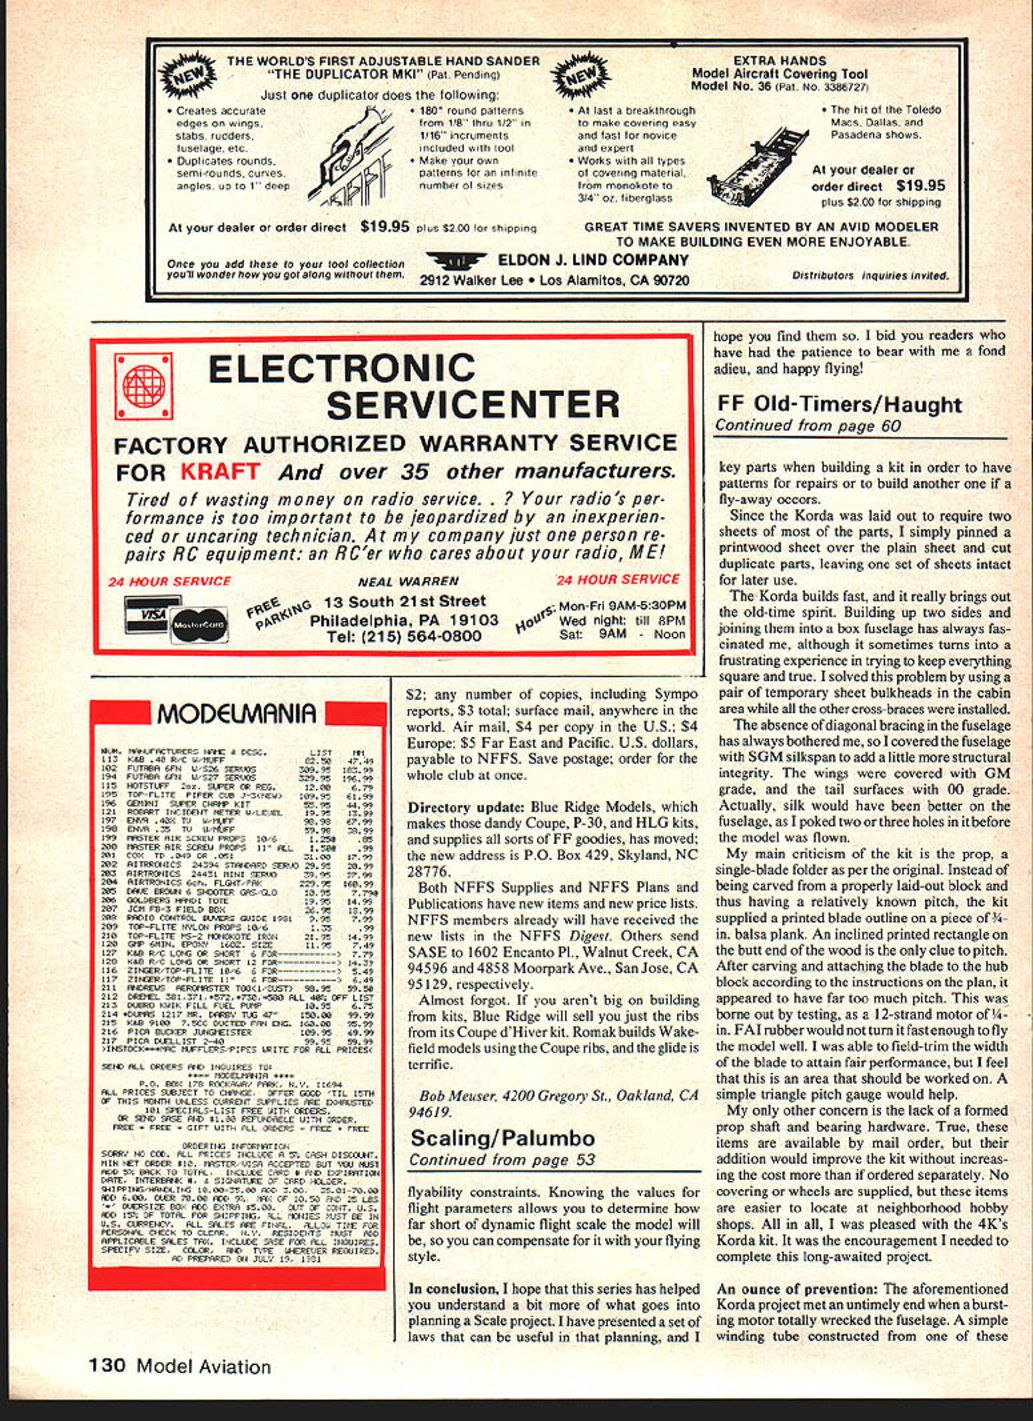
John Morrill of Simplex Miniature Engines sent a photo of a new prototype Hornet 19 sideport engine that now turns a 9-4 prop between 8,500 and 9,000 rpm and is still being refined. John hopes to obtain SAM approval and begin production soon.
KIT REVIEW
Edward Kelley (4K's Models, 4202 W. 172nd St., Torrance, CA 90504) has been steadily adding Old-Timers to his growing kit line. I recently purchased a Korda Wakefield kit to fulfill a long-time desire to build one. The sturdy box (an important factor, considering today's mail service) contained rolled plans, an assortment of good-quality strip wood, printed sheet parts, and piano wire. A sheet of building and flying hints is included.
I usually trace all the key parts when building a kit in order to have patterns for repairs or to build another one if a fly-away occurs. Since the Korda was laid out to require two sheets for most of the parts, I simply pinned a plywood sheet over the plan and cut duplicate parts, leaving one set of sheets intact for later use.
The Korda builds fast and really brings out the old-time spirit. Building up the sides and joining them into a box fuselage has always fascinated me, although it sometimes becomes frustrating trying to keep everything square and true. I solved this problem by using a pair of temporary sheet bulkheads in the cabin area while all the other cross-braces were installed.
The absence of diagonal bracing in the fuselage has always bothered me, so I covered the fuselage with silkspan to add a little more structural integrity. The wings were covered with GM grade, and the tail surfaces with 00 grade. Actually, silk would have been better on the fuselage, as I poked two or three holes in the silkspan before the model was flown.
My main criticism of the kit is the prop: a single-blade folder as per the original. Instead of being carved from a properly laid-out block and thus having a relatively narrow pitch, the kit supplied a printed blade outline on a piece of 3/16-in. balsa plank. An inclined printed rectangle on the butt end of the wood is the only clue to pitch. After carving and attaching the blade to the hub and block according to the instructions on the plan, it appeared to have far too much pitch. This was borne out by testing, as a 12-strand motor of 1/4-in. FAI rubber would not turn it fast enough to fly the model well. I was able to field-trim the width of the blade to attain fair performance, but this is an area that should be worked on. A simple triangle pitch gauge would help.
My only other concern is the lack of a formed prop shaft and bearing hardware. These items are available by mail order, but their inclusion would improve the kit without increasing the cost much more than if ordered separately. No covering or wheels are supplied, but these items are easier to locate at neighborhood hobby shops. All in all, I was pleased with the 4K's Korda kit. It was the encouragement I needed to complete this long-awaited project.
AN OUNCE OF PREVENTION
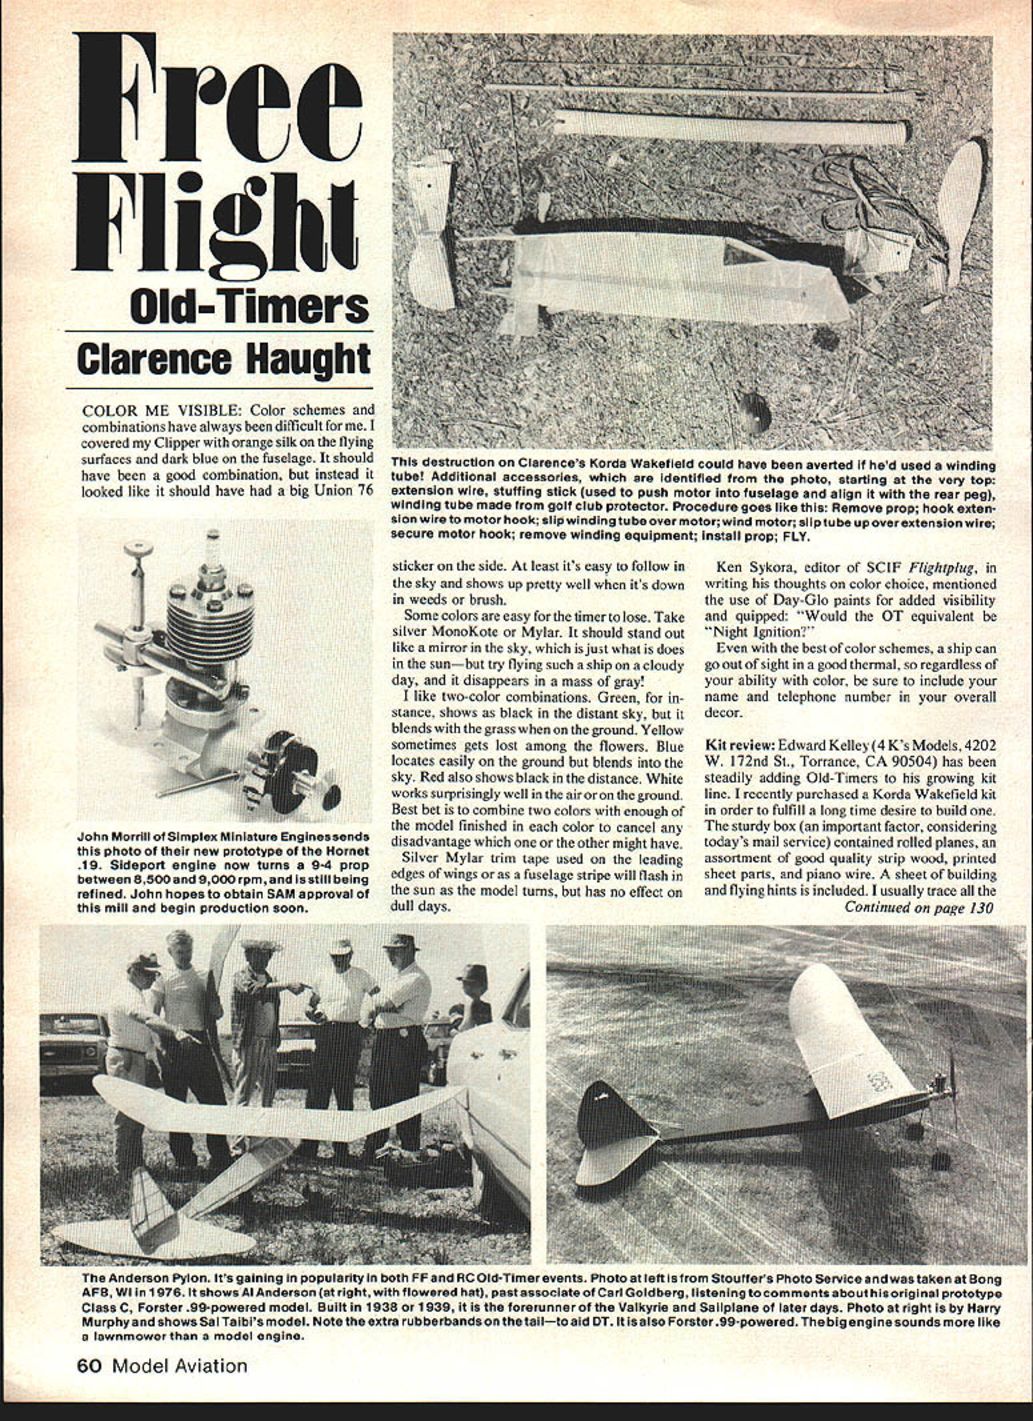
The aforementioned Korda project met an untimely end when a bursting motor totally wrecked the fuselage. A simple winding tube would have prevented serious damage. These plastic tubes sold to protect golf clubs in a golf bag work well.
Construction and use:
- Cut the tube to the length of the fuselage, plus a couple of inches for handling.
- Cut a notch to fit over the rear peg and support the rear end of the tube.
- Make a winding extension from 3/32-in. music wire about 1 in. longer than the winding tube.
Procedure:
- Remove the prop hook, extension wire, and motor hook.
- Slip the winding tube over the motor.
- Hook the winding extension between the rubber motor and your winder; slide the tube over the extension and slip it over the motor until it rests on the rear motor peg.
- Wind the motor.
- Withdraw the tube and hold the wound motor with an appropriate tool (usually a wire through the winding hook).
- Remove the winder extension and winding tube, install the prop, and you're ready to launch.
Clarence Haught, Rt. 5, Box 16, Coeur d'Alene, ID 83814
Transcribed from original scans by AI. Minor OCR errors may remain.

