
Free Flight: Old-Timers
Clarence Haught
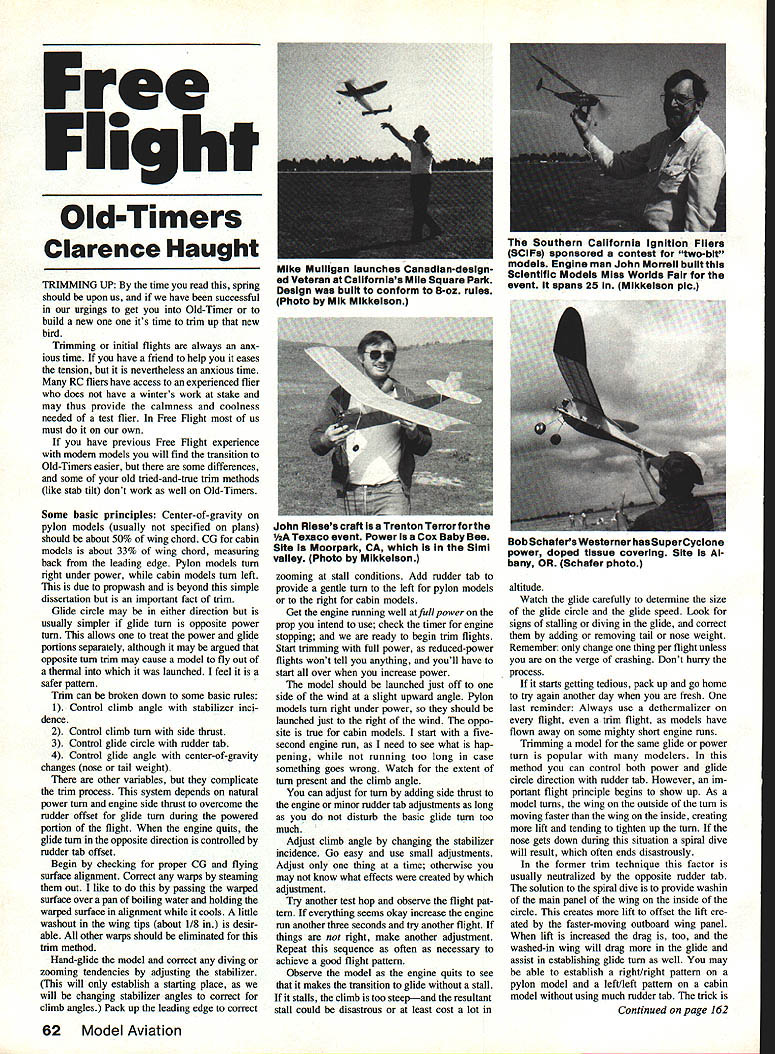
TRIMMING UP: By the time you read this, spring should be upon us, and if we have been successful in our urgings to get you into Old-Timer or to build a new one, it's time to trim up that new bird.
Trimming or initial flights are always an anxious time. If you have a friend to help it eases the tension, but it is nevertheless an anxious time. Many RC fliers have access to an experienced flier who does not have a winter's work at stake and may thus provide the calmness and coolness needed of a test flier. In Free Flight most of us must do it on our own.
If you have previous Free Flight experience with modern models you will find the transition to Old-Timers easier, but there are some differences, and some of your old tried-and-true trim methods (like stab-tilt) don't work as well on Old-Timers.
Basic principles
- Center-of-gravity (CG) on pylon models (usually not specified on plans) should be about 50% of wing chord.
- CG for cabin models is about 33% of wing chord, measuring back from the leading edge.
- Pylon models turn right under power, while cabin models turn left due to propwash. This is an important fact of trim.
- Glide circle may be in either direction but is usually simpler if glide turn is opposite the power turn. This allows one to treat the power and glide portions separately, although it may be argued that opposite turn may cause a model to fly out of a thermal into which it was launched. I feel it is a safer pattern.
Trim can be broken down to some basic rules:
- Control climb angle with stabilizer incidence.
- Control climb turn with side thrust.
- Control glide circle with rudder tab.
- Control glide angle with center-of-gravity changes (nose or tail weight).
There are other variables, but they complicate the trim process. This system depends on natural power turn and engine side thrust to overcome rudder offset for glide turn during the powered portion of the flight. When the engine quits, the glide turn in the opposite direction is controlled by rudder tab offset.
Preflight checks and initial setup
Begin by checking for proper CG and flying surface alignment. Correct any warps by steaming out (for example, passing a warped surface over a pan of boiling water), holding the warped surface in alignment while it cools. A little washout at the wing tips (about 1/8 in.) is desirable. All other warps should be eliminated for this method.
Hand-glide the model and correct any diving or zooming tendencies by adjusting the stabilizer. This will only establish a starting place, as we will be changing stabilizer angles to correct for climb angles. Pack up the leading edge to correct zooming or stall conditions. Add a rudder tab to provide a gentle turn to the left for pylon models or to the right for cabin models.
Get the engine running well at full power on the prop you intend to use; check timer and engine stopping. You are now ready to begin trim flights. Start trimming with full power; reduced-power flights won't tell you anything and you'll have to start all over when you increase power.
Trim procedure
- Launch the model just off the side of the wind at a slight upward angle. Pylon models turn right under power and should be launched just right of the wind. The opposite is true for cabin models.
- I start with a five-second engine run, as I need to see what is happening while not running too long in case something goes wrong. Watch the extent of turn present and the climb angle.
- You can adjust turn by adding side thrust to the engine or by minor rudder-tab adjustments as long as you do not disturb the basic glide turn too much.
- Adjust climb angle by changing the stabilizer incidence. Go easy and use small adjustments. Adjust only one thing at a time; otherwise you may not know what effects were created by which adjustment.
- Try another test hop and observe the flight pattern. If everything seems okay, increase engine run another three seconds and try another flight. If things are right make another adjustment. Repeat this sequence as often as necessary to achieve a good flight pattern.
- Observe the model when the engine quits to see what makes the transition to glide. If it stalls, the climb is too steep—and the resultant stall could be disastrous or at least cost a lot in altitude.
- Watch the glide carefully to determine the size of the glide circle and glide speed. Look for signs of stalling or diving in the glide and correct them by adding or removing tail or nose weight.
Remember: only change one thing per flight unless you are on the verge of crashing. Don't hurry the process. If it starts getting tedious, pack up and go home to try again another day when you are fresh. One last reminder: always use a dethermalizer on flight-trimmed models. Models have flown away on some mighty short engine runs.
Wash-in and spiral dives
Trimming a model for the same glide or power turn is a popular method; you can control both power and glide-circle direction with rudder tab. However, an important flight principle begins to show up: as a model turns, the wing on the outside of the turn is moving faster than the wing on the inside, creating more lift and tending to tighten up the turn. The nose gets down and in this situation a spiral dive will result and often end disastrously.
The former trim technique factor is usually neutralized by adding wash-in to the inside wing panel. The solution to the spiral dive is to provide wash-in of the main panel on the inside of the circle. This creates more lift on the inside, counteracting the faster outside wing. When lift is increased on the inside, drag is too, and the washed-in wing will drag more in the glide and assist in establishing a right/left pattern on a pylon model and a left/right pattern on a cabin model without using much rudder tab.
The trick is how much wash-in (trailing edge down) is enough. Most fliers start with 1/8". Other trim factors are the same for both methods.
In any trim situation, think each step through before attempting a change. Take it easy, and "keep them flying."
Clarence Haught 3226 Honeysuckle Dr. Coeur d'Alene, ID 83814
Transcribed from original scans by AI. Minor OCR errors may remain.

