
Free Flight: Old-Timers
By
Bill Baker 1902 Peter Pan, Norman OK 73072
Covering and finishing
With this column I will conclude my discussion of the Korda Wakefield project.
I covered my Korda 1939 Wakefield winner with the expensive grade of imported Japanese tissue (about $1.25 per sheet) from Oldtimer Model Supply. Domestic tissue is expensive too, and I think the good stuff is worth the difference for open structures. Domestic might be considered for sheet surfaces.
I like to put tissue on by the Walt Mooney method: thin white glue with a little water, about the consistency of milk. It has a good tack, making undercamber a cinch, yet the paper can be removed and repositioned if needed (unless you use the domestic tissue, which will tear; then you have to start with another piece, and the big saving goes up big).
Apply the glue to the wood, lay the paper on it, and with a wet fingertip burnish the paper around leading edges, tips, etc. Keep a wet paper towel handy to wipe glue off your fingers so the paper won't stick to you instead of the wood. I then used non-tautening nitrate dope from Aerodyne—long my favorite.
For the fuselage I could have used tissue, silkspan, Micafilm, or doubled-covered with silk (cross-grained), but I decided to use silk; I had not covered with silk for a few years, and it is very strong.
Silk can be applied wet or dry. I did it dry, using Sig Lite-Coat right out of the can—not thinned. When it was water-shrunk it looked great, and I was proud of myself. Then despair followed, as a coat of thinned Lite-Coat dried with the silk all wrinkled and slack!
So I got some Sig Supercoat clear, and a couple of coats restored the tautness. Lesson relearned: sometimes shrinking is our friend.
Why did I use butyrate, anyway? No solid reason, other than a subjective impression that it fills silk faster and is more moisture resistant. In retrospect I would have been better off to have stuck with my beloved Aerodyne nitrate, which shrinks a little, and/or covered with the silk wet. Just remind yourselves we can put butyrate over nitrate—nice to know when fuel-proofing a glow-fueled job. By the way, how many of you know that nitromethane is a good solvent for cyanoacrylate (CyA) glues?
Wheels and hinges
The wheels shown on the November 1939 Air Trails plan (from which all others derive) are simple to make, but since I had some turned streamline balsa wheels from Oldtimer Model Supply, I used them. The appearance is very similar to the original.
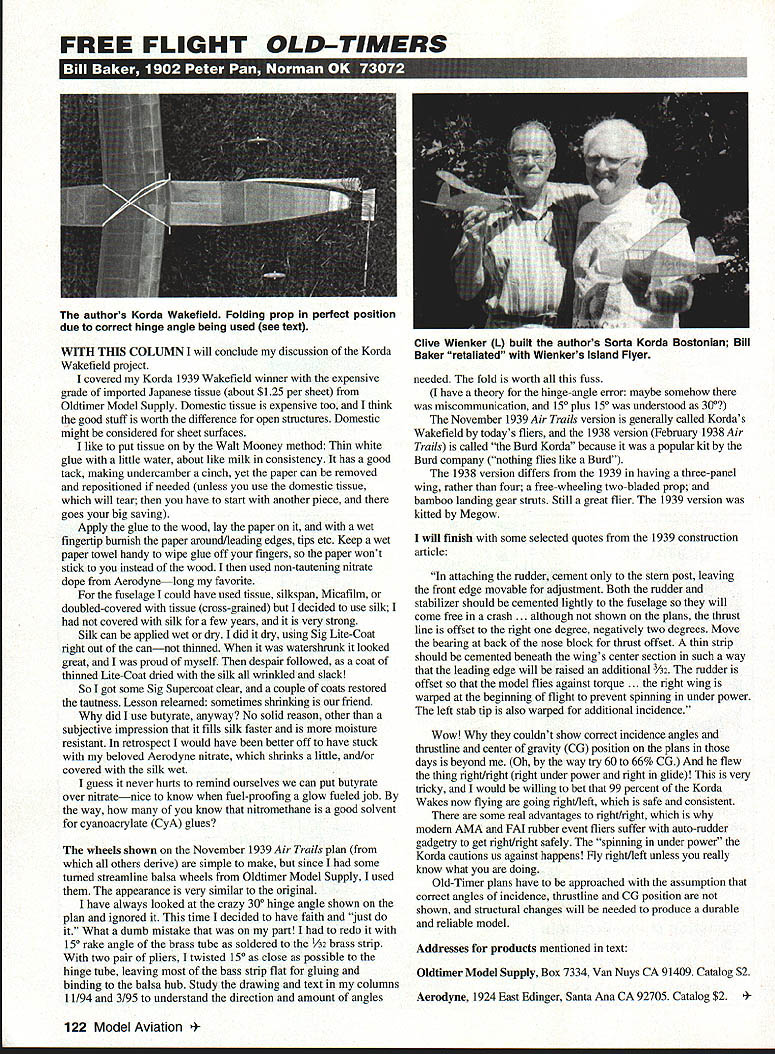
I have always looked at the crazy 30° hinge angle shown on the plan and ignored it. This time I decided to have faith and "just do it." What a dumb mistake that was on my part! I had to redo it with a 15° rake angle of the brass tube as soldered to the 1/32 brass strip. With two pairs of pliers, I twisted 15° as close as possible to the hinge tube, leaving most of the brass strip flat for gluing and binding to the balsa hub. Study the drawing and text in my columns (11/94 and 3/95) to understand the direction and amount of angles needed. The fold is worth all this fuss.
(I have a theory for the hinge-angle error: maybe somehow there was miscommunication, and 15° plus 15° was understood as 30°?)
Versions and history
The November 1939 Air Trails version is generally called Korda's Wakefield by today's fliers, and the 1938 version (February 1938 Air Trails) is called "the Burd Korda" because it was a popular kit by the Burd company (nothing flies like a Burd). The 1938 version differs from the 1939 in having a three-panel wing rather than four; a free-wheeling two-bladed prop; and bamboo landing gear struts. Still a great flier. The 1939 version was kitted by Megow.
From the 1939 construction article
"In attaching the rudder, cement only to the stern post, leaving the front edge movable for adjustment. Both the rudder and stabilizer should be cemented lightly to the fuselage so they will come free in a crash ... although not shown on the plans, the thrust line is offset to the right one degree, negative two degrees. Move the bearing at the back of the nose block for thrust offset. A thin strip should be cemented beneath the wing's center section in such a way that the leading edge will be raised an additional 3/32". The rudder is offset so that the model flies against torque ... the right wing is warped at the beginning of flight to prevent spinning in under power. The left stab tip is also warped for additional incidence."
Wow! Why they couldn't show correct incidence angles and thrustline and center of gravity (CG) position on the plans in those days is beyond me. (Oh, by the way try 60 to 66% CG.) And he flew the thing right/right (right under power and right in the glide)! This is very tricky, and I would be willing to bet 99 percent of the Korda Wakes now flying are going right/right, which is safe and consistent.
There are some real advantages to right/right flight, which is why modern AMA and FAI rubber event fliers use auto-rudder gadgetry to get right/right safely. The "spinning in under power" that Korda cautions us against happens! Fly right/left unless you really know what you are doing.
Old-timer plans have to be approached with the assumption that correct angles of incidence, thrustline and CG position are not shown, and structural changes will be needed to produce a durable and reliable model.
Addresses for products mentioned
- Oldtimer Model Supply, Box 7334, Van Nuys CA 91409. Catalog $2.
- Aerodyne, 1924 East Edinger, Santa Ana CA 92705. Catalog $2.
Transcribed from original scans by AI. Minor OCR errors may remain.

