
FREE FLIGHT: Sport and Scale
Author
Fernando Ramos 19361 Mesa Dr., Villa Park CA 92861
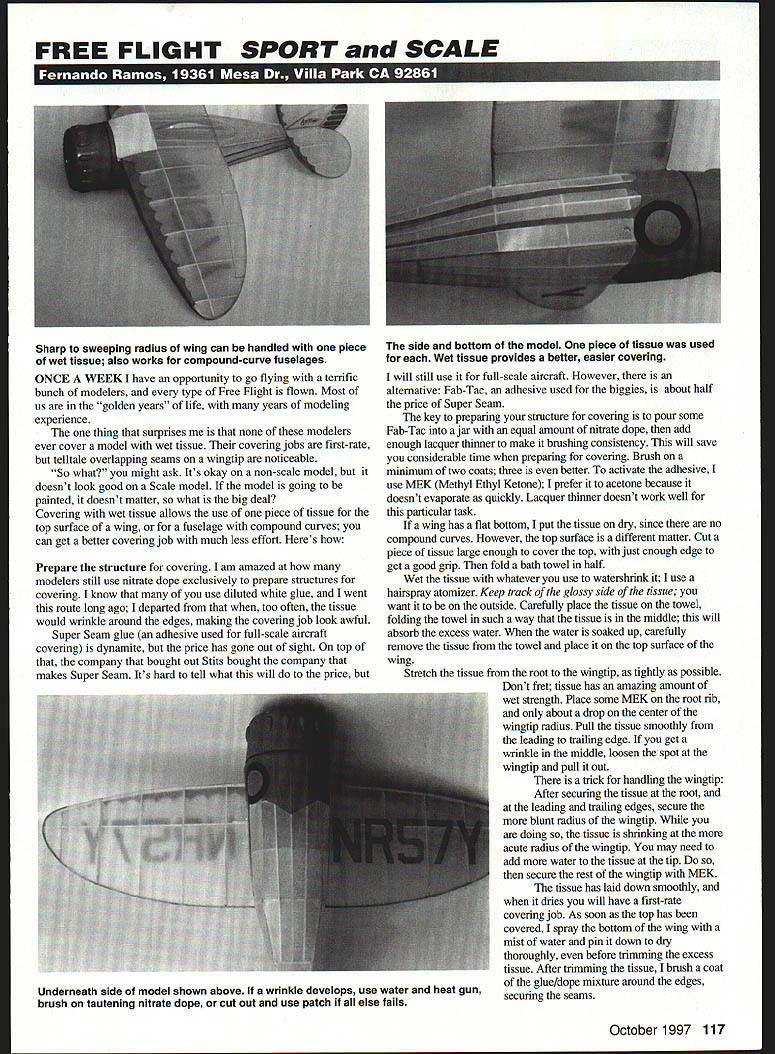
Once a week I have an opportunity to go flying with a terrific bunch of modelers, and every type of Free Flight is flown. Most of us are in the "golden years" of life, with many years of modeling experience. One thing that surprises me is that none of these modelers ever cover a model with wet tissue. Their covering jobs are first-rate, but telltale overlapping seams on a wingtip are noticeable.
So what? It's okay on a non-scale model, but it doesn't look good on a scale model. If the model is going to be painted, it doesn't matter, so what is the big deal? Covering with wet tissue allows the use of one piece of tissue for the top surface of a wing, or for a fuselage with compound curves; you can get a better covering job with much less effort. Here's how.
Preparing the structure for covering
- Avoid relying exclusively on nitrate dope to prepare structures for covering; many modelers still do.
- I used diluted white glue for some time but found tissue often wrinkled around the edges.
- Super Seam (an adhesive used for full-scale aircraft covering) is excellent but expensive. An alternative is Fab-Tac, which costs about half as much.
- To prepare the structure:
- Pour some Fab-Tac into a jar and add an equal amount of nitrate dope.
- Add enough lacquer thinner to reach a brushing consistency.
- Brush on a minimum of two coats; three is better.
- To activate the adhesive, use MEK (methyl ethyl ketone). I prefer MEK to acetone because it doesn't evaporate as quickly. Lacquer thinner doesn't work well for activation.
Covering a wing (wet tissue method)
- If a wing has a flat bottom, put the tissue on dry (no compound curves).
- For the top surface cut a piece of tissue large enough to cover the top with just enough edge for a good grip.
- Fold a bath towel in half.
- Wet the tissue with whatever you use to water-shrink it (I use a hairspray atomizer). Keep track of the glossy side — you want the glossy side to be outward.
- Carefully place the wet tissue on the towel and fold the towel so the tissue is in the middle; the towel will absorb excess water.
- When the water is soaked up, carefully remove the tissue and place it on the top surface of the wing.
- Stretch the tissue from root to wingtip as tightly as possible — tissue has remarkable wet strength.
- Place some MEK on the root rib and only about a drop on the center of the wingtip radius.
- Pull the tissue smoothly from the leading to the trailing edge. If a wrinkle appears in the middle, loosen the spot at the wingtip and pull it out.
- Wingtip trick: after securing tissue at the root and at the leading and trailing edges, secure the more blunt radius of the wingtip first. On an acute radius you may need to add more water to the tissue at the tip; then secure the rest of the wingtip with MEK.
- When the tissue has laid down smoothly and dried you will have a first-rate covering job.
- As soon as the top is covered, spray the bottom of the wing with a mist of water, pin it down and dry thoroughly before trimming excess tissue.
- After trimming, brush a coat of the glue/dope mixture around the edges to secure seams.
Alternative pre-wetting method
- Cut the tissue to size.
- Hold it up dull side facing you and spray a mist of water (be careful the tissue does not fold over itself).
- Place the tissue on the structure and proceed as above.
- Advantage: wetting the dull side provides good adhesion — the tissue soaks through and gives plenty of working time.
Covering the fuselage
- Handle the fuselage the same way as the wing.
- Start with the bottom and the two sides, followed by the top.
- Orient seams to point downward where possible.
Covering the tail (preventing warps)
- For flat tail surfaces (typical on rubber-scale models), make hardwood frames a bit larger than the tail.
- Cover the tail on the frame with the glue-side up (dull side up). Spray the tissue with water and leave it to dry on the frame.
- Give the tail structure the same two to three coats of the glue/dope mixture before final assembly.
- After the tissue has dried, glue the tail onto the dull side of the tissue. I am confident the structure has enough drying strength.
- Optionally, spray the tissue on the frame with nitrate dope before gluing the tail onto the tissue; this helps keep the structure flat and often eliminates the need to pin during drying.
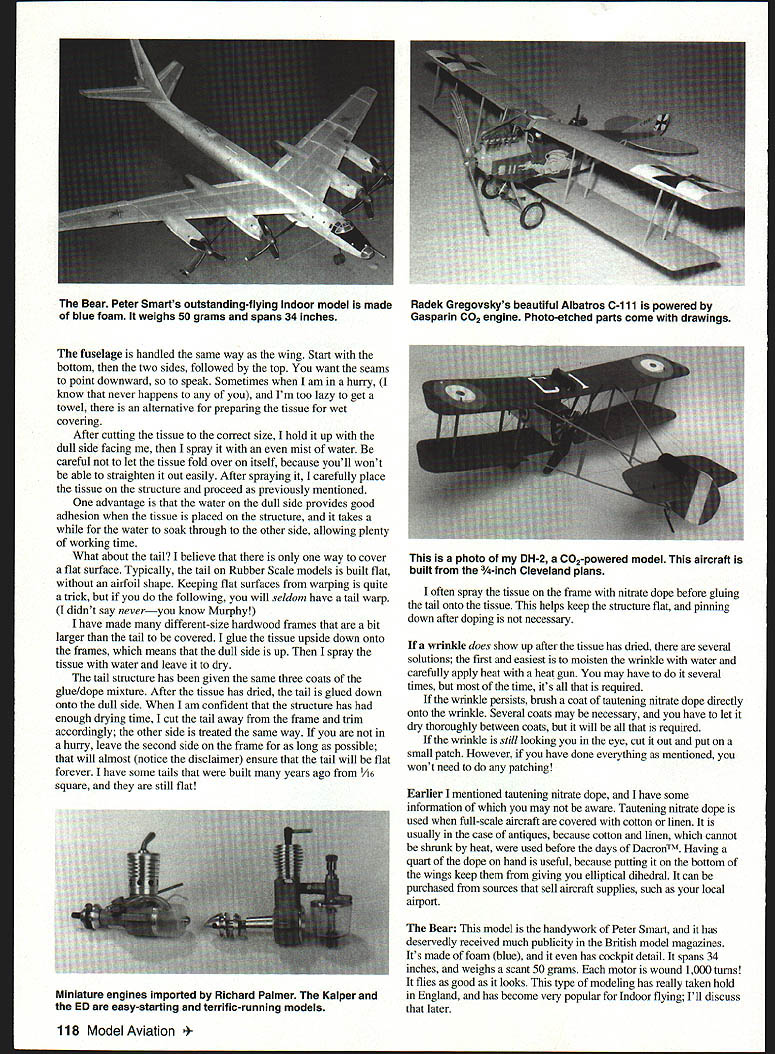
Dealing with wrinkles
- First try: moisten the wrinkle with water and carefully apply heat with a heat gun. Repeat as needed.
- Second: brush tautening nitrate dope directly onto the wrinkle. Several coats may be necessary; allow thorough drying between coats.
- Last resort: cut out the wrinkle and fit a small patch.
- If the preceding covering steps are followed, patching should rarely be necessary.
Tautening nitrate dope (notes)
- Tautening nitrate dope is used on full-scale aircraft covered with cotton or linen (materials that cannot be shrunk by heat).
- It can be useful on models as well — for example, applying it to the bottom of wings can help prevent elliptical dihedral.
- It can be purchased from aircraft supply sources.
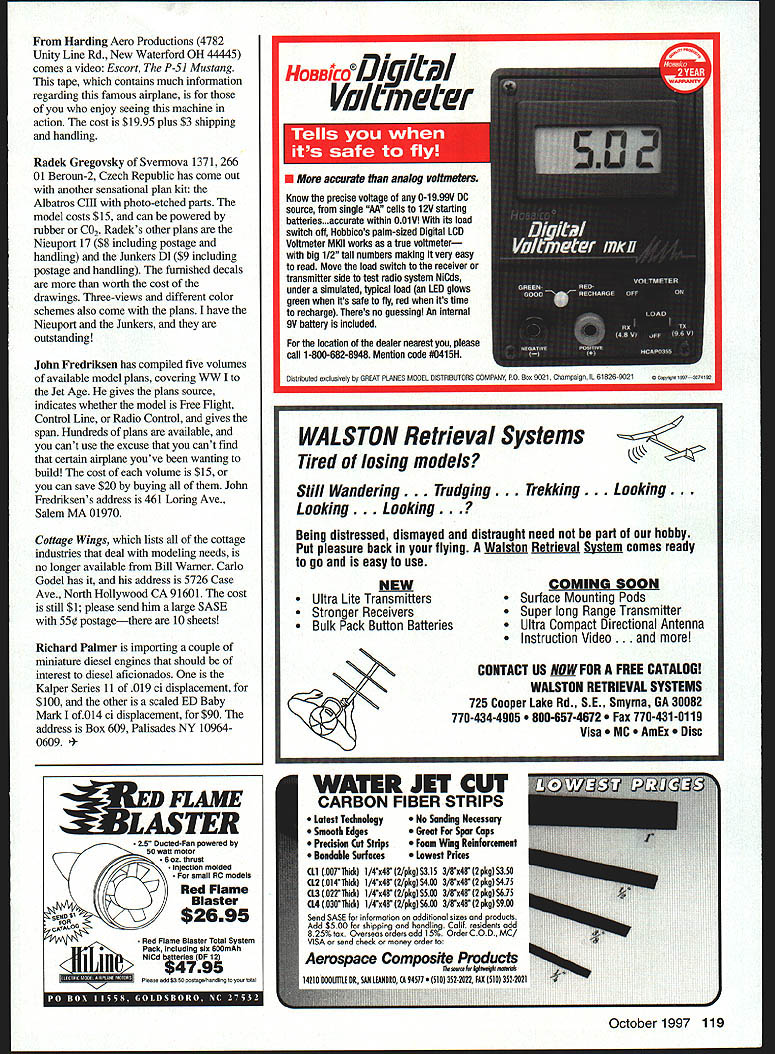
The Bear (example)
- The Bear is the handiwork of Peter Smart and has received publicity in British model magazines.
- Made of blue foam with cockpit detail, it spans 34 inches and weighs about 50 grams.
- Each motor is wound 1,000 turns; it flies as well as it looks.
- This type of modeling is popular in England and has become very popular for indoor flying.
Wet tissue covering allows the use of a single piece of tissue on complex surfaces and yields a neater, less labor-intensive finish — especially important on scale models where seams and wingtips show. Follow the preparation, wetting, and handling techniques above for the best results.
Transcribed from original scans by AI. Minor OCR errors may remain.

