
Free Flight: Sport & Scale
Bill Warner P.O. Box 377 Springville, CA 93265-0377
Remember the infamous April Fools Thunderbolt plan mentioned in the August ’89 issue? Footnote to the story: Mik Mikkelson drew an ersatz Stahl P-47 and forwarded to me a letter he received from the “great man” himself saying he had been contacted by the editor of a leading model magazine asking for the “lost” plans. I checked Earl’s signature on the letter — coming from Mik it was a little bit suspect.
Please note the new address for FF Scale correspondence at the top of this column. Having decided to leave Los Angeles before it lost any more charm, I moved out here to the boonies. Fortunately the USPS still delivers your great letters and pictures, so keep ’em coming! I’m treating retirement as an opportunity to catch up on letter writing — I’m up to 1985 already. Maybe I’ll get back to you soon, so don’t despair.
Big Stinson update
You can’t believe the number of modelers who have written about their Cleveland Stinson Gullwing projects. They’re all sitting around in various stages of completion, much like the legions of unfinished Pietenpol Air Campers in garages nationwide. There’s something about a model that makes you want to build it, and something else that keeps you from finishing it. Personally, I think it’s like a novel by a famous dead author — you don’t want to finish it too quickly, knowing life may never be better. One guy has had his going for over 20 years.
Originally my Stinson flew fine — a tight left-turn torque required quite a bit of lead in the tail to balance the engine and fiberglass cowl out front (not a wise long-term arrangement). When weight is concentrated at both extremes (nose and tail), an upset stall tends to worsen rather than settle. As long as the Stinson was turning tightly left it masked the stalling tendency. My second mistake was opening up that left turn just a bit; a small gust would set it up to start stalling and the model then teeter-tottered into oblivion. Before I was done it looped — I think there were nearly 100 pieces to pick up.
After repairs I shortened the nose about an inch and removed some rear ballast that had contributed to the problem. With a bit of added up-elevator to compensate for a slightly forward CG, it flew beautifully and put on a show at Taft last Memorial Day.
If you’re finishing a big bird, take advice and learn from experience: don’t finalize a model until you’ve flown it a few times and can trust it; don’t give up when it gets damaged — if it flies, it will be one of the most rewarding experiences in modeling.
Why you don’t see many 80-inch free flight scale models
- Lack of space to fly them.
- The AMA’s .19 cu in engine displacement limit.
- Gravity — large models are much less forgiving.
National Geographic (June ’89) noted a mouse dropped from a certain height will walk away while a horse dropped the same height would splatter. That’s how it is with big models: a two-gram scale model can bounce off a gym wall repeatedly with little damage, whereas an 80‑in. Stinson tends toward the splatter end (ignoring scale speed, material strength and other factors).
Flush mount — recessed round cowl mount
A few examples of dress-snap installation have been described elsewhere (sew-on, staple-on, use a recessed mounting ring, etc.). Here are practical hints for installing dress snaps and making a flush, recessed round cowl mount that will work reliably.
Dress snaps — selection and installation tips
- Choose the correctly sized snap. A large snap takes more effort to separate and may pull a lightweight front end off; a snap that’s too small may let a cowl shake loose into the prop.
- Study the snap mechanism. The male half is captured by a scissor spring in the female socket — the spring must be free to work. If glue gets on the spring or you immobilize it, the snap won’t function.
- Mount on strong material. Do not mount snaps on thin balsa if you will be pulling them apart without a lever. Seat them on plywood or hard balsa. Recess the snap so the joint is flush; you can glue the recess holes to exact depth or build up the edges with scrap balsa to hide gaps.
- Female half first. The female is fussier because it contains the spring; mount it first. Put a little petroleum jelly (Vaseline) on the spring with a toothpick to keep glue off it, being careful not to contaminate the mating surfaces. Wipe excess with an acetone‑dampened rag and, if desired, roughen the back of the snap lightly for better adhesion.
- Sewing and stapling. If you sew, use fine thread so you can remove stitches later if necessary. If you staple, make staples from .015‑in. music wire. If using plywood, predrill tiny stitching holes with a small drill or sharpened music wire. Concentrating stitching in the center helps pull through wood more easily.
- Epoxy technique. Apply a thin layer of epoxy over the outer rim and snap half — not too thick, and avoid getting glue on the spring or mating surfaces. Trial-fit the assembled cowl on the model, set it on a horizontal plane until the epoxy hardens, then attach the mate half in the same fashion. If you remembered the light smear of Vaseline, the halves should separate nicely after cure, especially if you can get a knife blade in the seam.
- Final cautions. Don’t mask or contaminate the mating areas with dope or other finishes — either protect the snaps with Vaseline or mask them before finishing. If you use CA extensively, buy extra snaps — CA can glue the springs solid and you may need to replace a few.
Beginners' corner
Gustave Nepper (Cincinnati, OH), building since 1930, passes on useful tips for beginners:
- Use a 12‑in. square ceiling tile (back side) as a cheap building board; they’re sold singly at building supply stores.
- Make a simple tool for filing notches into bulkheads or ribs by gluing sandpaper to the edge of a popsicle stick.
- A good model knife can be made from a 1/4‑in. dowel with a piece of an injector razor blade epoxied into an X‑Acto‑sawed slot. You may need to break up a few blades to get a suitable piece; this knife can be resharpened with a small stone. Caution: embrittled blade bits can fly when broken — use pliers, a vise, or break under a cloth and always wear safety goggles.
- Use Norton industrial‑grade 220A sandpaper for a fine finish.
- Custom boxes: a hot glue gun and a sharp knife make quick, cheap model boxes. Cardboard boxes are free; with hot glue you can make snug lids, shelves, foam rubber storage, etc. A good glue gun will pay for itself on the first box.
Raceplane fans / R. S. Hirsch
A few weeks ago I ran into R. S. Hirsch at the Chino Air Show. Hirsch, now retired, has devoted himself to drawing racing aircraft full time. He has over 250 raceplane drawings used worldwide and an easy‑reference brochure identifying over 800 racing aircraft from 1908 to the present. His drawings have inspired thousands of modelers and are often used in scale judging, especially for simple rubber‑powered ships. Send $2 to R. S. Hirsch, 8439 Dale St., Buena Park, CA 90620 for his brochure.
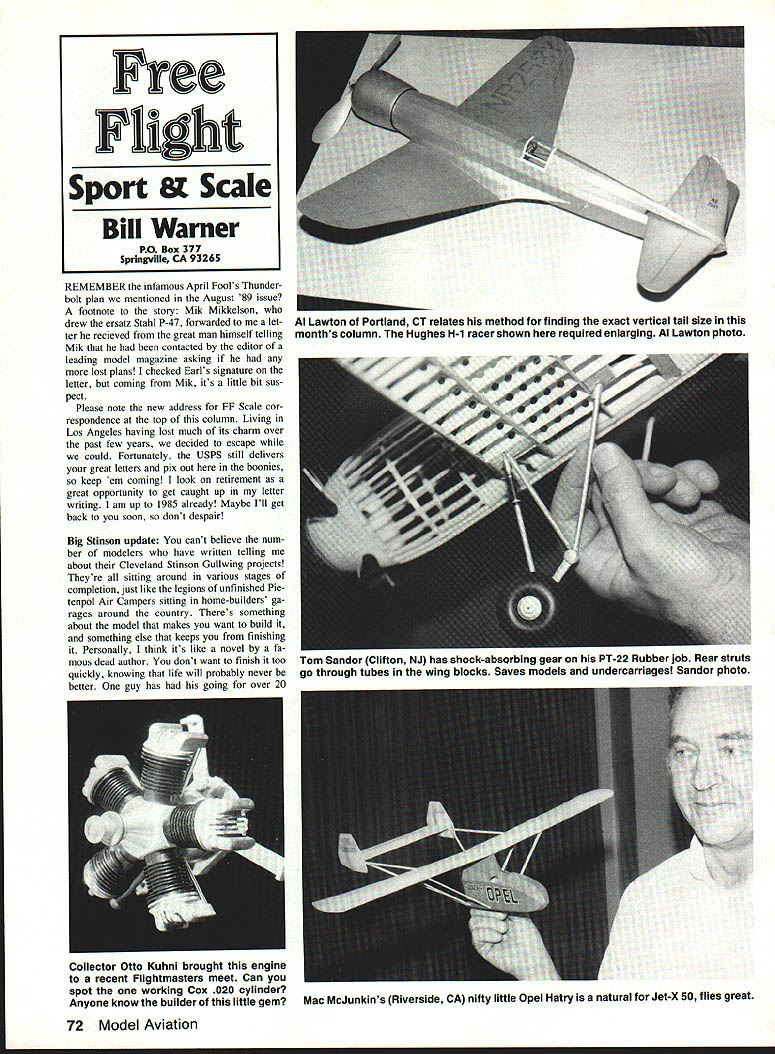
On vertical stabilizers
Al Lawton (Flying Aces) sent a method for ensuring proper vertical tail area: build the vertical stabilizer from sheet balsa so it can be trimmed (reduced or increased) during flight testing. When the model is flying right, fix the tail permanently. One of the keys to a successful model is correct vertical area: too large and the model can lock into a spiral dive; too small and it will Dutch‑roll. Al found his Hughes H‑1 needed less rudder area, while his Fokker D‑VII needed more. This approach saves time and improves final flying characteristics.
Miscellany and contest
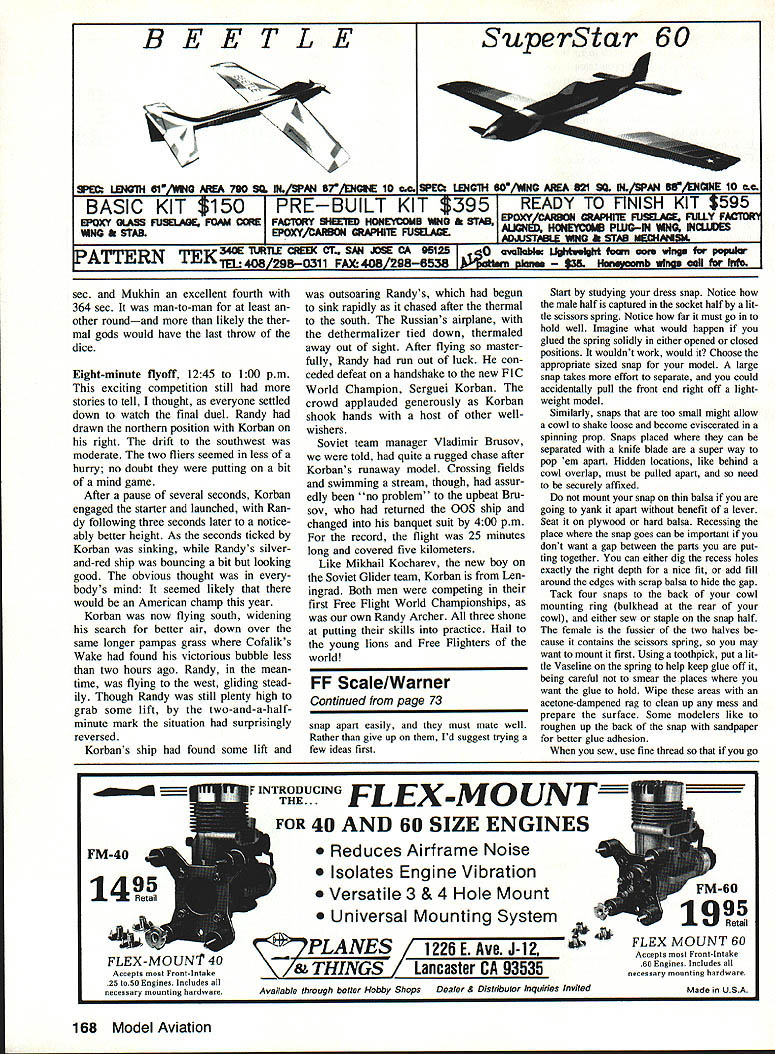
- Collector Otto Kuhni brought a working Cox .020 cylinder to a recent Flightmasters meet — anyone know the builder of this little gem?
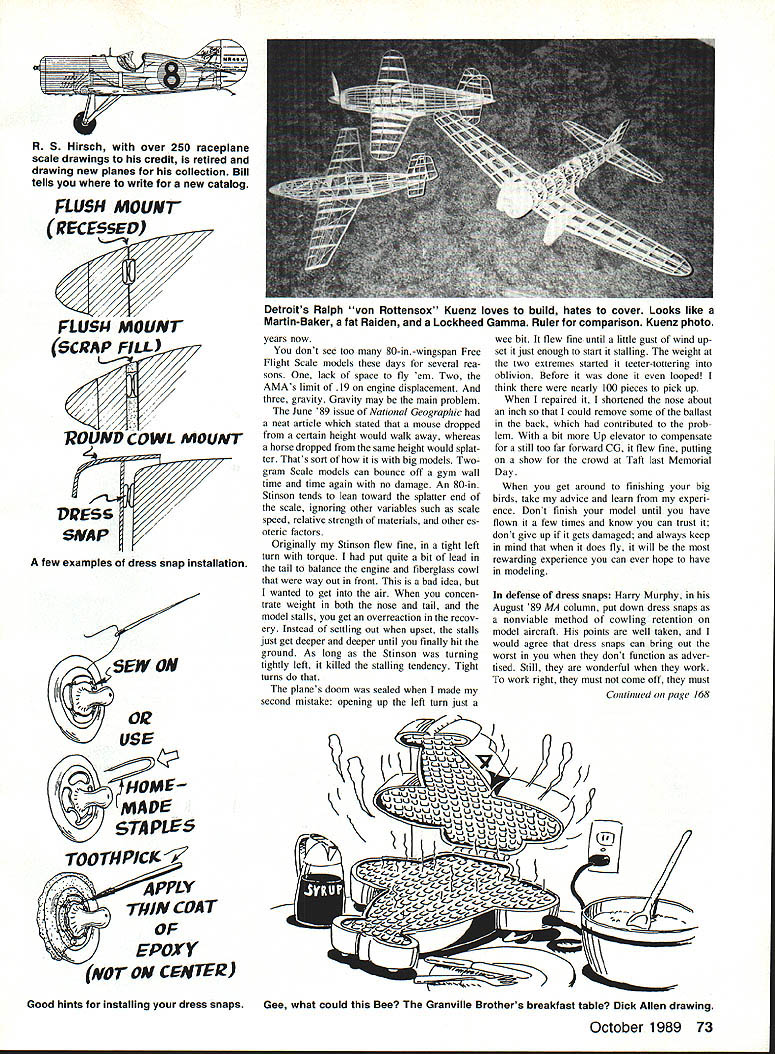
- Tom Sandor (Clifton, NJ) has a rubber shock‑absorbing gear for a PT‑22 — rear struts pass through tubes in wing blocks and it saves model undercarriages.
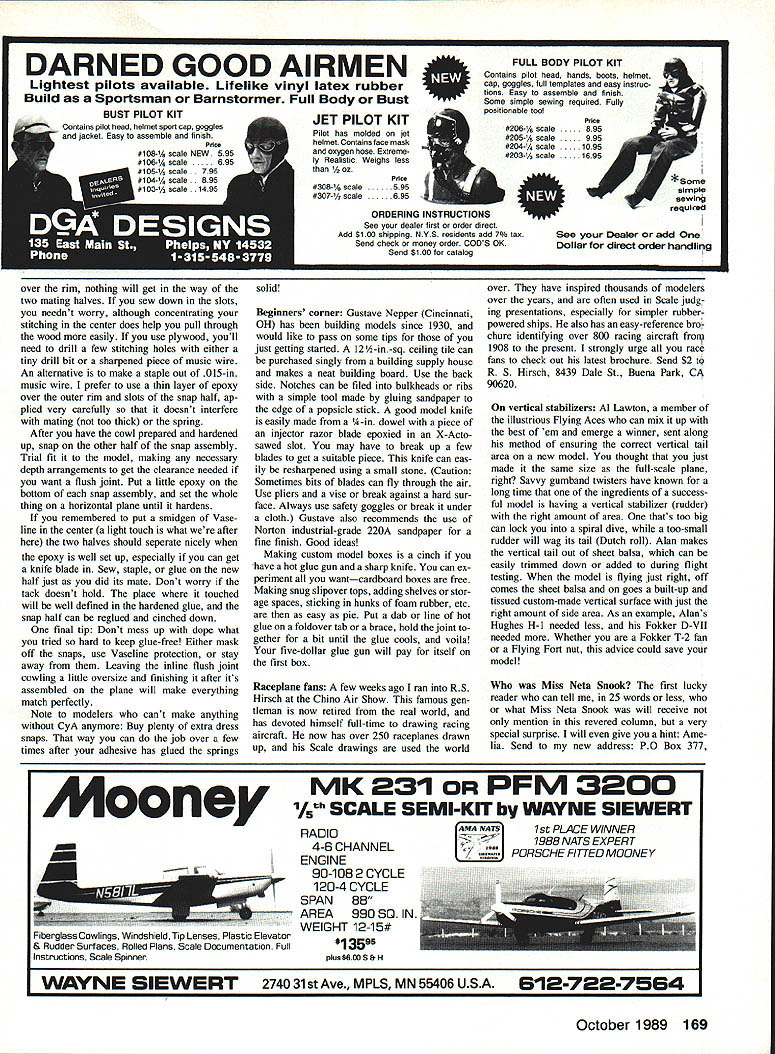
- Mac McJunkins (Riverside, CA) reports a nifty little Opel Hatry natural Jet‑X .50 that flies great.
Who was Miss Neta Snook? The first lucky reader who can tell me, in 25 words or less, who Miss Neta Snook was will receive mention in this column and a special surprise. Hint: Amelia. Send your answer to my new address:
P.S. Charlie Neely is not eligible.
Until next time, keep your models out of the woods — and the ticks off your ankles.
Transcribed from original scans by AI. Minor OCR errors may remain.

