

Frequency Control Board
The good news is that we now have 11 more channels available for flying model airplanes. The bad news is that many of our frequency control boards are now outdated. If that's the case with your club, it's time to build this brand-new, up-to-date control center.
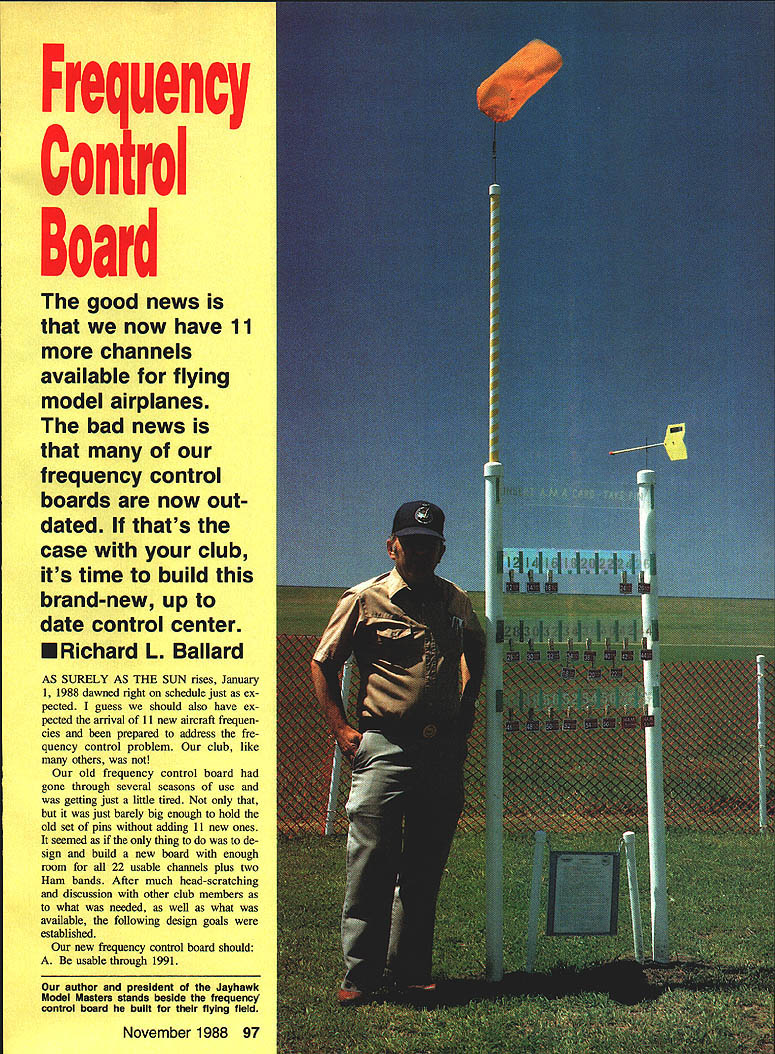
Richard L. Ballard
Introduction
As surely as the sun rises, January 1, 1988 dawned right on schedule—and with it came 11 new aircraft frequencies. Our club, like many others, was not prepared. Our old frequency board was worn and barely big enough to hold the old set of pins, so the solution was to design and build a new board with room for all 22 usable channels plus two Ham bands.
After discussion and some head-scratching, these design goals were established:
Design goals
- Be usable through 1991.
- Be made of inexpensive, readily available materials.
- Be easily built with common shop tools.
- Hold AMA cards and pins and allow them to be seen.
- Look nice.
- Require low upkeep.
- Be very functional.
- Be easily made portable.
Materials sourcing
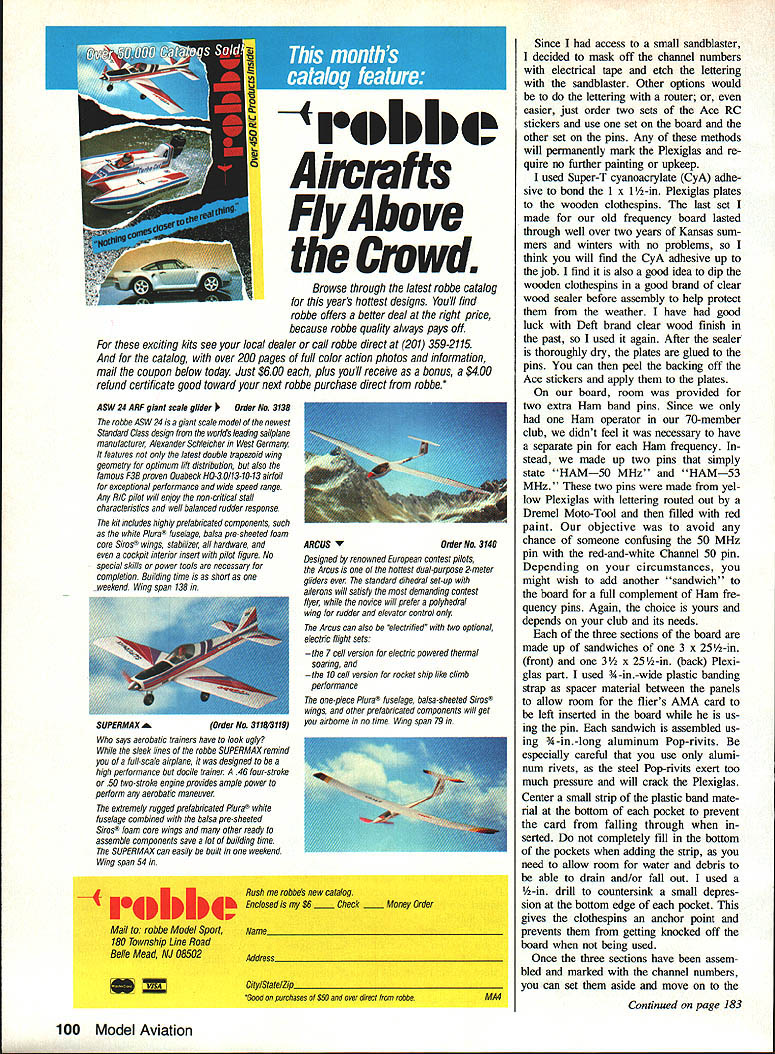
Keeping the cost goal in mind, donated scrap Plexiglas and PVC pipe were used for the posts. Further junk-collection checks produced 3/4-in.-wide plastic banding strap and enough wooden clothespins to do the job. I ordered low- and high-band frequency control stickers from Ace R/C (address in Bill of materials). The stickers arrived quickly—self-adhesive vinyl, bright red with white lettering—among the best I have seen and reasonably priced.
The completed board, constructed almost entirely of Plexiglas and PVC, is strong, light, weather-resistant, and virtually maintenance-free. The addition to the total cost was $18; had I needed to buy all the PVC pipe and Plexiglas, total cost would still have been under $30.
Tools and safety
- Use eye protection and normal shop safety procedures when cutting Plexiglas.
- A carbide-tipped plywood blade in a table saw cuts Plexiglas well; a sharp regular blade will also do.
- Plexiglas saws easily and makes a lot of statically charged dust—plan to spend time cleaning up, and expect the dust to cling to surfaces and the Shop-Vac hose.
Marking the panels
If you have access to a sandblaster, mask the channel numbers with electrical tape and etch the lettering. Alternatives:
- Route the lettering with a router.
- Order two sets of Ace R/C stickers and use one set on the board and the other on the pins.
Any of these methods will permanently mark the Plexiglas and require no further painting or upkeep.
Clothespin (frequency pin) assembly
- Dip wooden clothespins in a clear wood sealer (Deft brand works well) and allow them to dry thoroughly.
- Bond 1 x 1-1/2-in. Plexiglas plates to the clothespins using Super-T cyanoacrylate (CyA) adhesive. Previous pins lasted over two years outdoors with no problems.
- Peel the backing off the Ace stickers and apply them to the Plexiglas plates.
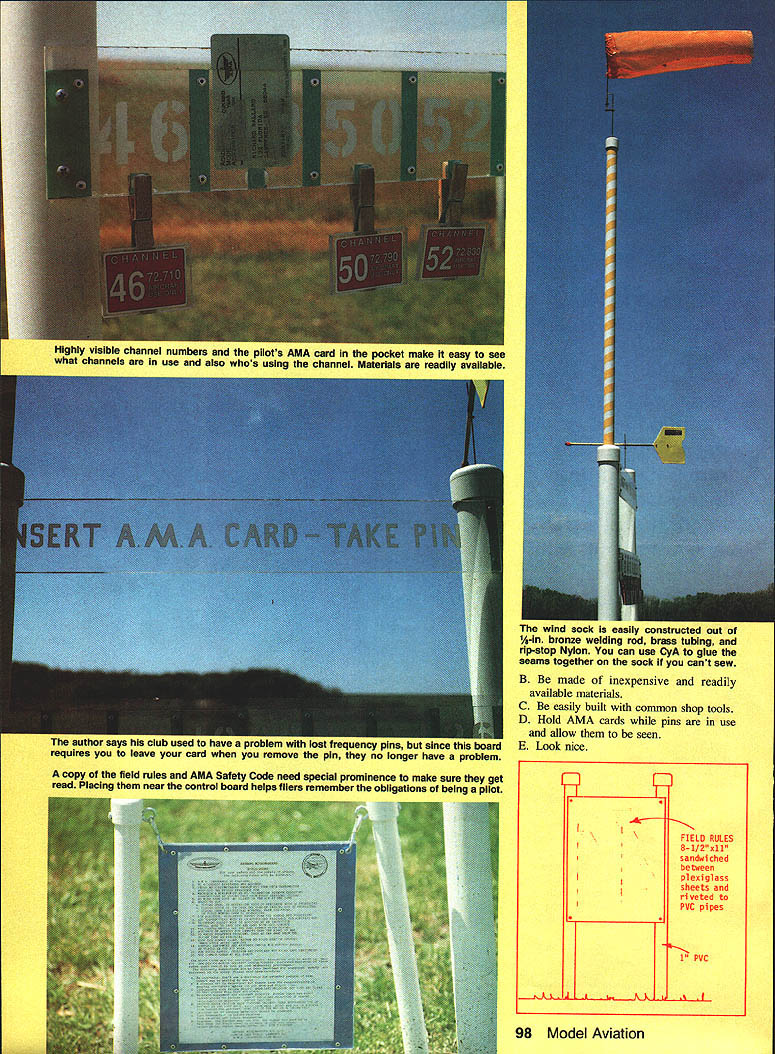
The author reports that requiring the pilot to leave an AMA card in the board when removing a pin solved the problem of lost pins in the club.
Ham bands
Room was provided for two Ham band pins. Our 70-member club had only one Ham operator, so we made two pins labeled "HAM—50 MHz" and "HAM—53 MHz" from yellow Plexiglas, with lettering routed and filled. This avoids confusion between Ham pins and channel pins. Depending on your club, you may want a separate pin for each Ham frequency or additional sandwich space on the board.
Board construction
Each of the three board sections is a "sandwich" of Plexiglas panels:
- Front: 1/4-in. x 3-in. x 25-1/2-in. Plexiglas.
- Back: 1/4-in. x 3/8-in. x 25-1/2-in. Plexiglas.
- Spacer: 3/4-in.-wide plastic banding strap between panels to allow room for the flier's AMA card to remain inserted while the pin is in use.
Assembly details:
- Use 3/16-in.-long aluminum pop-rivets to assemble each sandwich; use only aluminum rivets—steel rivets crack Plexiglas.
- Center a small strip of plastic banding at the bottom of each pocket to prevent the card from falling through when inserted.
- Do not completely fill the bottom of the pockets; leave room for water and debris to drain or fall out.
- Drill a small countersunk depression (1/2-in. drill) at the bottom edge of each pocket to give the clothespin an anchor point and prevent pins from being knocked off when not in use.
Posts and mounting
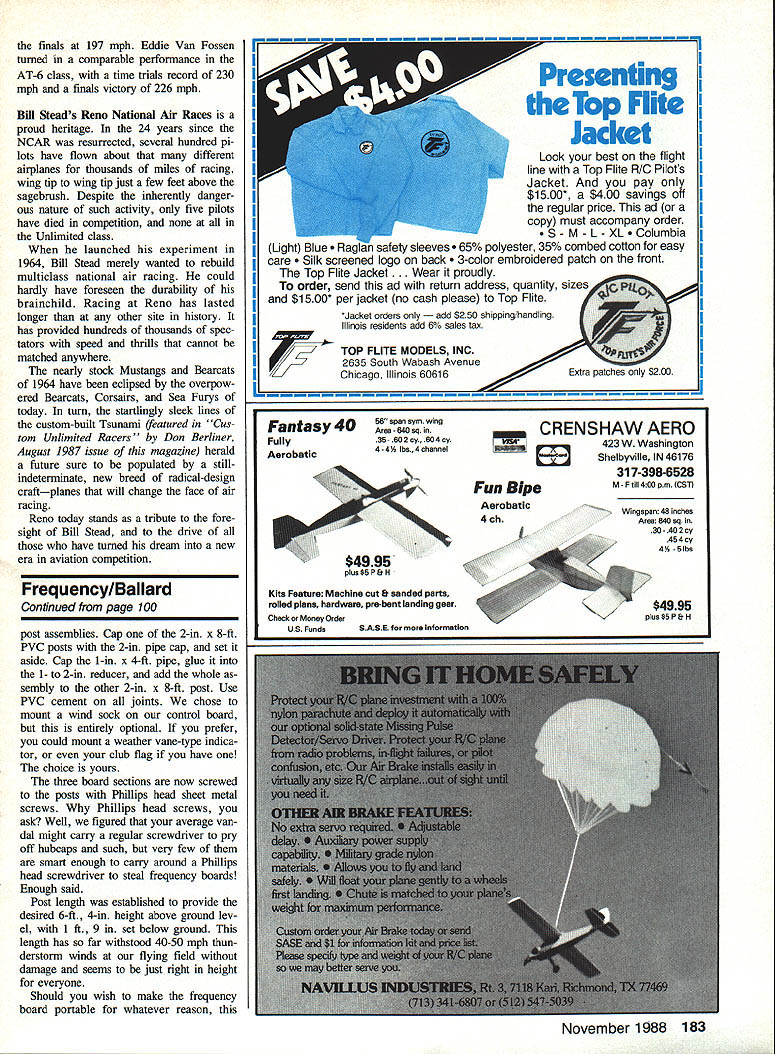
- Cap one 2-in. x 8-ft. PVC post with a 2-in. pipe cap and set it aside.
- Cap the 1-in. x 4-ft. pipe (wind-sock pole), glue it into the 1- to 2-in. reducer, and glue that assembly into the other 2-in. x 8-ft. post. Use PVC cement on all joints.
- Screw the three board sections to the posts with #8 1-in. Phillips head sheet metal screws. (Phillips head screws are less likely to be removed by casual vandals who only carry a flat screwdriver.)
- Post length was set to provide a finished height of 6 ft. 4 in. above ground, with 1 ft. 9 in. below ground. This has withstood 40–50 mph winds at our field.
If you choose, mount a wind sock, weather vane, or club flag on the wind-sock pole.
Portable option (optional)
To make the board portable:
- Cut the posts off about 4 in. down from the top and add pipe collars to the resulting joints. Use PVC cement only on the post sections that are set in the ground; do not glue the collars to the signboard legs.
- Make base legs from 2-in. PVC pipe with "T" fittings at the bottom of the upright signboard posts. To use, unplug the signboard from the ground posts and plug the legs into the "T" fittings. The legs can be removed for transport in a car or pickup.
Field rules and AMA Safety Code
- Place a copy of the field rules and AMA Safety Code in a prominent spot near the control board to remind fliers of their obligations.
- The field rules can be an 8-1/2" x 11" sheet sandwiched between Plexiglas sheets and riveted to the PVC posts.
Results
The new frequency control board proved successful: well-liked for looks and functionality, weather-resistant, and low maintenance. If your club needs a new frequency control board, this design is a low-cost, practical solution.
Bill of materials
- 2 ea. 2-in. x 8-ft. Schedule 40 PVC pipe (posts)
- 1 ea. 1-in. x 4-ft. Schedule 40 PVC pipe (wind-sock pole)
- 1 ea. 2-in. PVC pipe cap (post cap)
- 1 ea. 1-in. PVC pipe cap (wind-sock pole cap)
- 1 ea. 2-in. to 1-in. PVC pipe reducer (post-to-pole reducer)
- 1 ea. Small can of PVC pipe cement
- 3 ea. 1/4-in. x 3-in. x 25-1/2-in. Plexiglas (pin board fronts)
- 3 ea. 1/4-in. x 3/8-in. x 25-1/2-in. Plexiglas (pin board backs)
- 24 ea. 1/4-in. x 1-in. x 1-1/2-in. Plexiglas (pin number plates)
- 24 ea. Wooden clothespins (frequency pins)
- 10 ft. 3/4-in.-wide plastic banding strap (board spacer material)
- 80 ea. 1/8 x 1/2-in. aluminum pop-rivets
- 12 ea. #8 1-in. Phillips head sheet metal screws
- 1 ea. Super-T CyA adhesive
- 1 set Ace R/C Upper Band channel stickers, Part #50L93U0 @ $3.95
- 1 set Ace R/C Lower Band channel stickers, Part #50L93OL @ $4.95
(Plus $2.00 shipping) — Ace R/C, 116 W. 19th St., Higginsville, MO 64037
Optional parts for portable board legs:
- 2 ea. 2-in. PVC pipe "T" fittings
- 4 ea. 2-in. x 2-ft. PVC pipe (base legs)
- 2 ea. 2-in. PVC pipe caps (leg caps)
Postscript: safety fence
You will notice in several photos the bright orange safety fence around our pit area. It is a construction-grade safety fence used around excavations and construction sites. It comes in a 4 x 50-ft. roll and costs about $5.50. Most construction supply companies carry it. The fence is durable and resilient—strong enough to stop or cushion an occasional airplane impact with no damage in our experience. We think it makes a good safety investment for a club.
Transcribed from original scans by AI. Minor OCR errors may remain.

