
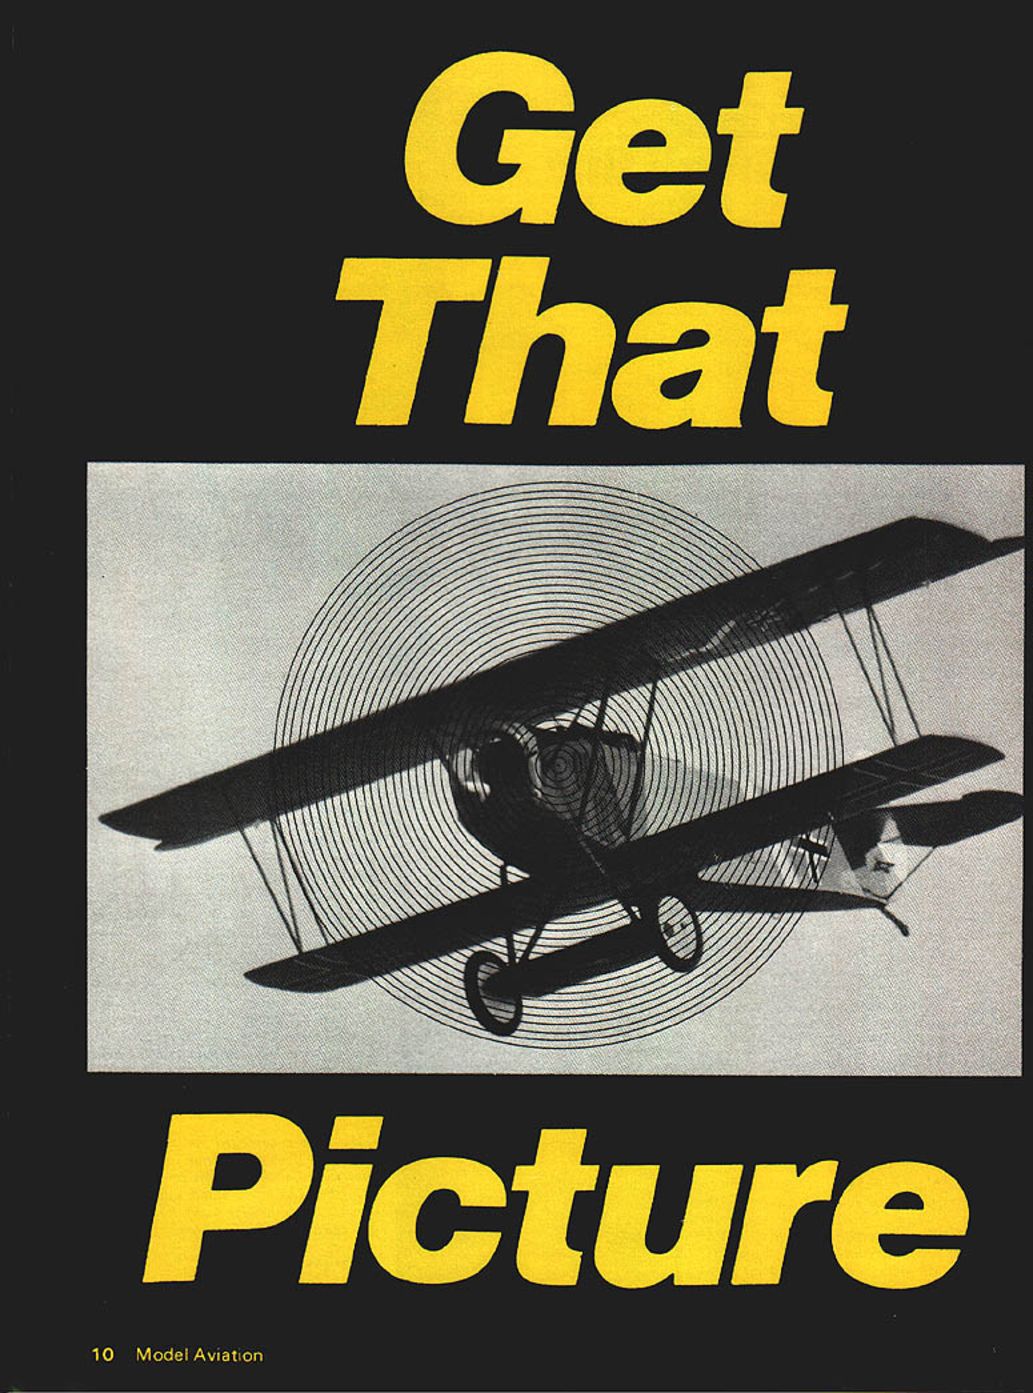
Get That Picture
Look at the sports page of any magazine or newspaper, and your eye will go directly to the action shot. Whether it's football, basketball, tennis or swimming, the action picture is sharp, fills the frame, is properly exposed and has a pleasant background. It's the "grabber."
In model aviation, getting that action shot is about as big a challenge as there is in sport photography. You don't have to be an expert, and expensive equipment won't guarantee success. I've seen professional photographers go away talking to themselves after covering their first model flying event.
In model aviation action photography you have an advantage right off the bat: you know the subject. Now all you need are a good camera, a telephoto lens, and plenty of practice. Especially practice — photographing flying models isn't easy. The subject moves very fast, often toward or away from the camera, and this makes real-time focusing tough. With practice and the proper equipment, however, you can increase your yield.
Equipment
Cameras and drive
- 35 mm single-lens reflex (SLR) cameras and modern optics are the best choice.
- A motor drive that takes several frames per second is nice but not required. At high frame rates a 36-exposure roll can disappear quickly; if you use a motor drive, consider single-frame mode and plan your shots.
- A motorized single-frame film advance is convenient. With practice you can manually advance the film in time to get two frames per pass.
- Leave tripods and monopods at home. You must be mobile and ready to move; handheld tracking is essential.
Lenses
- The normal 50 mm lens that comes with most cameras is not suitable for flight shots.
- A telephoto lens with a maximum focal length of about 180–225 mm is an excellent choice. Anything longer is difficult to hold and track.
- Zoom lenses offer flexibility and many retain focus across focal lengths. Fixed focal-length telephotos are fine too.
Shutter speed and motion
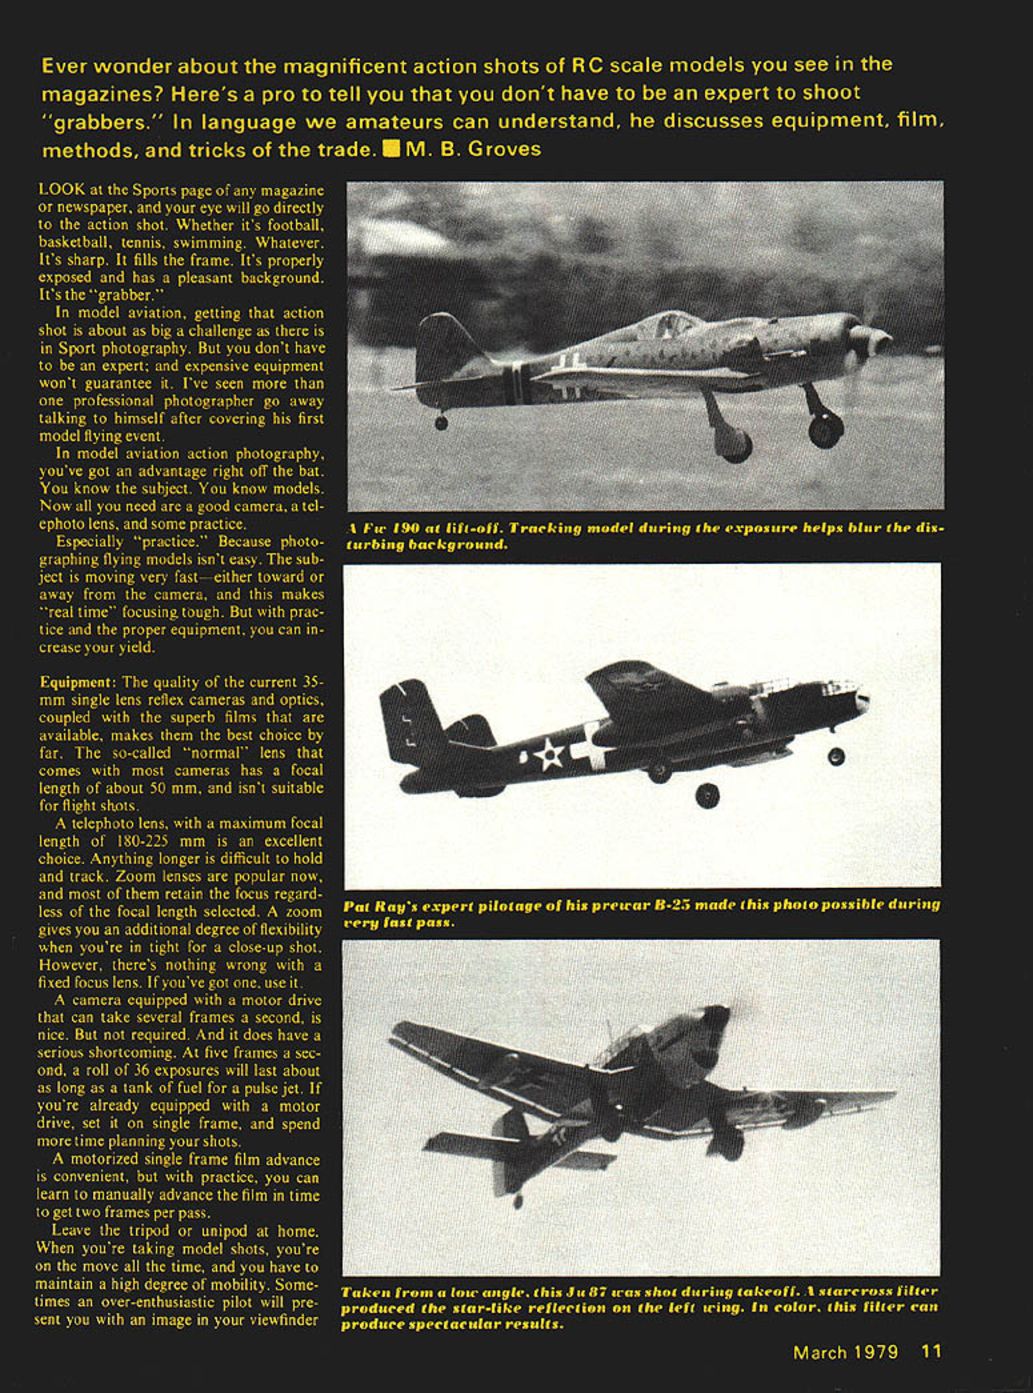
- Keep shutter speed not too fast when you want some background and propeller blur to convey speed. Moderate shutter speeds also make focusing more forgiving.
- For approaching subjects use faster shutter speeds and stop down the lens to increase depth of field.
- Select a minimum shutter speed of 1/250 sec; when lighting allows, faster is better.
Miscellaneous
- Familiarity with your equipment is as important as the equipment itself. Practice focusing and shooting so you never have to take the camera away from your eye to make adjustments.
- When you practice, go to the local field with your camera and telephoto lens and no film in the camera; track a model in flight for an hour a week for several weeks to build proficiency.
- Train yourself to track flying objects aggressively. Keep your eye on the model — don't turn your back on it — and be prepared to leap or reposition.
Film selection
- Use black-and-white film until you can review your results and are satisfied with your yield.
- Eastman Kodak choices:
- Tri-X — ASA 400. High speed; allows higher shutter speeds and smaller apertures (greater depth of field), but grainy when heavily enlarged. Good when you can fill the frame.
- Plus-X — ASA 125. Mid-range grain and speed; try it to compare results.
- Panatomic-X — ASA 32. Ultra-fine grain but slow. Requires larger apertures and critical focusing; yields superb enlargements when focused correctly.
- Let available light guide your choice: overcast or low sun -> use faster film.
- For color, use slides (cheaper and preferred by many magazines). Newer high-speed Ektachrome 400 is recommended; Kodachrome 25 is the fine-grain slow option. Magazines often prefer slides for covers, and excellent prints can be made from slides.
- Always use 36-exposure rolls — they are cheaper overall.
Shooting
Before you shoot
- Take plenty of film. Don't risk missing key shots because you're short.
- Check with the contest director (CD) or field manager before setting up. Discuss what you want to do and learn any restrictions.
- Stay well clear of the active flight line and don't block spectators' views. Keep a low profile.
- Check lighting conditions and, when possible, keep the sun at your back. Avoid cluttered backgrounds; move away from the crowd if lighting allows.
- Make an exposure reading before flying starts and monitor changing light. Be cautious: some automatic exposure systems will be fooled when pointed toward the sky.
Pre-focus and planning
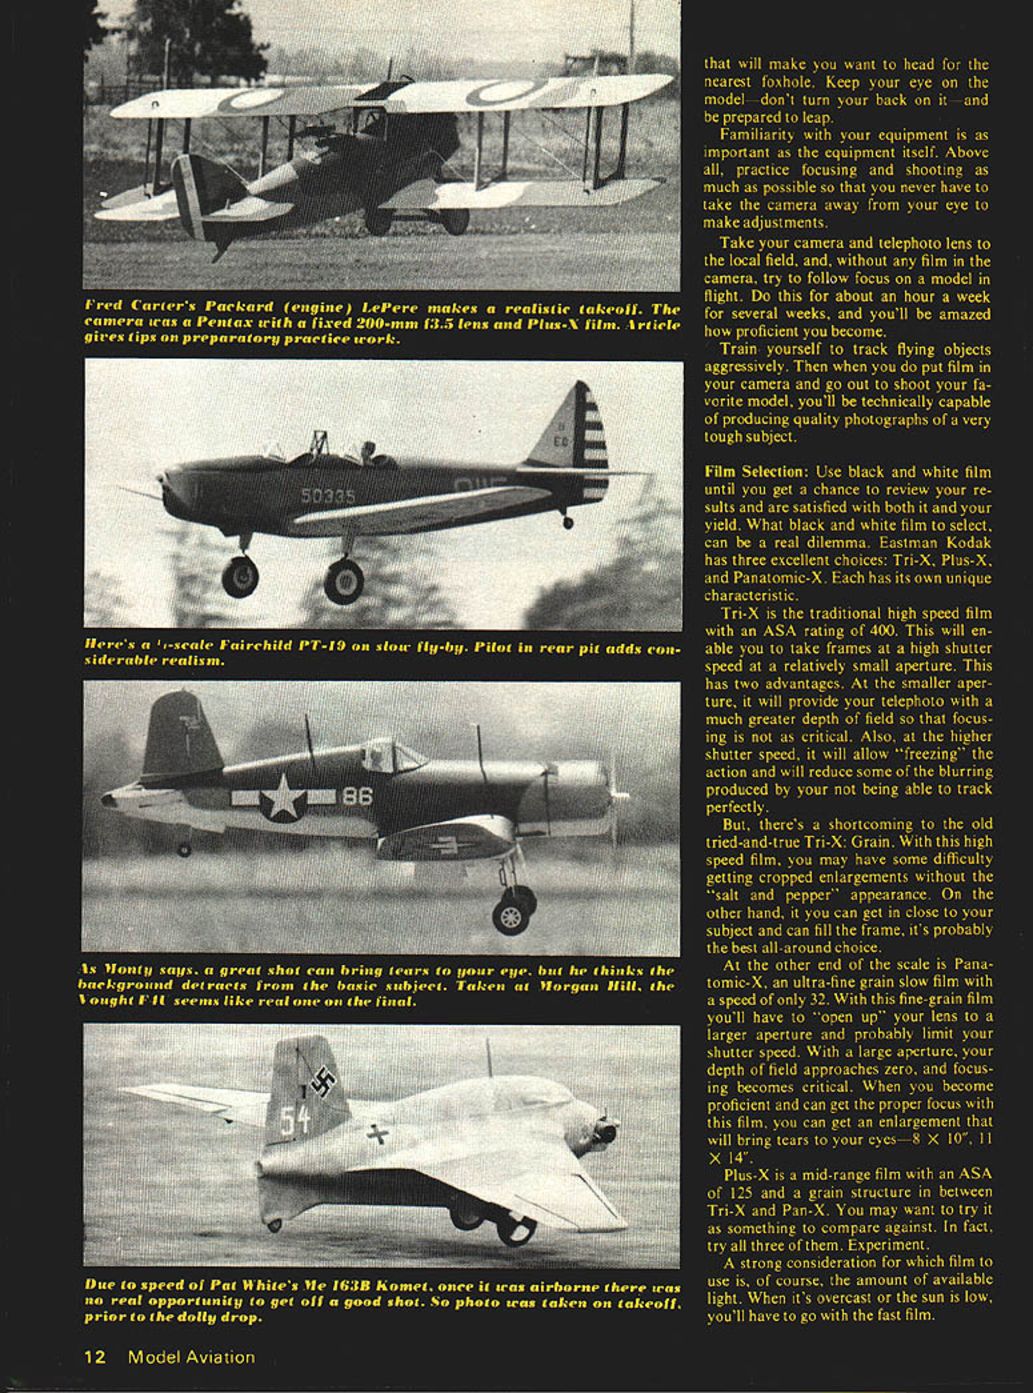
- Plan your shots. Start with takeoffs and landings — they are predictable and good for practice.
- Pre-focus on the spot where the model is likely to lift off or touch down. Track the model along the takeoff roll; when it reaches your pre-focused spot, snap the photo and continue to pan as it climbs or levels off.
- For landings, watch where models are touching down and use the same pre-focus technique.
- If the CD has given permission to be on the line and everyone knows what you're doing, get upwind from the pilots and estimate the break-ground spot for pre-focus.
In-flight techniques
- When the model is approaching, use the fastest shutter speed possible and stop down to increase depth of field.
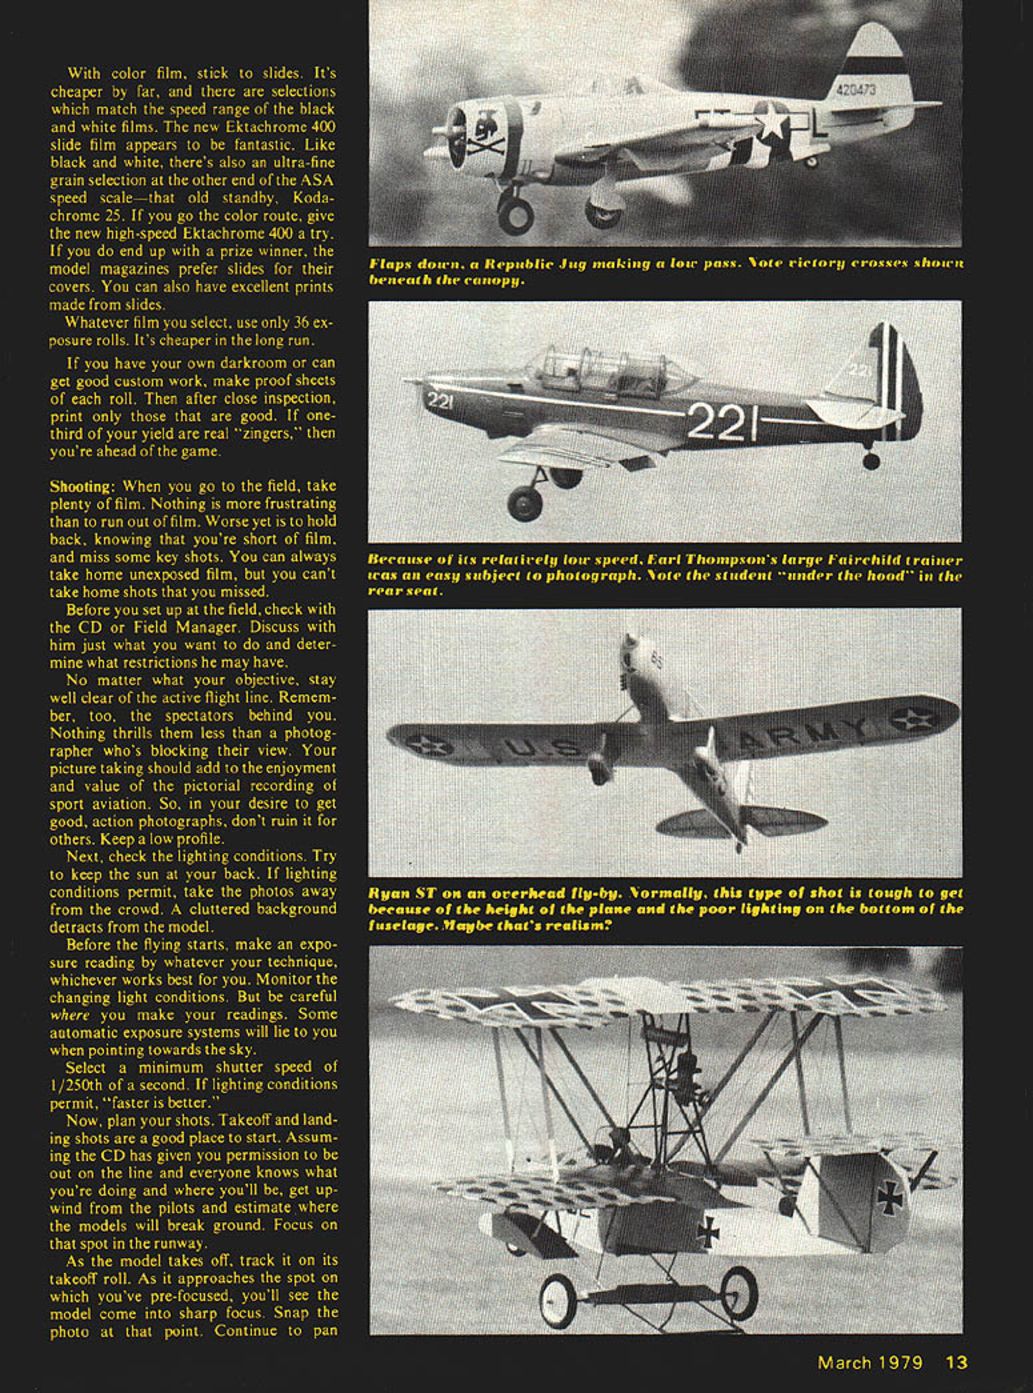
- For fly-bys, know which way to turn the focus ring as the distance changes. While continuously tracking, adjust focus slowly to keep the subject sharp, then fire when it's "looking good."
- If the model is passing along the flight line, try to keep the wings level in the frame. If it's making a banked turn, keep the horizon level.
- Be alert for good background and foreground features: foreground objects provide scale and a spot of color in the background can make the model stand out.
- If you have a motor drive, use it for sequences. Let the film advance so you'll have another chance as the model goes by and climbs out.
- When shooting vertically, keep the nose in the frame. If the model is in a steep climb, crop the bottom rather than cut off the top.
- Do not waste time re-checking exposure while the model is on its pass if you have already set exposure before the flight.
Developing and editing
- If you have access to a darkroom or good custom work, make proof sheets of each roll and inspect them closely. Print only the best images.
- If one-third of your yield are real "zingers," consider yourself ahead of the game.
- Keep records, analyze results critically, and determine what went wrong and right. Experiment with angles and lighting conditions.
Storage and submission tips
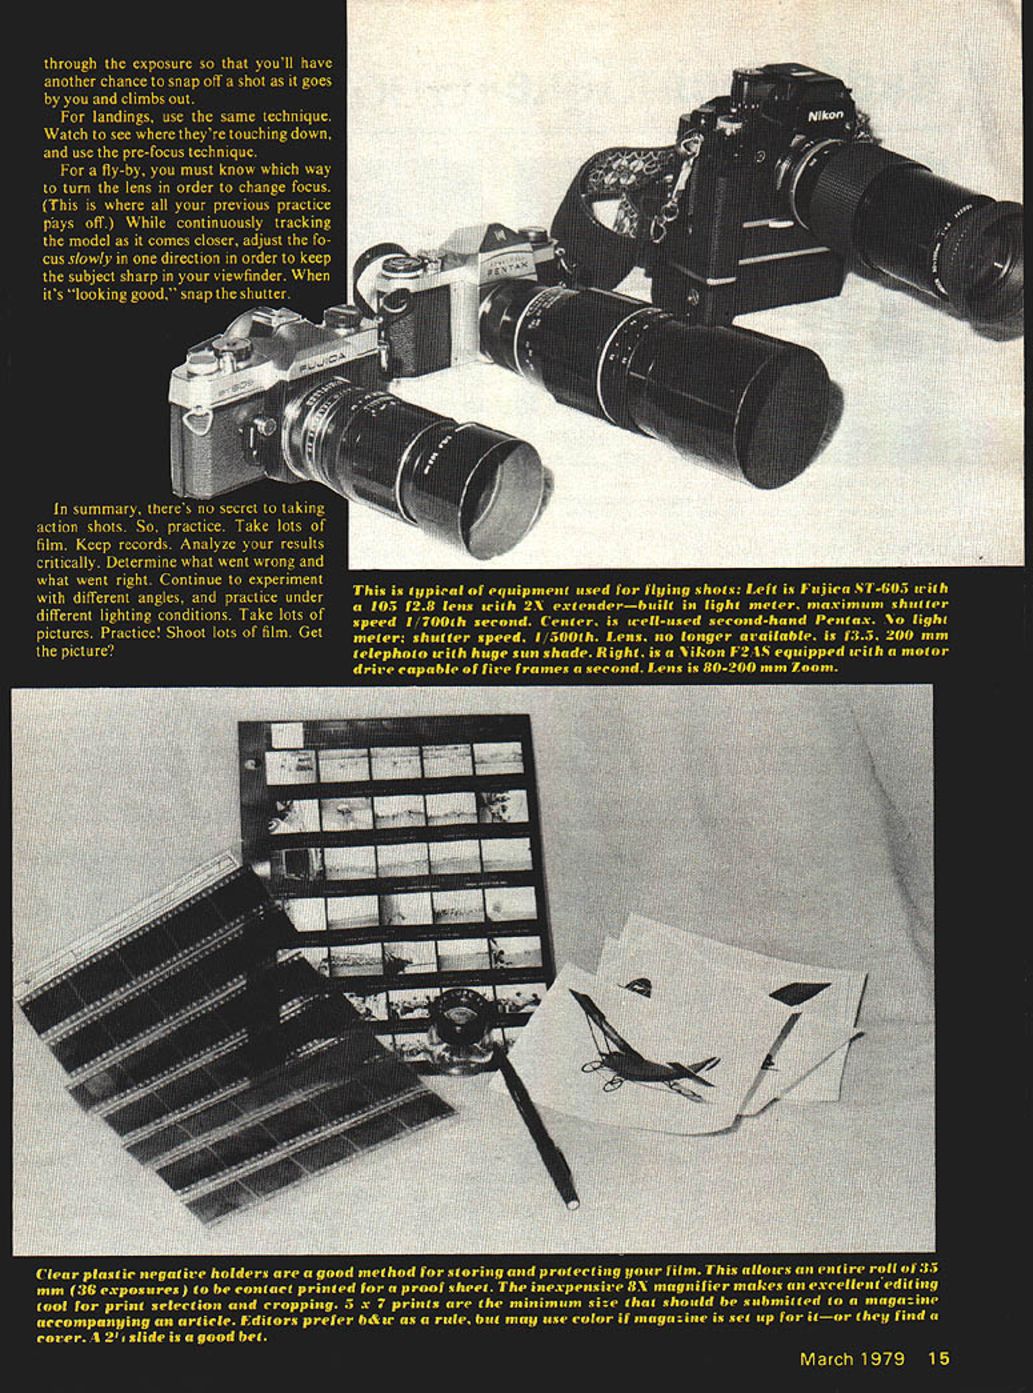
- Clear plastic negative holders are a good method for storing and protecting film; they let you contact-print a whole roll for a proof sheet.
- An inexpensive 8× magnifier is an excellent editing tool for print selection and cropping.
- 5×7 prints are the minimum size to submit to a magazine with an article. Editors usually prefer black-and-white, but may use color if the magazine accommodates it or if a cover image is found.
- Slides: provide 2" slides (mounted) when in doubt — they are often a safe bet for magazine submission.
Summary
There is no secret to taking action shots: practice relentlessly, take lots of film, keep records, and constantly evaluate your work. Learn your equipment, pre-focus and plan your shots, pay attention to lighting and background, and experiment. Practice! Shoot lots of film. Get the picture?
Transcribed from original scans by AI. Minor OCR errors may remain.

