

Good Tern
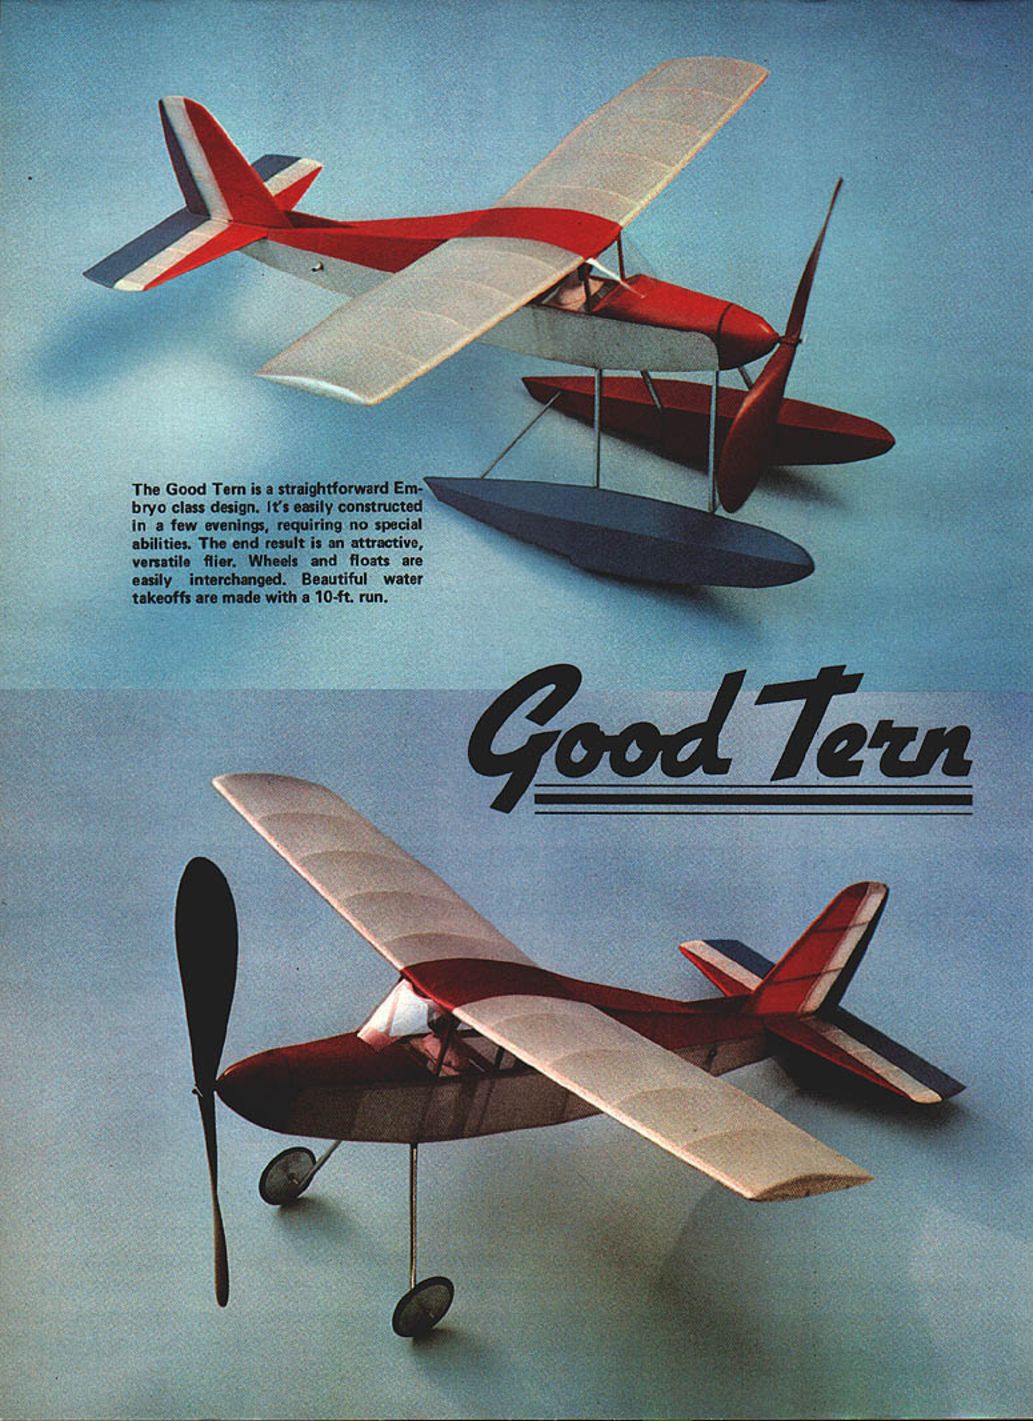
The Good Tern is a straightforward Embryo-class design. It's easily constructed in a few evenings, requiring no special abilities. The end result is an attractive, versatile flier. Wheels and floats are easily interchanged. Beautiful water takeoffs are made with a 10-ft. run.
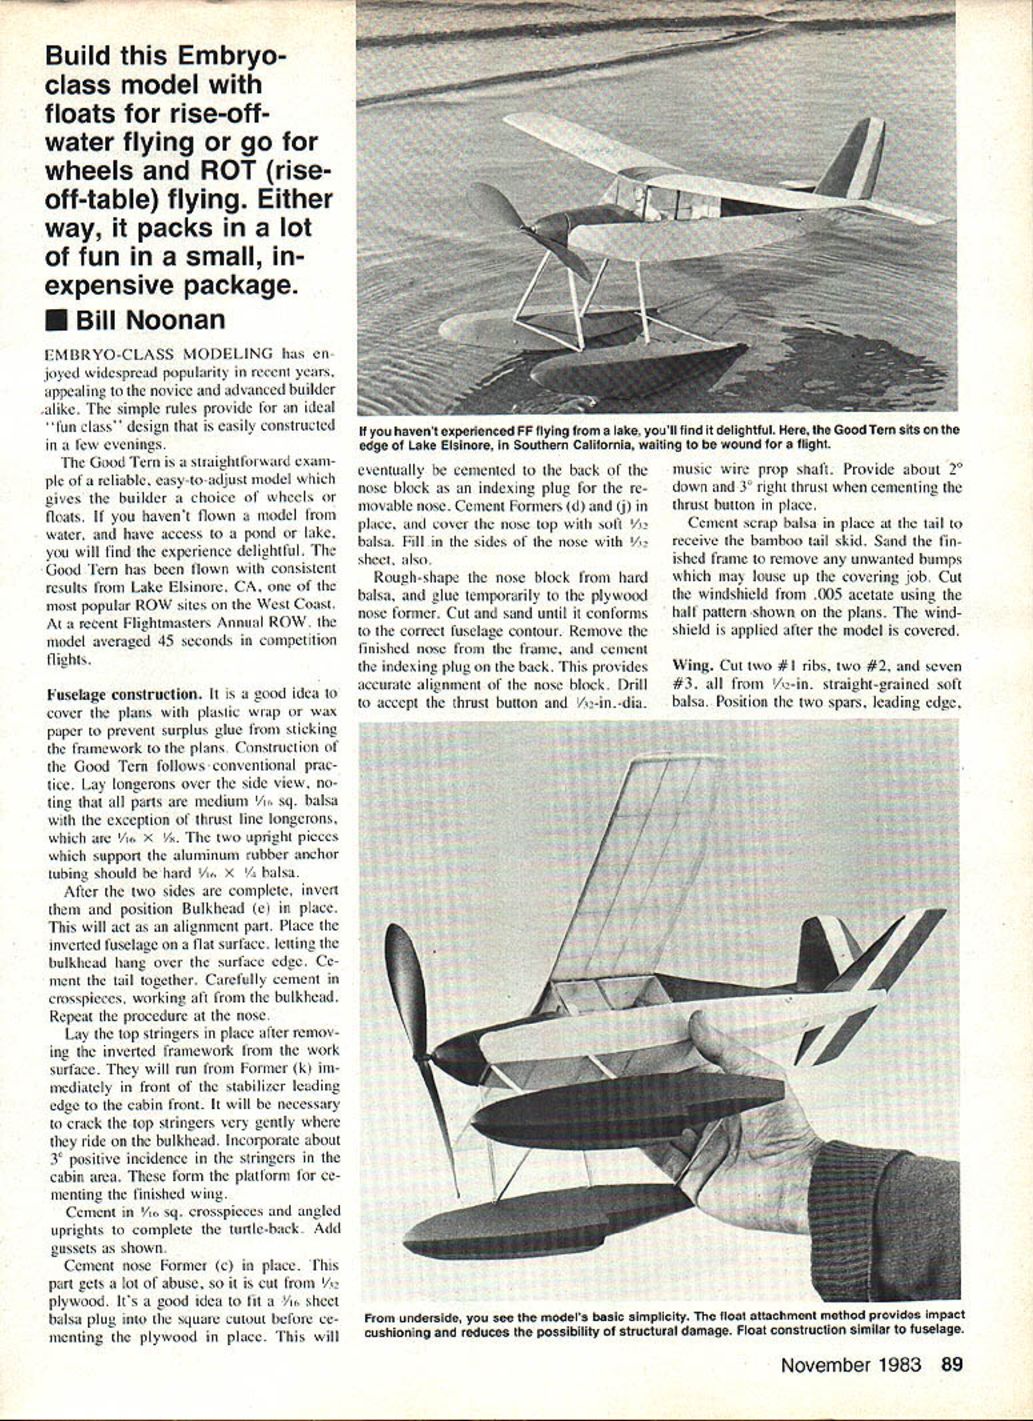
The Good Tern has been flown with consistent results from Lake Elsinore, CA, one of the most popular ROW sites on the West Coast. At a recent Flightmasters Annual ROW, the model averaged 45 seconds in competition flights.
Fuselage construction
It is a good idea to cover the plans with plastic wrap or wax paper to prevent surplus glue from sticking the framework to the plans. Construction of the Good Tern follows conventional practice. Lay longerons over the side view, noting that all parts are medium 1/16 sq. balsa with the exception of thrust-line longerons, which are 1/16 x 1/8. The two upright pieces which support the aluminum rubber-anchor tubing should be hard 1/16 x 1/8 balsa.
After the two sides are complete, invert them and position Bulkhead (e) in place; this will act as an alignment part. Place the inverted fuselage on a flat surface, letting the bulkhead hang over the surface edge. Cement the tail pieces together. Carefully cement in crosspieces, working aft from the bulkhead. Repeat the procedure at the nose.
Lay the top stringers in place after removing the inverted framework from the work surface. They will run from Former (k), immediately in front of the stabilizer leading edge, to the cabin front. It will be necessary to crack the top stringers very gently where they ride on the bulkhead. Incorporate about 3° positive incidence in the stringers in the cabin area. These form the platform for cementing the finished wing.
Cement in 1/16 sq. crosspieces and angled uprights to complete the turtle-back. Add gussets as shown.
Cement nose Former (c) in place. This part gets a lot of abuse, so it is cut from 1/8 plywood. It's a good idea to fit a 1/16 sheet balsa plug into the square cutout before cementing the plywood in place. This will eventually be cemented to the back of the nose block as an indexing plug for the removable nose. Cement Formers (d) and (j) in place, and cover the nose top with soft 1/8 balsa. Fill in the sides of the nose with 1/32 sheet also.
Rough-shape the nose block from hard balsa, and glue temporarily to the plywood nose former. Cut and sand until it conforms to the correct fuselage contour. Remove the finished nose from the frame, and cement the indexing plug on the back. This provides accurate alignment of the nose block. Drill to accept the thrust button and a 1/32-in.-dia. music-wire prop shaft. Provide about 2° down and 3° right thrust when cementing the thrust button in place.
Cement scrap balsa in place at the tail to receive the bamboo tail skid. Sand the finished frame to remove any unwanted bumps which may mess up the covering job. Cut the windshield from 0.005-in. acetate using the half pattern shown on the plans. The windshield is applied after the model is covered.
Wing
Cut two #1 ribs, two #2, and seven #3, all from 1/8-in. straight-grained soft balsa. Position the two spars, leading edge, and trailing edge over the protected plan of the right wing. Notching the trailing edge for the ribs makes a much stronger wing. Cement the ribs in place, leaving the center one out; it will be cemented in place after the panels are joined.
You can either oil the wing plan to allow the image to be seen through the back, or make a tissue drawing to get your plan for the left wing. Make the left panel in the same manner as the right wing panel. Join the two panels using the plywood spar joiner as a dihedral reference. The two aft spars are cemented where they butt.
Add the center rib and tip fairings of soft balsa. Cut and sand the leading and trailing edges to airfoil shape, fairing in the tips. The plans show about 1/8 in. of washout at the wing tips. This can be achieved by pinning each wing panel down right after the final coat of dope has been applied, inserting a 1/8-in. wedge under the trailing edge at the extreme tip. Allow to dry overnight.
Tail surfaces
Position the leading and trailing edges in place over the plans, starting with the stabilizer. The "ribs" are made in a somewhat unorthodox manner, but this provides great warp-resisting characteristics. Cut the eight rib bottom pieces from 1/16 x 1/4 balsa. The 1/16-in. dimension lies flat on the plans. After checking these parts for a good fit between the leading and trailing edges, apply cyanoacrylate glue (CyA) to all joints.
Lay a hard 1/16-in. square balsa spar in place over the rib parts and apply CyA. Cut the tips from 1/32 sheet balsa, and cement them in place. Remove the framework from the plans, and cut the top rib parts. These must fit snugly between the leading and trailing edges. Gently bend the rib tops over the spar, and cement them in place. The result is a symmetrical-sectioned stab which is very strong. Trim the edges and sand to a streamlined shape. Fill in with 1/32 sheet between the center ribs on the underside; this provides a mount when cementing the surfaces in place.
The fin is constructed in the same manner as the stab. Note that the spar is left oversized on the lower end; this penetrates the stab and fuselage and makes a very sturdy installation. The triangulated fairing at the base of the fin leading edge is added after all the covered tail surfaces are installed.
Floats
This is kind of like building two more fuselages. Lay down four sides over the plans. Use 1/32-in. sheet Former (f) as an alignment part (just as you did in building the fuselage) when assembling each float. Pinch the trailing portion of the float together, checking for symmetry. Insert the crosspieces, working your way both forward and backward from the former. Maintain symmetry and squareness.
Cut two keel pieces (a) from 1/32-in. sheet balsa, and cement them in place on the float center line. Cement Former (m) in place at the float nose, and cover the float bottom with two pieces of soft 1/8 sheet balsa. Use waterproof glue in this operation (as well as for the rest of the plane). Cover the bottom aft of the step, noting that it has a gentle curved section rather than the "V" found up front. Cement soft balsa nose pieces in place, and fair them into the float.
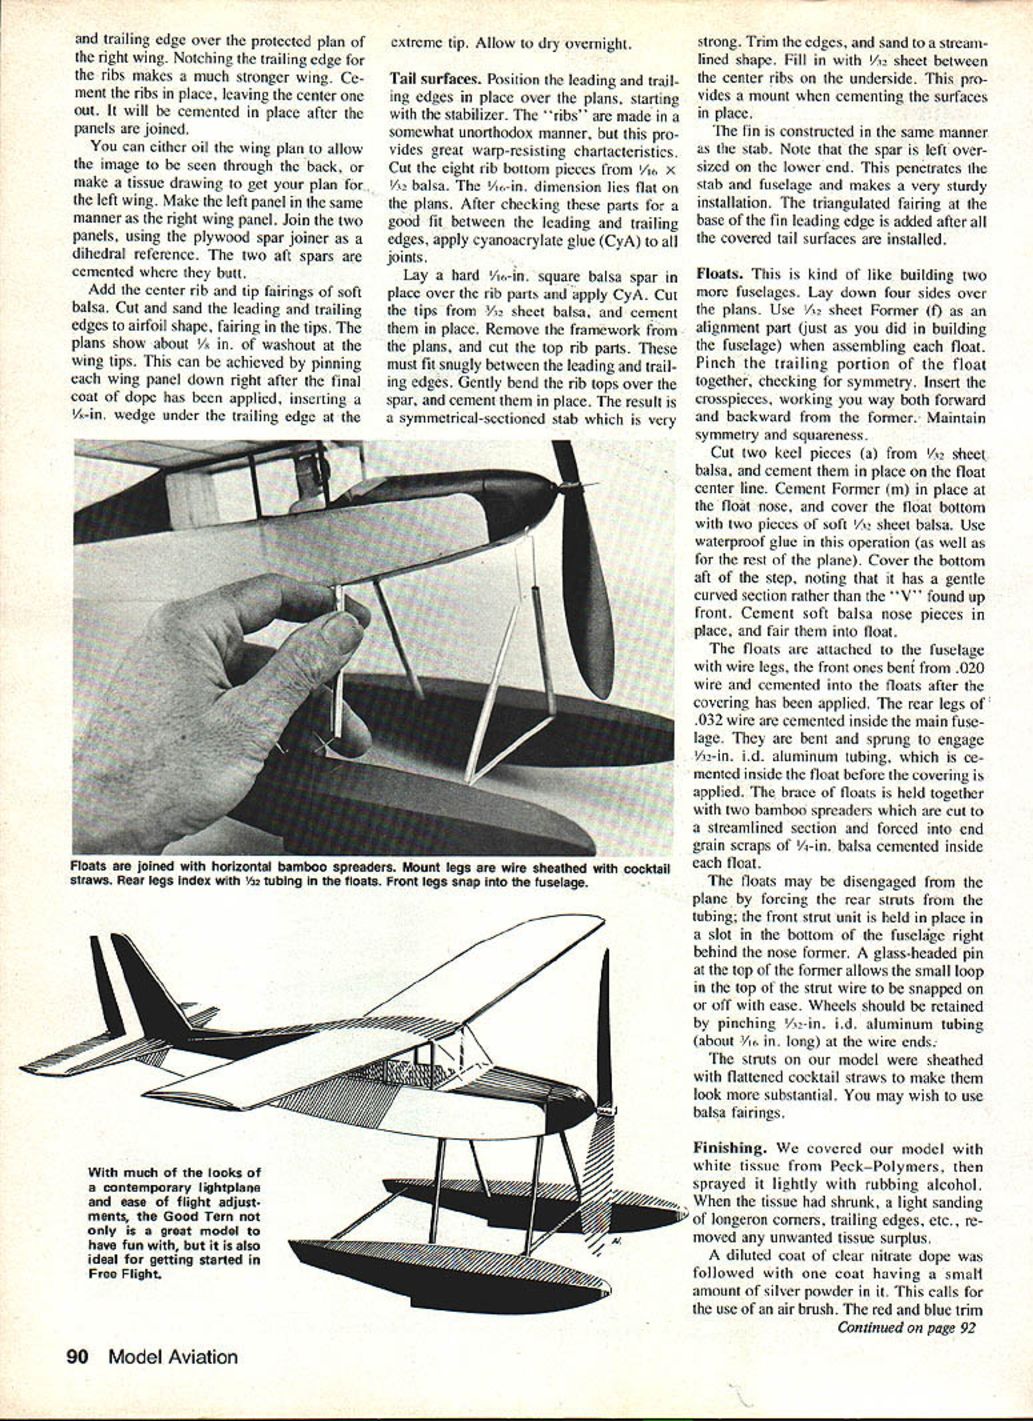
The floats are attached to the fuselage with wire legs, the front ones bent from .020-in. wire and cemented into the floats after the covering has been applied. The rear legs of .032-in. wire are cemented inside the main fuselage. They are bent and sprung to engage 1/8-in. i.d. aluminum tubing, which is cemented inside the float before the covering is applied. The brace of floats is held together with two bamboo spreaders which are cut to a streamlined section and forced into end-grain scraps of 1/4-in. balsa cemented inside each float.
The floats may be disengaged from the plane by forcing the rear struts from the tubing; the front strut unit is held in place in a slot in the bottom of the fuselage right behind the nose former. A glass-headed pin at the top of the former allows the small loop in the top of the strut wire to be snapped on or off with ease. Wheels should be retained by pinching 1/32-in. i.d. aluminum tubing (about 3/16 in. long) at the wire ends.
The struts on our model were sheathed with flattened cocktail straws to make them look more substantial. You may wish to use balsa fairings.
Finishing
We covered our model with white tissue from Peck-Polymers, then sprayed it lightly with rubbing alcohol. When the tissue had shrunk, a light sanding of longeron corners, trailing edges, etc., removed any unwanted tissue surplus.
A diluted coat of clear nitrate dope was followed with one coat having a small amount of silver powder in it. This calls for the use of an airbrush. The red and blue trim was achieved by masking the appropriate parts of the turtle-back, stab, and fin, and again using the airbrush. The port float was painted red, the starboard blue. Why always bow to convention?
Cement the wing and tail surfaces in place, checking for alignment. Cement the windshield in place with RC56 glue — which dries clear and minimizes any inadvertent smear.
Our model, which may be more robust than is absolutely necessary because of the abuse given in ROW flying, weighs exactly 1 oz. with floats, which account for 12 grams. There are obvious places where weight might be reduced and not significantly impair the structural strength. You could eliminate the rear spar, use sliced ribs, make the tail surfaces entirely from 1/16 sq. balsa, and substitute 1/16-in. sheet wing tips.
You might also consider:
- Eliminating the rear spar
- Using sliced ribs
- Making the tail surfaces entirely from 1/16 sq. balsa
- Substituting 1/16-in. sheet wing tips
Flying
We found that two loops of 1/8-in. rubber, about 18 in. long, worked very well for ROW flights, getting the model off the water after a run of about 8 ft. One loop of 1/4-in. Pirelli will allow about 1,500 turns to be packed in, quite adequate for ROG flights from a card table, a requirement for Embryo-class flying.
When changing from floats to wheels, and changing the rubber, be sure to check the balance. It might be well to make an inconspicuous mark at the wing root at the balance point. Add a small wad of clay to the nose block to achieve proper balance.
Our model was untested upon arrival at the Flightmasters ROW Annual at Elsinore. It was a beautiful, sunny morning, the lake only slightly wrinkled with small wavelets. Conviviality prevailed among contestants.
"Put 'er in the water" was the cry. We cranked in about 250 turns and gently set the floats on the shimmering surface, releasing the model into a gentle breeze. It showed good promise and behavior, but it needed more wind. Back to the beach we went to enlist Bill Hannan's assistance as a stooge. This time we were going for broke (not literally; we use a winding tube). We packed in 999 turns, more or less.
We waded out past the mini-breaker line, about 10 yards from shore, and released into the quartering wind. The model rose gracefully from Lake Elsinore, making a large left-hand circle, climbing steadily into the sun. As the turns ran down, the Good Tern exhibited fine discipline, and the transition into the glide was without any time-losing stall. The model landed back on the beach none the worse for wear.
This is a fun model which offers the versatility of float or wheel flying. After you build it, you may agree with that old axiom: one Good Tern deserves another.
Transcribed from original scans by AI. Minor OCR errors may remain.

