

HIGH FLYER
— John R. Walker
A NO-CONTEST MODEL
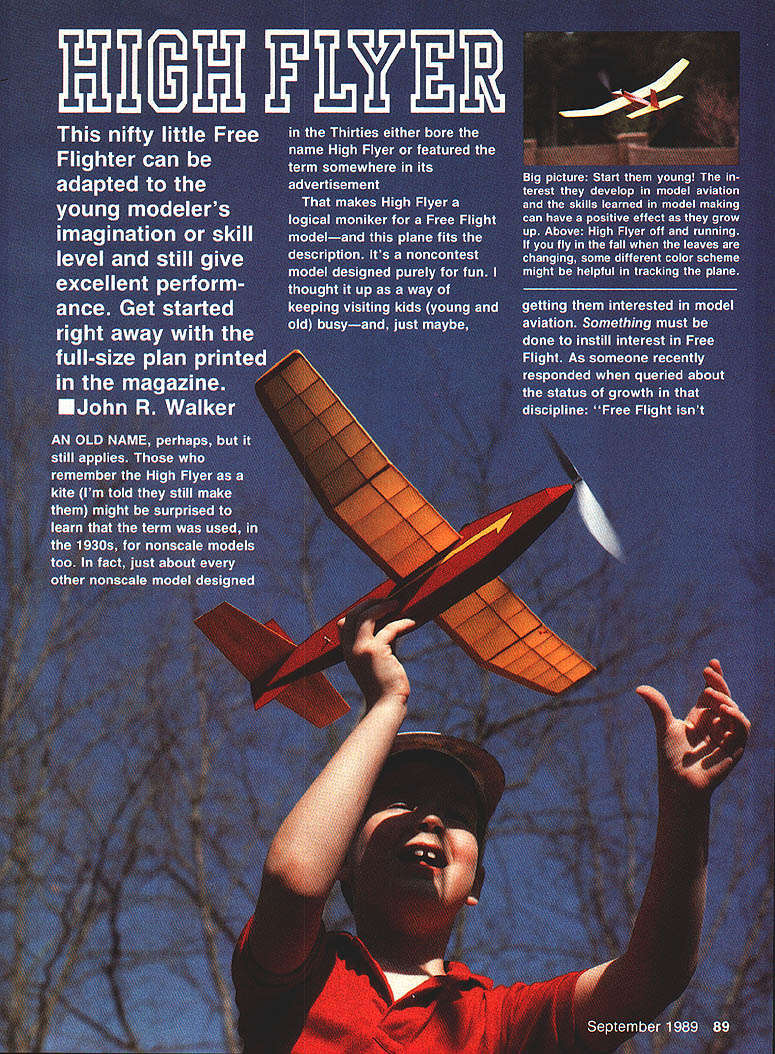
This nifty little Free Flighter can be adapted to the young modeler's imagination or skill level and still give excellent performance. It's a noncontest model designed purely for fun. I thought it up as a way of keeping visiting kids (young and old) busy—and, just maybe, getting them interested in model aviation. Something must be done to instill interest in Free Flight. As someone recently responded when queried about the status of growth in that discipline: "Free Flight isn't dying out, but Free Flighters sure as heck are!"
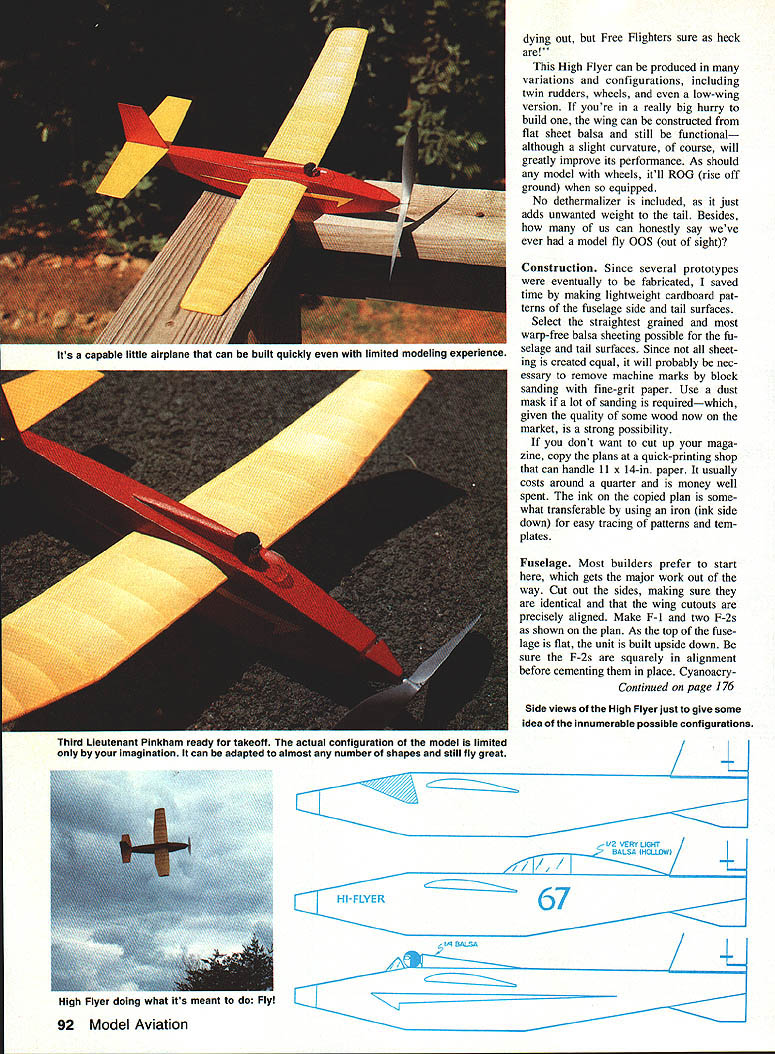
High Flyer can be produced in many variations and configurations, including twin rudders, wheels, and even a low‑wing version. If you're in a really big hurry to build one, the wing can be constructed from flat sheet balsa and still be functional — although a slight curvature of the center section will greatly improve its performance. As with most models, wheels will aid ROG (rise off ground) takeoffs when equipped. No dethermalizer is included; it just adds unwanted weight to the tail. Besides, how many of us can honestly say we've ever had a model fly out of sight?
Construction
Since several prototypes were eventually fabricated, I saved time by making lightweight cardboard patterns for the fuselage sides and tail surfaces.
Select the straightest‑grained, warp‑free balsa sheeting possible for the fuselage and tail surfaces. Not all sheeting is created equal — you will probably need to remove machine marks by block sanding with fine‑grit paper. Use a dust mask if a lot of sanding is required.
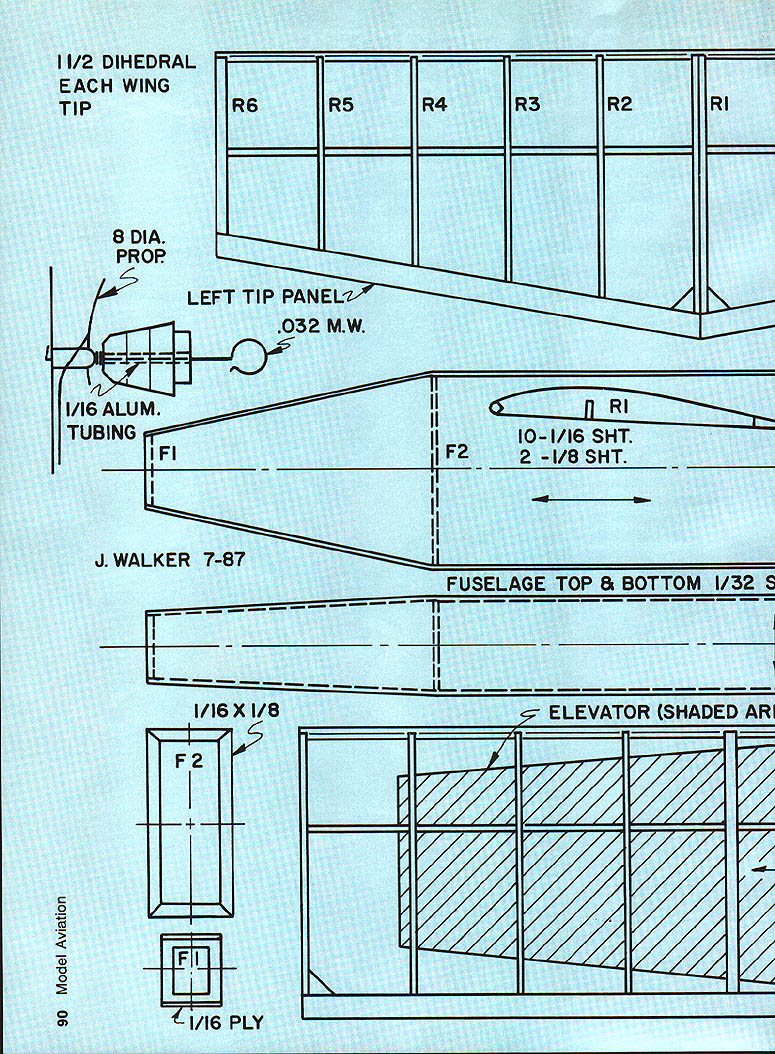
If you don't want to cut up your magazine, copy the plans at a quick‑printing shop that can handle 11 × 14‑inch paper. It usually costs around a quarter and is money well spent. The ink on the copied plan is somewhat transferable: place the ink side down and use an iron to make tracing patterns and templates easy.
Fuselage
Most builders prefer to start here to get the major work out of the way.
- Cut out the fuselage sides, making sure they are identical and that the wing cutouts are precisely aligned.
- Make F‑1 and two F‑2 parts as shown on the plan. The top of the fuselage is a flat unit built upside down, so be sure the F‑2s are squarely aligned before cementing them in place.
- Use cyanoacrylate glue throughout for quick, secure joints.
- After gluing the F‑2s in place, cement the reinforcement strips for the rear motor mounting tube. Wait until this point to install these strips to minimize the chance of making two right or two left fuselage sides.
- Pull the rear fuselage sides together and glue securely. Repeat the procedure for the front halves and glue F‑1 in place.
- If you expect to operate from rough, rocky terrain, reinforce the nose with 1/8‑inch plywood.
- Cement the top and bottom sheeting in place. Sand the fuselage to remove any roughness and glue joints, evening out the top and bottom sheeting and the side units so everything blends smoothly.
Wing and tail surfaces
- Build the tail surfaces and round them off with light sanding. Check carefully for vertical and horizontal alignment before gluing them in place.
- The wing is built in three sections using straightforward stick‑and‑tissue construction. Cover the sections separately.
- Attach only one tip section to the center section, then slip this unit into the fuselage. When you've aligned it and glued it in place, attach the other wing tip section.
If you're in a hurry, the wing can be made from flat sheet balsa; performance will be acceptable, but a slight curvature in the center section noticeably improves lift and handling.
Flying
I used two loops of 1/4‑inch rubber to fly the prototype. Since the flying area was quite small, I used 12‑inch loops. Let the size of your flying field guide you in determining loop length.
- Test‑glide the model over high grass if possible.
- Use modeling clay to achieve the correct balance. When you acquire a smooth glide without stalling, crank in about 100 turns and try a powered launch.
- The prototype climbed about 20 ft with that setup.
- When satisfied with the flight characteristics, put your name, address, and telephone number on the model and crank in more turns.
Because rubber varies greatly in quality, make up a second motor, lubricate it, and wind it to destruction. This sets a limiting threshold: you can safely use about 80% of the turns that destroyed the test motor as your norm.
Happy flying — and happy landing before it goes out of sight.
Transcribed from original scans by AI. Minor OCR errors may remain.

