
Horsefly
For less than $100, including .02 engine and radio system, you can fly this durable quickie until the cows come home. ■ Bernard Shulman
DO YOU like sport models? Do you like free flight? Do you want to try radio control? Well, this is it. Try the Horsefly. The Horsefly is a Cox .020 Pee Wee powered sport RC. It makes a very good first RC model. The Pee Wee is more than enough power to get it up as a sport free flight. But, put an Ace pulse RC inside and you are in for some real fun. The model climbs up to where the thermals are and rides them well. The good part is that when the Horsefly is just a dot way up there, just give it full rudder and down it comes. On the way down, you can try a loop or something, then land it close to you. Just think, a free flight you don't have to chase.
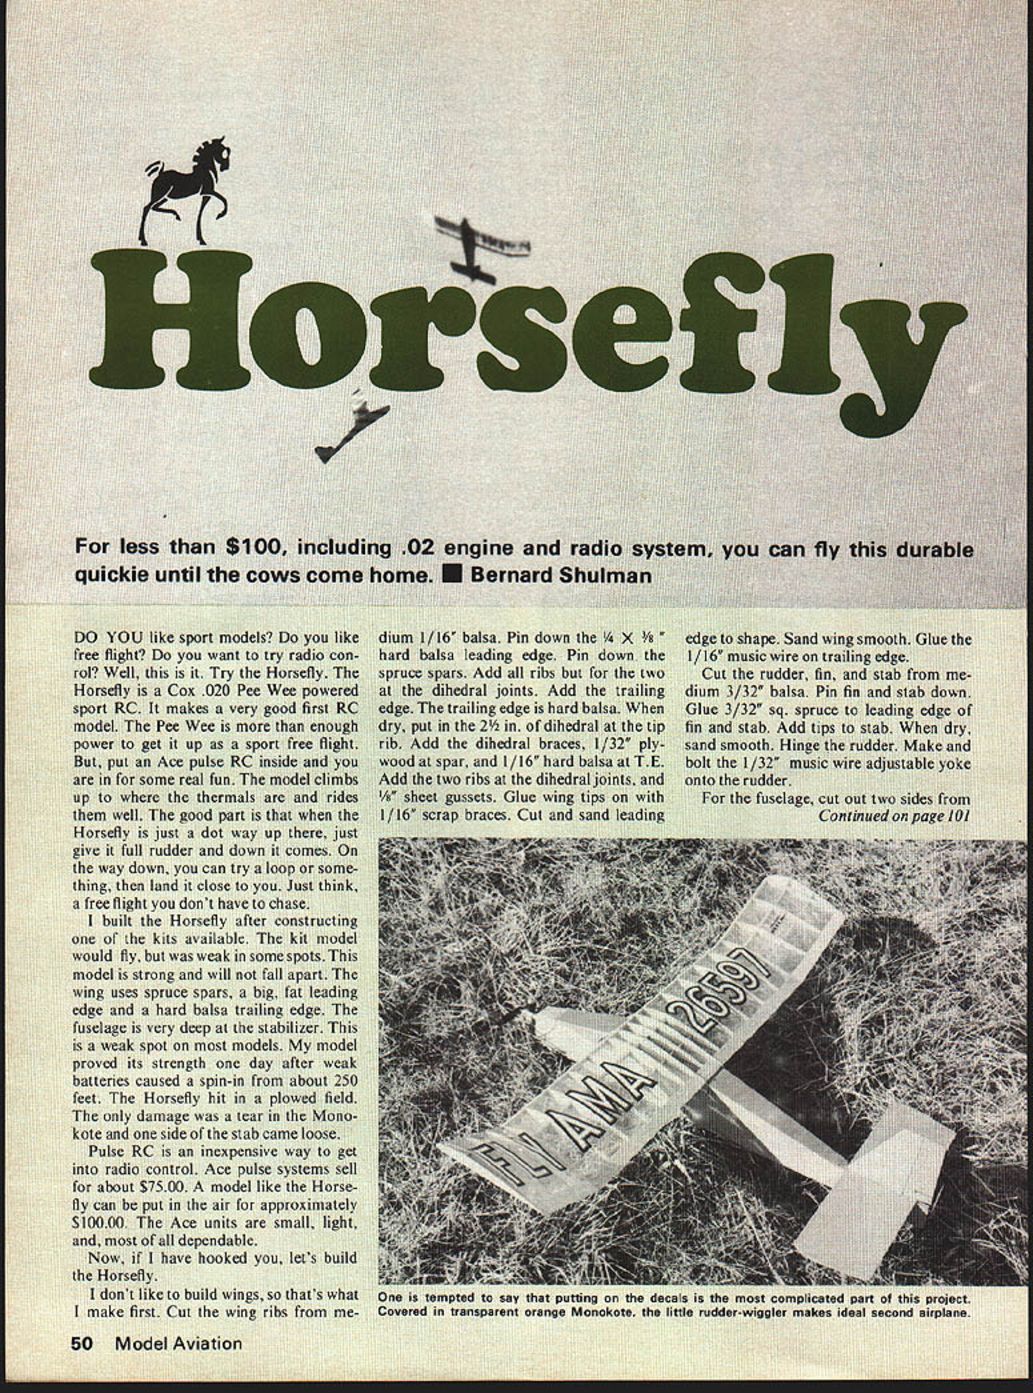
I built the Horsefly after constructing one of the kits available. The kit model would fly, but was weak in some spots. This model is strong and will not fall apart. The wing uses spruce spars, a big, fat leading edge and a hard balsa trailing edge. The fuselage is very deep at the stabilizer. This is a weak spot on most models. My model proved its strength one day after weak batteries caused a spin-in from about 250 feet. The Horsefly hit in a plowed field. The only damage was a tear in the Monokote and one side of the stab came loose.
Pulse RC is an inexpensive way to get into radio control. Ace pulse systems sell for about $75.00. A model like the Horsefly can be put in the air for approximately $100.00. The Ace units are small, light, and, most of all dependable.
Now, if I have hooked you, let's build the Horsefly.
I don't like to build wings, so that's what I make first. Cut the wing ribs from medium 1/16" balsa. Pin down the 1/4 x 3/8" hard balsa leading edge. Pin down the spruce spars. Add all ribs but for the two at the dihedral joints. Add the trailing edge. The trailing edge is hard balsa. When dry, put in the 2 1/2 in. of dihedral at the tip rib. Add the dihedral braces, 1/32" plywood at spar, and 1/16" hard balsa at T.E. Add the two ribs at the dihedral joints, and 1/8" sheet gussets. Glue wing tips on with 1/16" scrap braces. Cut and sand leading edge to shape. Sand wing smooth. Glue the 1/16" music wire on trailing edge.
Cut the rudder, fin, and stab from medium 3/32" balsa. Pin fin and stab down. Glue 3/32" sq. spruce to leading edge of fin and stab. Add tips to stab. When dry, sand smooth. Hinge the rudder. Make and bolt the 1/32" music wire adjustable yoke onto the rudder.
For the fuselage, cut out two sides from
(Continued on page 101)
Horsefly
1/16" medium hard balsa. Make the right side 1/16" shorter than the left at the front. This is for the built-in right thrust. Cut and glue the 1/16" x 1/4" braces onto the sides. Cut out F-2, F-3, and F-4. Glue F-4 to F-3. Locate and glue F-2 and F-3 to one side, then add the other side. Glue in 1/8" sq. tail post, and glue the sides together at tail.
Cut the engine mount, F-1, from 1/8" plywood. Drill for engine and add blind nuts. Glue engine mount to front and check to be sure there is right-thrust. Plank bottom of fuselage with 1/16" balsa. Cut and glue the 3/32" doublers to inside of fuselage sides back to former F-3; make the doublers with the grain vertical. Glue 1/8" sheet to inside bottom of fuselage in battery and wheel compartment. If you want, the wheel can be moved to the front of the model.
Make up the wheel assembly. Cut hole to fit wheel and glue in assembly. Cut and groove for wire another 1/8" sheet to fit over wheel assembly. Glue in place over wheel assembly. Cut, fit, and glue 1/16" balsa floor over wheel assembly. Plank top front fuselage with 1/8" sheet. Cut and glue together the two rear fuselage parts. Groove for 1/16" inside-diameter tubing, and glue to rear of fuselage.
Cut the activator mount from 1/16" plywood. Glue 1/8" sq. spruce rails to hold activator to inside of fuselage. Get a good fit on activator mount. Bolt or lace the activator on the mount and slide in place. Make up the torque rod and install in fuselage, and glue tubing into the groove in the rear of fuselage. Add gussets, and plank top rear of fuselage with 1/16" sheet. Cut and add wing rails. They are 1/8" sq. in front and zero at rear. Glue in 1/8" dowels. Sand fuselage smooth. Glue on spruce skid in front of wheel. Glue stab and rudder in place. Bend torque rod up to fit rudder yoke.
Give fuselage and tail three or four coats of clear dope. I clear dope a model until it starts to shine. Then give nose sections two more coats. Cover wings as you prefer. I used Monokote. Bolt on engine. Add one washer under the top engine bolts for extra down-thrust. Install radio mount and mount switch.
Balance model where shown on plan. Add weight to nose or tail if needed. Check model for warps and, if you find any, remove them before flying.
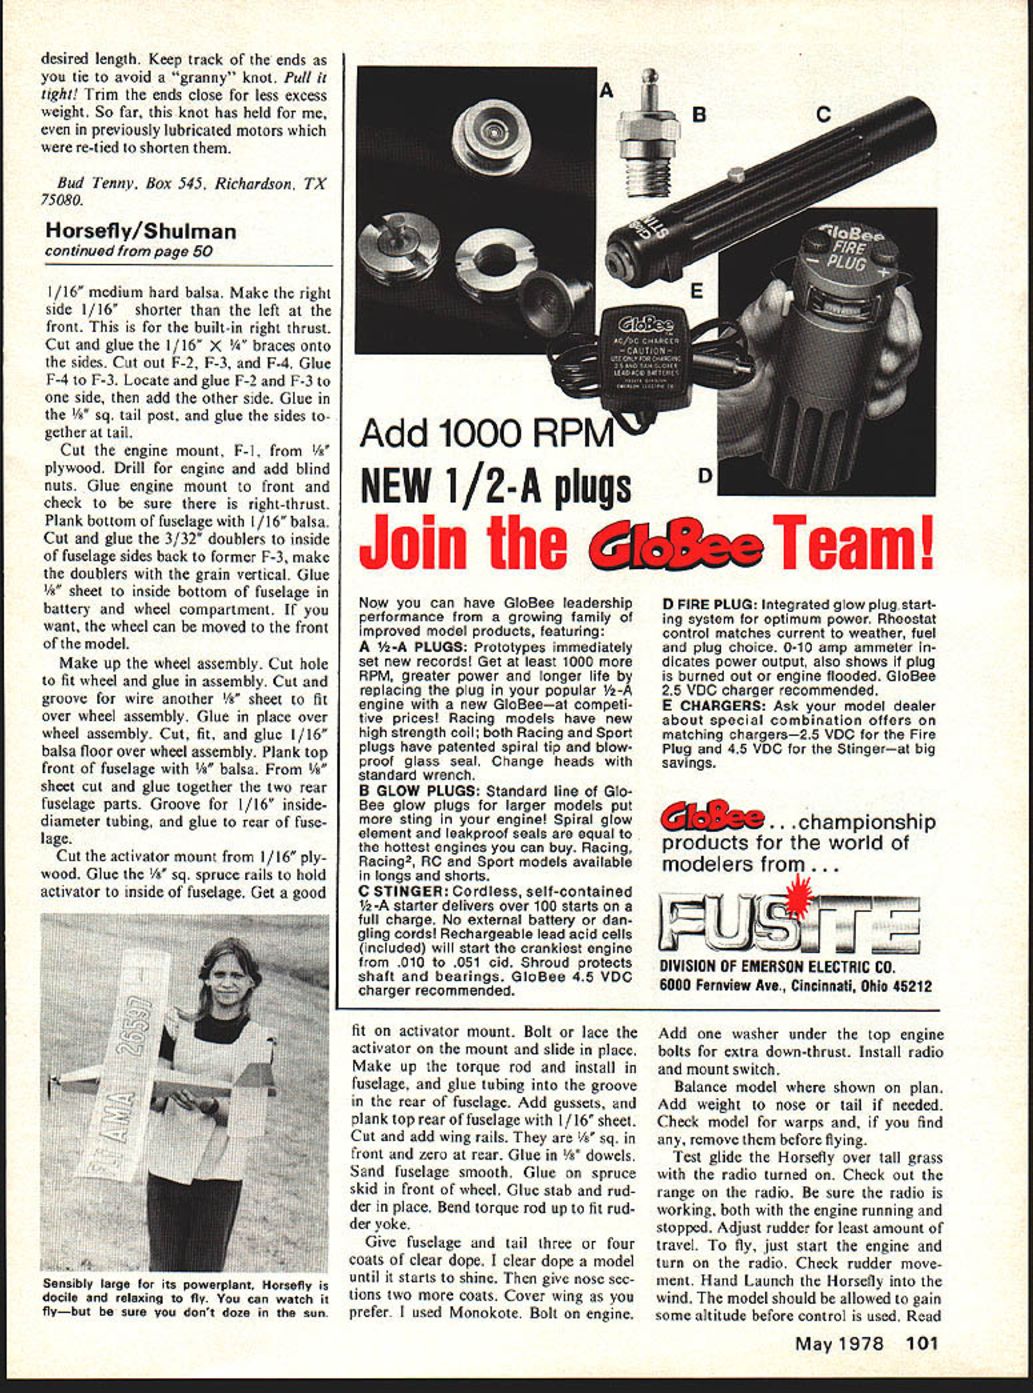
Test glide the Horsefly over tall grass with the radio turned on. Check out the range on the radio. Be sure the radio is working with the engine running and stopped. Adjust rudder for least amount of travel. To fly, just start the engine and turn on the radio. Check rudder movement. Hand launch the Horsefly into the wind. The model should be allowed to gain some altitude before control is used.
Horsefly
Engine bearers: 1/16" balsa. Pin-dowel balsa leading-edge spars. Add rear dihedral joints.
1/16" medium-hard balsa. Make right side 1/16" shorter than left for built-in right thrust. Cut and glue 1/16" X-braces onto sides. Cut out F-2, F-3, F-4. Glue F-4 to F-3. Locate and glue F-2 and F-3 to side; add other side. Glue 1/8" sq. tail post; glue sides together at tail.
Cut engine mount F-1 from 1/8" plywood. Drill engine mount and add blind nuts. Glue engine mount in front; check to be sure of right-thrust.
Plank bottom of fuselage with 1/16" balsa. Cut and glue 3/32" doublers inside fuselage sides back of former F-3. Make doublers with grain vertical. Glue 1/8" sheet inside bottom fuselage for battery/wheel compartment if you want the wheel moved forward on the model.
Make up wheel assembly. Cut hole to fit wheel and glue assembly. Cut groove for wire; tack another sheet to fit over wheel assembly. Glue in place over wheel assembly. Cut, fit and glue 1/16" balsa floor over wheel assembly.
Plank top front fuselage with 1/8" sheet; cut and glue together the two rear fuselage parts. Groove 1/16" inside-diameter tubing and glue into rear fuselage. Cut activator mount from 1/16" plywood. Glue 1/8" sq. spruce rails to hold activator inside fuselage.
Add gussets and plank top rear fuselage with 1/16" sheet. Cut and add wing rails (1/8" sq. in front, zero at rear). Glue in 1/8" dowels. Sand fuselage smooth. Glue on spruce skid in front of wheel. Glue stab and rudder in place. Bend torque rod up to fit rudder yoke.
Give fuselage and tail three or four coats of clear dope. I clear-dope a model until it starts to shine, then give nose sections two more coats. Cover wings as you prefer (I used Monokote). Bolt on engine. Add one washer under the top engine bolts for extra down-thrust. Install radio mount and mount switch. Balance model where shown on plan; add weight to nose or tail if needed. Check model for warps and, if you find any, remove them before flying.
Test-glide the Horsefly over tall grass with the radio turned on. Check out the range on the radio. Be sure the radio is working with the engine running and stopped. Adjust rudder for the least amount of travel. To fly, just start the engine and turn on the radio. Check rudder movement. Hand-launch the Horsefly into the wind. The model should be allowed to gain some altitude before control is used.
Bud Tenney Box 545 Richardson, TX 75080
Transcribed from original scans by AI. Minor OCR errors may remain.

