
How to Build a Realistic Cockpit
Roy Day
A simple, well-constructed cockpit with a pilot figure can add a lot to your Sport Scale model. These are practical, budget-conscious ideas to enhance your model without building a full interior.
Strengthening the cockpit sides
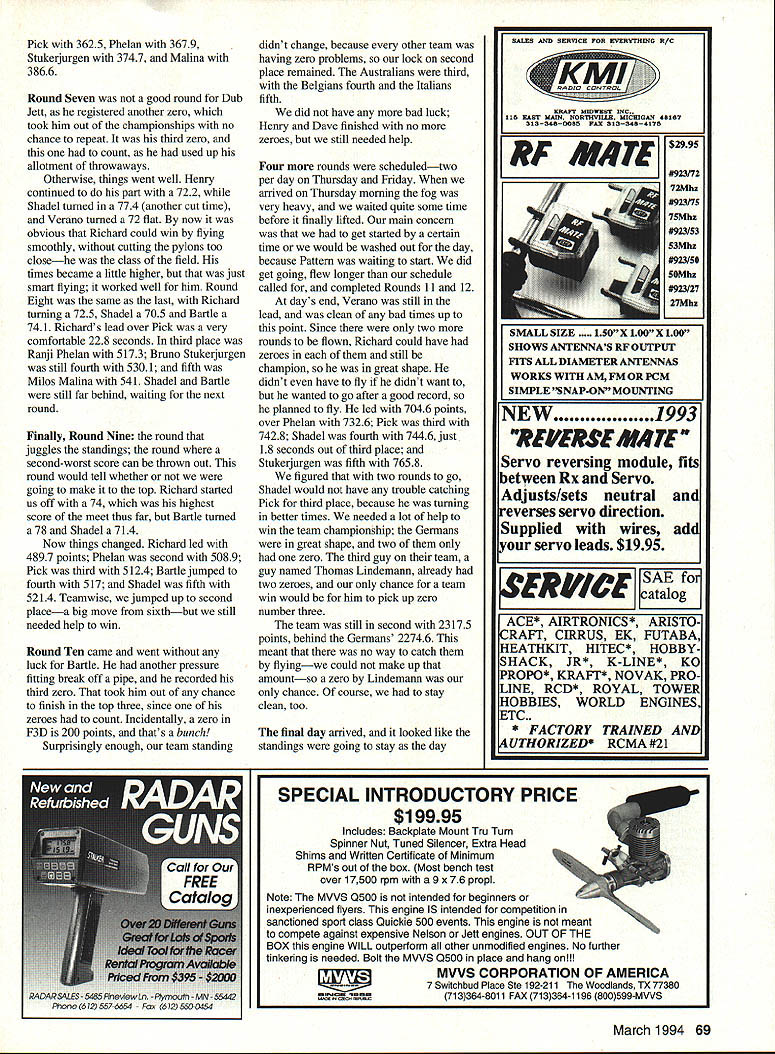
Cockpits are usually cut from the sheeting over the upper part of the fuselage. On light models the sheeting may be 1/16"; on heavier models it is probably 3/32" or 1/8". Once cut out, the unsupported cockpit sides are fairly easy to damage in handling, and even on closed-canopy models the sides could use extra strength.
- Add a 1/64" plywood doubler on the inside of the curved sheeting. It will conform to the curve and provide a lot of strength.
- Consider adding combing around the cockpit edge (see Combing, below) for additional rigidity and a finished appearance.
Windscreen
For an open cockpit you'll need a windscreen.
- Material: .015" to .030" butyrate (or similar clear plastic).
- Angle and position: About 40° to the horizontal and roughly even with the top of the pilot's head. Make a paper template and trial-fit it until satisfied.
Installation steps:
- Cut away a 1/8" strip of covering where the windscreen will glue to the fuselage so the glue bonds to wood rather than to just the plastic edge.
- Take a piece of 1/8" balsa and slice it to match the 40° angle of the windscreen. Wet the balsa to make it conform to the curve, then glue it across the fuselage where you want to attach the windscreen. This provides something solid to glue to instead of just the edge of the plastic.
- Glue the windscreen in place with RC-56 glue, using plenty of pins or clamps; let cure overnight.
- Finish the windscreen edges with striping tape.
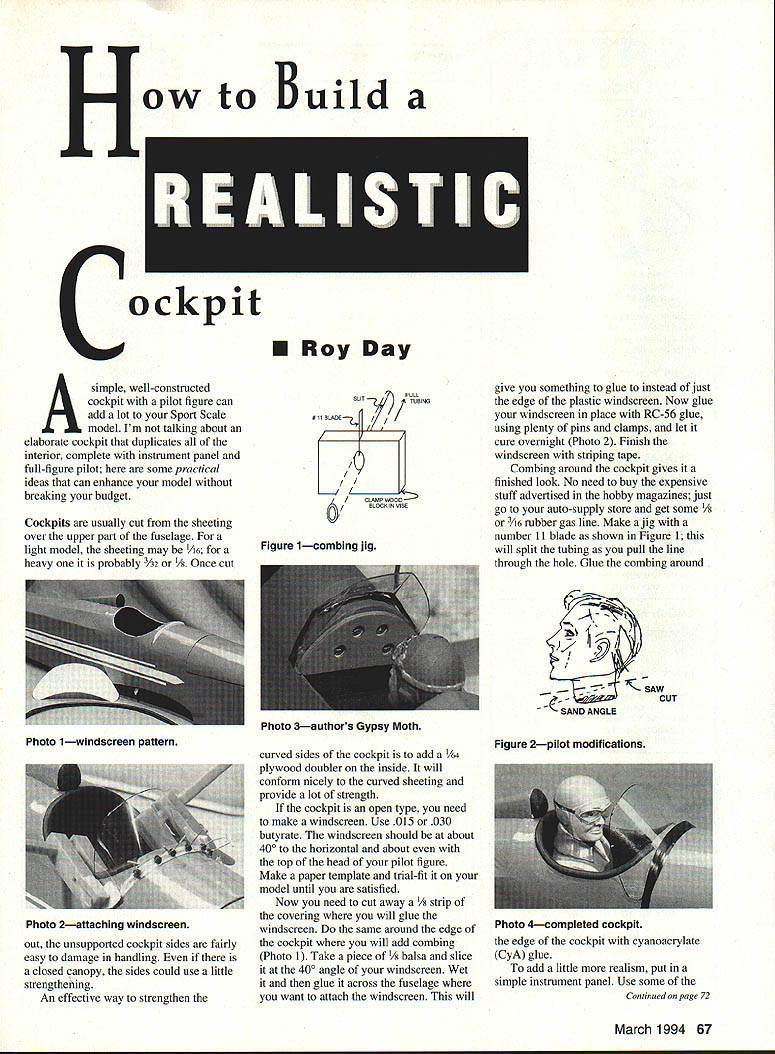
Combing
Combing around the cockpit gives a finished look and adds protection to the cockpit edge.
- Materials: 1/8" or 3/16" rubber gas line (inexpensive from an auto-supply store) or similar tubing.
- Make a simple jig to slit the tubing so it will fit over the cockpit edge (a No. 11 blade can be used to split the tubing as you pull it through a hole).
- Glue the combing around the edge of the cockpit with cyanoacrylate (CyA) glue.
Instrument panel
A simple instrument panel adds realism without much work.
- Paint the panel flat black.
- Use instrument faces from decal sheets or photocopies; glue them in place.
- Highlight knobs and switches with a fine brush and add small white dots for needles. A touch of silver on instrument edges improves realism.
- Add a little black wash to simulate panel shadows if desired.
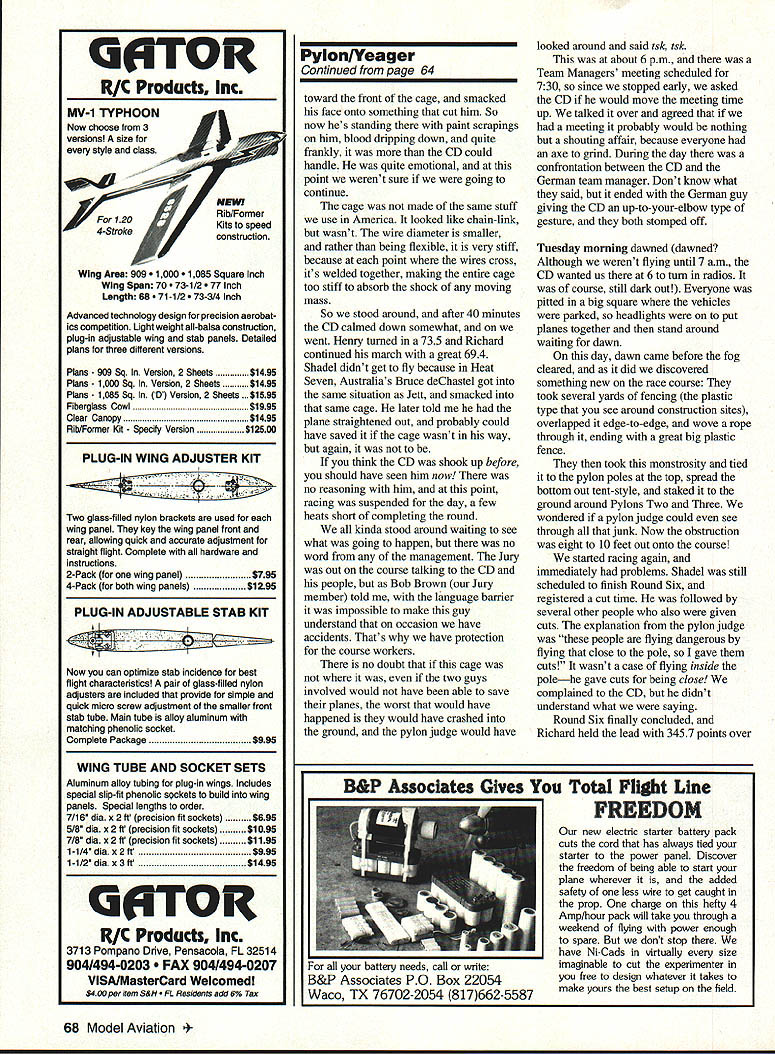
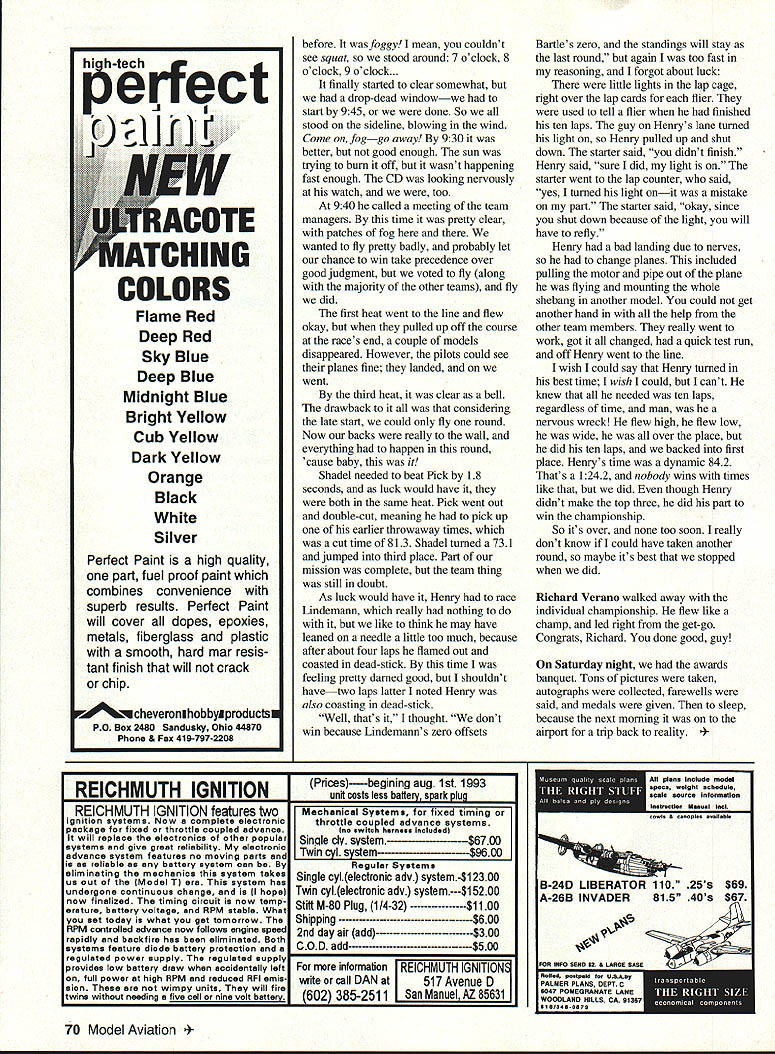
Pilot modifications
Modify the pilot figure so it fits and looks natural in the cockpit.
- Trim and sand the shoulders and torso so the figure sits at the proper height. Use a small file or fine sandpaper to reduce bulk where the figure contacts the seat.
- Repose the arms slightly if necessary so the hands fit the control stick and throttle. Thin CyA applied sparingly will strengthen any reworked joints.
- Paint the figure in acrylics or enamels: neutral flesh for face/hands, clothing and helmet colors, then dry-brush a lighter color to pick out folds and details. Paint goggles glossy black and add silver for buckles/hardware.
- Seat belts: Use strips of masking tape, fine ribbon, or narrow paper tape painted to match webbing. Glue them with a drop of CyA. A short length of thin wire or a dab of putty painted silver makes a convincing buckle.
- Optionally drill a small hole in the seat or floor and install a short peg on the figure's bottom to locate and secure it in the cockpit.
Finishing touches
- Add small details such as a control stick made from wire or a short dowel, and a throttle lever from scrap balsa or plastic.
- Dry-brush highlights on the cockpit interior and pilot clothing to pick out raised detail and add depth.
- Edge the cockpit opening with a thin bead of CyA if needed for extra durability.
Final installation
- Dry-fit everything several times before final gluing.
- When satisfied with fit and appearance, glue the pilot and any interior details in place with CyA or a slow-setting epoxy (epoxy allows final positioning).
- Reinstall the canopy. If the canopy is removable, mask and paint any framing lines to match the fuselage before final installation.
A little attention to windscreens, combing, a tidy instrument panel, and a well-finished pilot will greatly enhance the realism of your model without breaking the budget.
Transcribed from original scans by AI. Minor OCR errors may remain.

