
How To Do It: Exploits of an RC Flight Instructor
Fred Berman
Introduction
Are you "into" video games? If you want to quickly learn how to fly RC airplanes, video-game experience will give you a leg up.
A case in point is my grandson Mike, a games nut for seven of his 16 years. Fight 'em, dodge 'em, drop 'em, blow 'em up or swallow 'em — Mike even had one of those go-anywhere, Walkman-size devices. He took to RC like a frog takes to a lily-pad: takeoffs and triple loops on his fourth flight! I doubt that Mike will displace Chip Hyde anytime soon, because his interest is not all that intense — at least not yet.
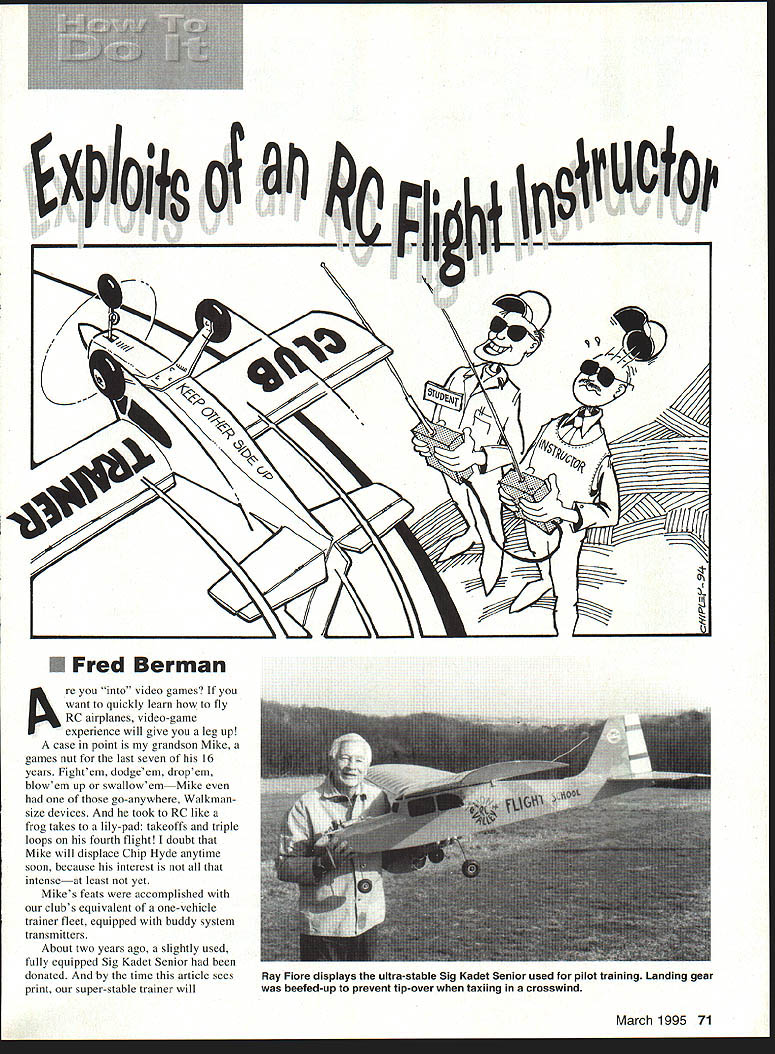
About two years ago a slightly used, fully equipped Sig Kadet Senior was donated to our club. By the time this article sees print, our super-stable trainer will have survived some 700 flights. The Kadet Senior is super-stable, has light wing loading, and a good .40-size engine that pulls with authority. Its modeling equivalent is the Aeronca Champ/Piper Cub.
We modified the trainer with double main landing gear to reduce the tendency to tip over in a crosswind while taxiing. In breezes as strong as 20 knots, aim the Kadet directly into the wind for takeoff, landing and taxi.
The flight school and trainer
How did our "tradition" get started? It was pretty much a one-man idea. There were numerous requests for flight instruction, but instructor volunteers were few — many feared helping someone else crash. Training a novice with his own airplane and only one transmitter is risky. Even with a buddy cord and a compatible second transmitter, synchronizing the radios is a tedious, time-consuming hassle.
Many first-time-built aeromodels aren't all that trustworthy. We have detected poor hinge installation (including wide-open gaps); asymmetrical control sensing (servo arm neutral wrong); excessive play in linkages and/or flexing pushrods; warped wings or fuselages; improperly placed center of gravity; gear not tracking straight; fuel tank problems; and inadequately tightened prop nuts.
By using a tried-and-proven practice airplane with a prealigned buddy setup we have saved much time, hassle, and at least a hundred catastrophes.
School aircraft care and supplies
Somebody has to love that aircraft, and it needs tender loving care:
- Batteries need to be charged.
- Small covering tears need to be patched.
- Prop nut and engine bolts need to be tightened.
- The airframe should be checked after any hard landing.
- Nose wheel alignment must be straightened repeatedly.
- Apply after-run oil at the end of each school day.
Provide the fuel supply, rubber bands, starter, and essential spares such as props and glow plugs. And, of course, the model needs a home.
Preflight and safety checks
An RC instructor has a first-hand opportunity to instill sound habits in newcomers. Prior to every takeoff — especially the first flight of the day — perform these checks:
- Preflight the airplane thoroughly.
- Conduct reliable voltage checks on both transmitter and receiver.
- Ensure control surfaces move in the proper direction.
- Check engine operation and needle adjustment; verify throttle response.
- Hand-start the engine using a piece of hose (a "chicken stick"), never the fingers, and always restrain the airplane.
- Keep full attention on the engine during starting; do not turn the transmitter off to comply with field frequency-control rules.
RC and full-scale airplanes have factors in common: once the wheels leave the ground, a screwdriver is useless. Loose or improperly tightened bolts are a common maintenance problem. I recently saw a beautiful new 1/4-scale Skybolt disintegrate midair when an improperly locked bolt fastening a wing strut vibrated out, resulting in progressive failure of half of both wings. Remember to check and properly torque all bolts and fasteners.
Out to the flight line!
When the airplane is ready, student tenseness is usually directly proportional to age — the younger, the more daring. Assuming the student has had a chance to "get the feel" during a couple of prior flights, follow this advice for takeoff:
- Rudder straight down the middle of the runway.
- Lift gently into a shallow climb.
- Continue dead straight and do not turn until at least "three mistakes high."
It is all-important for the instructor to follow through on the control sticks of the master transmitter — even though the trainer switch has been flipped — especially the throttle. Time available for recovery during takeoff is measured in milliseconds; it is also a likely moment for engine flameout. The liftoff point should be a safe distance from parked cars.
Students are varied: some are imperturbable and even reckless; others shiver and shake. Novices tend to get too far banked, too steeply, then overcorrect. With enough "mistakes-itude" the instructor can usually advise the pilot how to make his or her own correction.
Student behavior and teaching tips
Many trainees have trouble distinguishing right from left under stress — they lose it in transmission from brain to thumb. Pride is a funny thing; the presence of an instructor and the buddy box seems to bruise that pride, especially for former full-scale pilots. They find it hard to accept the difference between in-cabin and remote flying.
It is important for the instructor to encourage and praise the student whenever possible and to work up to more complex routines gradually to avoid embarrassing failures.
Landings
Landing is the moment of truth. Some students want to look at the incoming model over their shoulder so their hands will be oriented the same as the airplane; this is to be discouraged. Judging the airplane's descent cannot be accurately gauged that way. Reverse rudder and aileron sensing has to be learned, so teach it early.
Common landing problems:
- Students start their approach too far out and too high.
- They often freeze and forget to give up elevator for the flare.
The instructor should follow through on the master box as though still controlling the model and release the trainer toggle in time. Many students do not realize they did not make the last-second smooth touchdown themselves — that's OK; don't tell them, and they usually do better on the next try.
Advise students not to touch down until the airplane is directly in front of them or even past their position. It is easier to flare a model that is going away.
Drill the student not to land from an awkward approach. Tell them to advance the throttle gradually and go around. If the engine flames out, be prepared to save that airplane.
Drills and stick time
There is no substitute for stick time. As with a proficient automobile driver, control responses must become reflexes. That train-of-thought process is slower than the plane speeding into trouble.
I like to give students precision drills:
- Turns first: anticipate the end of the turn and neutralize a trifle early to prevent overshoot.
- Reckon with the crosswind: crab over the runway to describe a straight path.
- Do 360s and 720s (level, with a constant center and radius).
- Fly switchbacks across the field from one end to the other.
- Practice smooth serpentines to improve coordinated control.
Time before solo varies widely. Youngsters catch on faster, and a natural bent (or lack of it) becomes obvious quickly. Students generally get the hang of things after 10 to 15 sessions of about 15 minutes each. Nervous strain mounts on longer flights and is indicated by increasingly erratic gyrations of the airplane — time for a breather or a landing through instructor takeover.
Teach students to stay out of the sun. Temporary vision white-out has resulted in many crashes. Dull, cloudy days are difficult for new fliers because the plane can become a black silhouette and orientation becomes hard. Pros remember the model's direction and attitude from the end of its last maneuver; their image memory is key.
Soloing and special cases
Weaning the student from the buddy box can be problematic. Even good students get so accustomed to that plane-saver on the other end of the cord that they hesitate to let go after they've soloed.
Solo procedure we use:
- When the instructor believes the student is ready, unplug the slave transmitter and hand the student the master transmitter.
- The instructor stands by the student, ready to give verbal advice if needed.
None of our students has ever crashed on his solo flight.
One gratifying use of our trainer and buddy box setup involved a senior club member with vision and other impairments who feared resuming flying. We persuaded him to try a practice run with our "fail-safe" equipment. He did, and his confidence and zest for flying were restored.
Closing: penalties and rewards
Instructing has its penalties and rewards. Your own flying time is curtailed substantially, and switching between three- and four-channel airplanes may be embarrassing at times. But the rewards exceed all else: helping others succeed — that even beats winning trophies.
Transcribed from original scans by AI. Minor OCR errors may remain.

