
A How To: Epoxying Skins to a Foam Wing
Text by Joan Alyea Photos by Dale Alyea
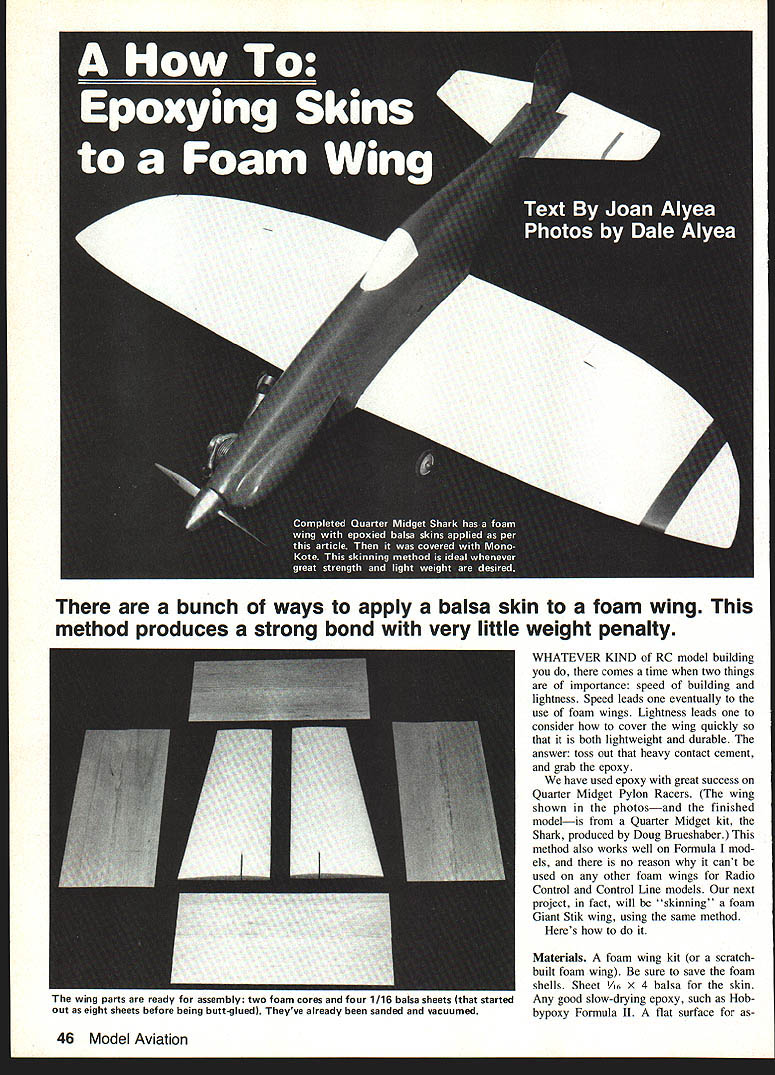
There are a bunch of ways to apply a balsa skin to a foam wing. This method produces a strong bond with very little weight penalty.
Whatever kind of RC model building you do, there comes a time when two things are important: speed of building and lightness. Speed leads one eventually to the use of foam wings. Lightness leads one to consider how to cover the wing quickly so that it is both lightweight and durable. The answer: toss out that heavy contact cement, and grab the epoxy.
We have used epoxy with great success on Quarter Midget Pylon Racers. (The wing shown in the photos—and the finished model—is from a Quarter Midget kit, the Shark, produced by Doug Brueshaber.) This method also works well on Formula I models, and there is no reason why it can't be used on any other foam wings for radio control and control line models. Our next project, in fact, will be "skinning" a foam Giant Stik wing, using the same method. Here's how to do it.
Materials
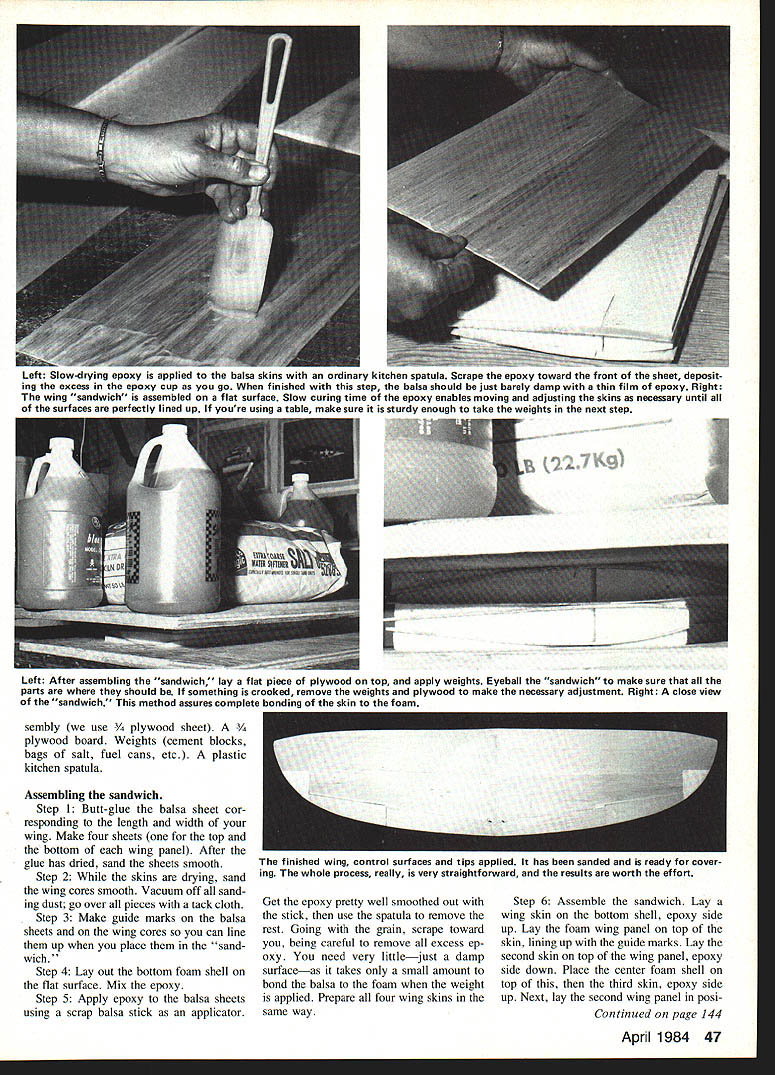
- A foam wing kit (or a scratch-built foam wing). Be sure to save the foam shells.
- Sheet 1/16" x 4" balsa for the skin.
- Any good slow-drying epoxy, such as HobbyPoxy Formula II.
- A flat assembly surface (we use a 3/4" plywood sheet).
- Weights (cement blocks, bags of salt, fuel cans, etc.). Aim for at least 100 lb total, depending on wing size.
- A plastic kitchen spatula and a scrap balsa stick for applying epoxy.
- Sandpaper, vacuum or brush for cleaning dust, and a tack cloth.
Assembling the sandwich
- Butt-glue the balsa sheets to produce pieces corresponding to the length and width of your wing. Make four sheets (one for the top and one for the bottom of each wing panel). After the glue has dried, sand the sheets smooth.
- While the skins are drying, sand the wing cores smooth. Vacuum or blow off all sanding dust; go over all pieces with a tack cloth.
- Make guide marks on the balsa sheets and on the wing cores so you can line them up when you place them in the "sandwich."
- Lay the bottom outer foam shell on the flat surface. Mix the epoxy according to the manufacturer's directions.
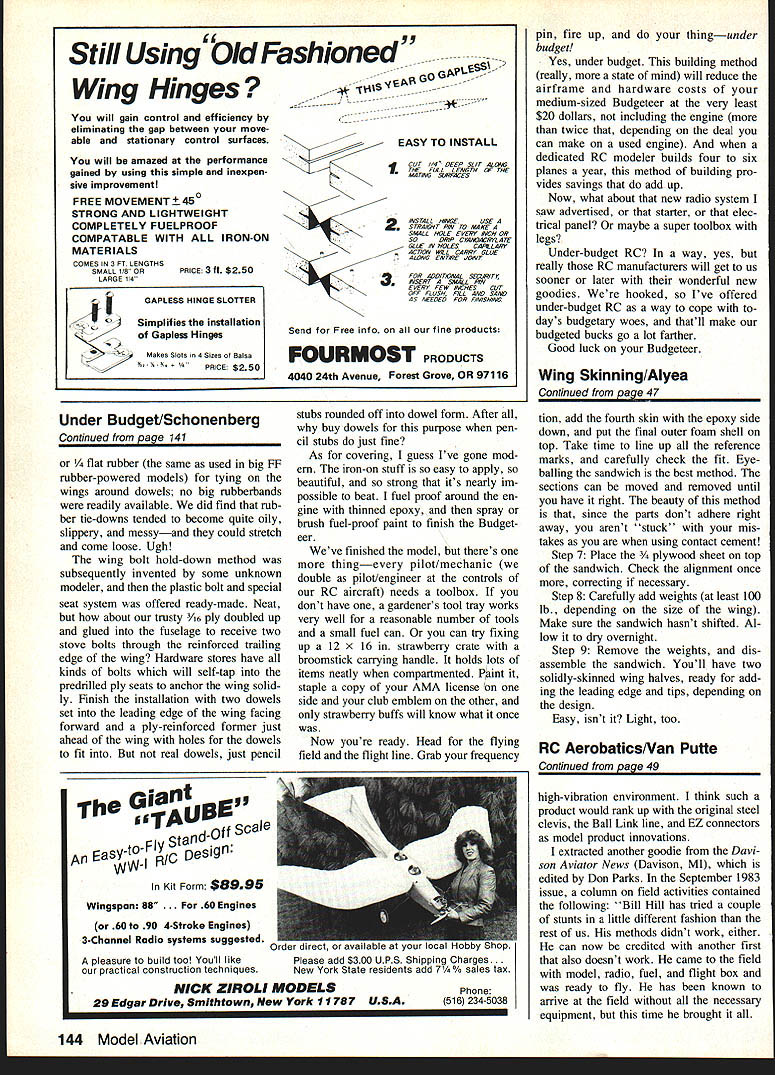
- Apply epoxy to the balsa sheets using a scrap balsa stick as an applicator. Get the epoxy pretty well smoothed out with the stick, then use the spatula to remove the rest. Going with the grain, scrape toward you, being careful to remove all excess epoxy. You need very little—just a damp surface—as it takes only a small amount to bond the balsa to the foam when the weight is applied. Prepare all four wing skins in the same way.
- Assemble the sandwich. Lay a balsa skin on the bottom shell, epoxy side up (so the epoxy will contact the wing panel). Lay the first foam wing panel on top of the skin, lining up with the guide marks. Lay the second skin on top of the wing panel, epoxy side down. Place the center foam shell on top of this, then the third skin, epoxy side up. Next, lay the second wing panel in position, and the fourth skin with the epoxy side down. Put the final outer foam shell on top. Take time to line up all the reference marks, and carefully check the fit. Eyeballing the sandwich is the best method. The sections can be moved and removed until you have it right. The beauty of this method is that, since the parts don't adhere right away, you're not "stuck" with your mistakes as you are when using contact cement.
- Place the 3/4" plywood sheet on top of the sandwich. Check the alignment once more, correcting if necessary.
- Carefully add weights (at least 100 lb total, depending on the size of the wing). Make sure the sandwich hasn't shifted. Allow it to dry overnight.
- Remove the weights, and disassemble the sandwich. You'll have two solidly-skinned wing halves, ready for adding the leading edge and tips, depending on the design.
Easy, isn't it? Light, too.
Transcribed from original scans by AI. Minor OCR errors may remain.

