
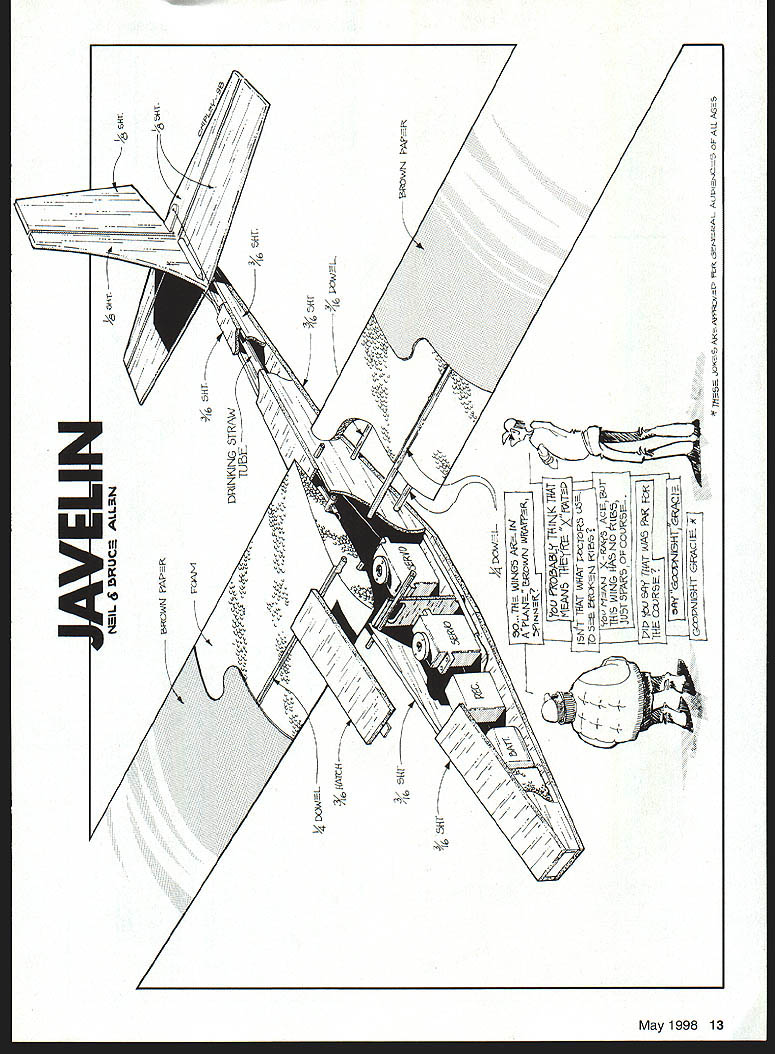
Javelin
Neil Allen
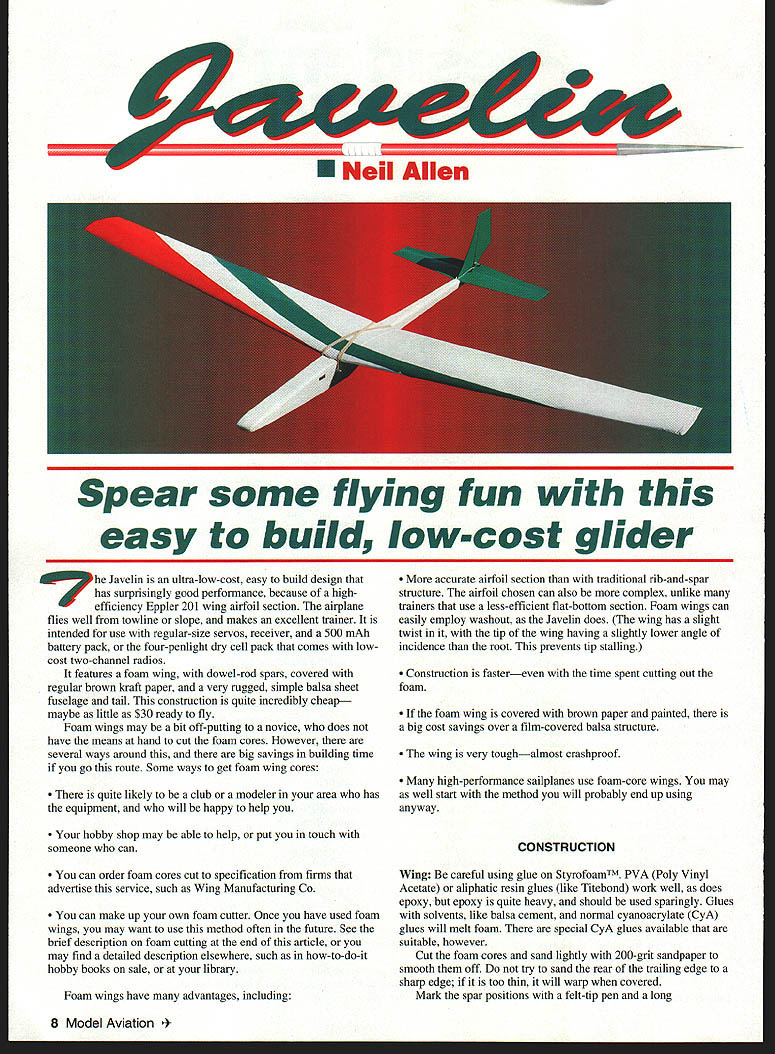
Spear some flying fun with this easy to build, low-cost glider.
The Javelin is an ultra-low-cost, easy-to-build design that has surprisingly good performance because of a high-efficiency Eppler 201 wing airfoil section. The airplane flies well from towline or slope and makes an excellent trainer. It is intended for use with regular-size servos, receiver, and a 500 mAh battery pack, or the four-penlight dry cell pack that comes with low-cost two-channel radios.
It features a foam wing with dowel-rod spars, covered with regular brown kraft paper, and a very rugged, simple balsa-sheet fuselage and tail. This construction is quite inexpensive—perhaps as little as $30 ready to fly.
Foam wings may be off-putting to a novice who does not have the means to cut the foam cores, but there are several ways around this and big savings in building time if you use foam. Ways to get foam wing cores:
- There is quite likely a club or a modeler in your area who has the equipment and will be happy to help.
- Your hobby shop may be able to help or put you in touch with someone who can.
- You can order foam cores cut to specification from firms that advertise this service, such as Wing Manufacturing Co.
- You can make your own foam cutter. Once you have used foam wings, you may want to use this method often. See the brief description on foam cutting at the end of this article, or find detailed descriptions in how-to hobby books or at your library.
Foam wings have many advantages:
- More accurate airfoil section than with traditional rib-and-spar structure. Foam cores allow more complex, efficient airfoils (the Javelin uses an Eppler 201) and can easily employ washout. The wing has a slight twist, with the tip at a slightly lower angle of incidence than the root to prevent tip stalling.
- Construction is faster—even accounting for the time spent cutting foam.
- If covered with brown paper and painted, foam wings are much cheaper than film-covered balsa structures.
- The wing is very tough—almost crashproof.
- Many high-performance sailplanes use foam-core wings; it is a method worth learning.
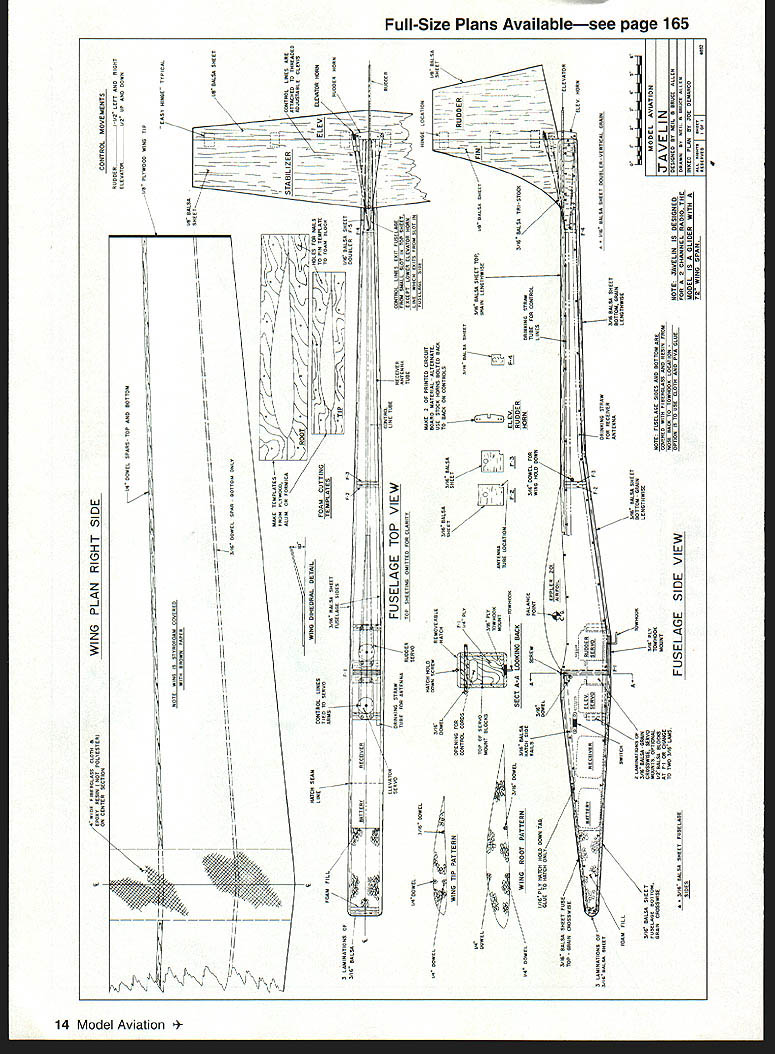
Construction
Wing
Be careful using glue on Styrofoam. PVA (Poly Vinyl Acetate) or aliphatic resin glues (like Titebond) work well. Epoxy can be used but is quite heavy and should be used sparingly. Glues with solvents, like balsa cement, and normal cyanoacrylate (CyA) glues will melt foam; special CyA glues suitable for foam are available.
- Cut the foam cores and sand lightly with 200-grit sandpaper to smooth them. Do not try to sand the trailing edge too sharp; if it is too thin it will warp when covered.
- Mark the spar positions with a felt-tip pen and a long straightedge. Cut grooves for the spars in the bottom surface with a sharp knife. Chisel out foam with a small screwdriver, or use a Dremel tool. Coarse-grit sandpaper wrapped around a ruler or an ordinary file will help form the grooves.
- Glue spar dowels in place with white (PVA) glue. Try to fill the slot with glue—use just enough to secure the dowel. When dry, trim off excess dowel length at the ends and glue on tip plates.
- Cover the wings with brown kraft paper, wrapping a piece around the leading edge. Start on the bottom with a little excess sticking out of the trailing edge. After covering the bottom, smooth out creases and trim excess paper.
- Use thick wallpaper paste or white glue thinned 50/50 with water. Wet the paper thoroughly with the glue and wait at least five minutes before applying to allow the paper to soak. The paper expands when wet and shrinks when drying; minor wrinkles will disappear.
- Wrap the paper around the leading edge and smooth the top. Trim the paper leaving about a 1/8-inch overlap at the bottom to add strength to the thin trailing edge.
- Let the wing dry on foam blocks for about four hours; pile books or other weights on top and let dry overnight to ensure it dries straight and not warped.
- Glue two strips of brown paper about 1/2 inch to 1 inch wide along the leading edge to reinforce it for landings on spiky grass or slopes. Gummed paper tape can also be used.
- Sand the root ends to the correct sloped angle. When the halves are joined, the dihedral should fit reasonably well. Use quick-setting epoxy to join the wing halves and add glass cloth and epoxy resin to the center section covering.
- Note: Normal fiberglass polyester resin attacks foam—use epoxy resin. Epoxy glue tubes will work fine; spread thinly and use the slow-setting type.
Tail
- Cut tail parts, sand edges lightly and round corners.
- Covering: Plastic film is recommended but not essential. You may undercoat, sand and paint instead. Plastic film is lighter and may avoid having to add lead in the nose to balance the airplane.
- Make the two control horns and glue them into the notches cut into the elevator and rudder using epoxy or a suitable CyA.
- Cut slits in the surfaces for the hinges, and hinge the rudder to the fin and the elevator to the tailplane. Because of the thin balsa, use Easy Hinges or similar thin Mylar-type hinges.
- If film covering is used, remove the film where the rudder is to be glued to the elevator and where the 3/16" triangular reinforcement is to be fitted. Cut the film lightly with a sharp blade and peel it away without cutting the balsa.
- Glue the rudder onto the elevator and add the triangular reinforcement sections. When dry, cover the triangle balsa with a small piece of film if desired.
Fuselage
- Glue the F5 tail doublers to the fuselage sides at the rear. Glue the fuselage sides to the nose block and former F1 on top of the plans to ensure an accurate fit.
- Add the Styrofoam filler at the nose and sand smooth to match the top and bottom.
- When dry, add F2, F3 and the tailpost, using a clothespin or similar clamp to hold the rear together. Do this over the plans to ensure straightness.
- Fit the bottom sheet below F1 and the plywood towhook plate. Glue in the four servo mounts with the correct spacing for your servos. When dry, enlarge the holes for the servo lead wires if necessary.
- Add the rest of the bottom sheeting. Note that the bottom sheeting at the nose has its grain running across the fuselage to strengthen it against landing impact.
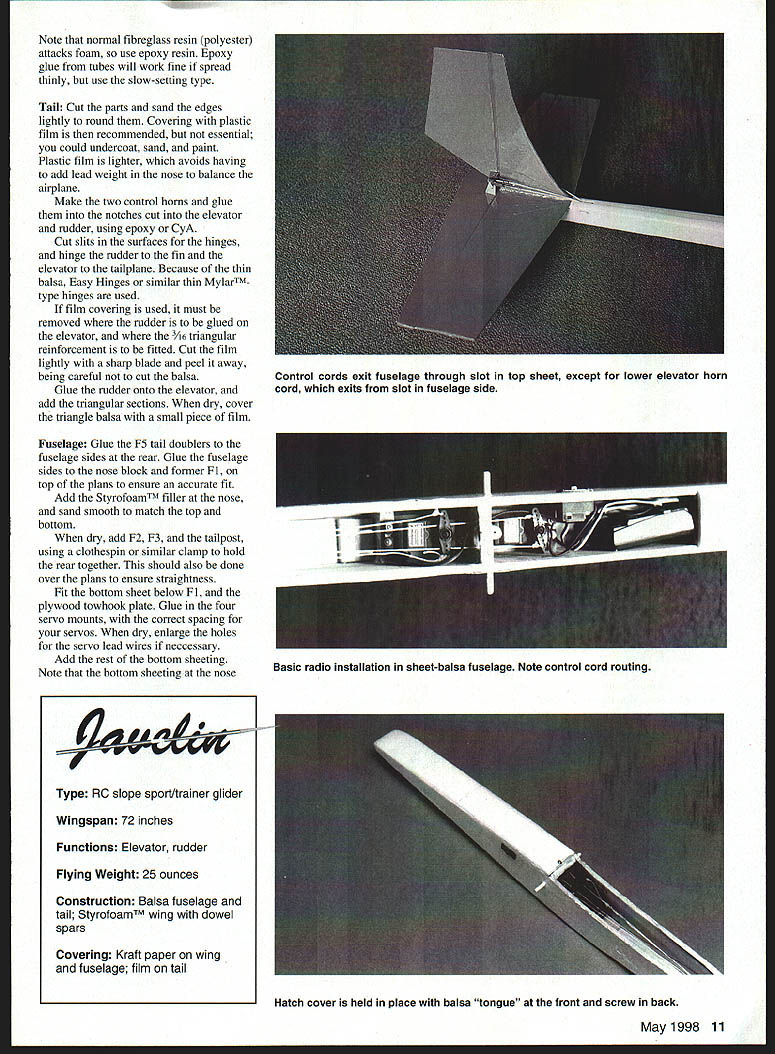
- Attach the top front sheeting as far as the hatch start line. Drape kitchen cling wrap over the fuselage sides at the hatch and pin the hatch side reinforcing rails to the sides (pins to be removable from the outside). Glue the hatch sheeting onto these rails. When dry, remove the hatch and add the front tongue and the hold-down screw.
- Glue the antenna tube (made from drinking straws) in place. Join drinking straws by cutting a short slit at one end and forcing this end over a second tube; make the second tube the forward one so that the antenna wire does not catch on the joint.
- Fit the control cord tube in the same way. Feed four lengths of kite string or heavy cotton through the control cord tube. One cord must be sent through a hole in the fuselage side for the lower elevator horn. Make large knots or tabs of masking tape to prevent the ends slipping back inside the tube.
- If necessary, feed a fine piece of wire through the completed model from the rudder end to rethread control cords to the exit. If one string breaks, one of the remaining cords can be used to pull a new cord through the tube.
- Glue the rear top in place and sand the fuselage smooth, being careful of the control cords.
- The original fuselage was covered with brown paper—economical, adds strength, is simple, and takes paint well. Plastic film can also be used, or the balsa can be undercoated and painted.
- Cover the nose with fiberglass or cloth as per the plan. Polyester or epoxy resin or white glue can be used with cloth (use epoxy for foam compatibility where needed).
Assembly
- Attach the wing rubber band dowels and sand the fuselage sides if necessary so the wing fits snugly on top.
- With the wing mounted, trial-fit the tailplane. From the rear, the tail must have no tilt compared to the wing; trim the fuselage sides where the tail is mounted until accurate. From the top, check the tailplane is at right angles to the fuselage. When aligned correctly, glue the tail in place.
- Paint the wings and fuselage. When painting foam wings, do not use solvent-type paints (such as dope) that may attack the foam through the paper. One coat of ordinary PVA house paint followed by one coat of household polyurethane satin-finish paint works well. Sand smooth after the first coat using 220- to 360-grit paper for a good finish.
- Paint color trim as desired. Painting a different color on the underside helps identify the model in flight.
- Mount the switch and radio gear. If using a four-cell flat battery pack, it will fit in the nose. If not, find someone to rearrange the cells to a "cube of four" instead.
- Clamp the elevator and rudder using strips of balsa and clothespins, then glue control cords onto the threaded adjusters and quick links on the servos and control horns.
- On the rudder, use the servo arm holes furthest from the servo and the holes on the rudder closest in.
- On the elevator, use the second hole from the servo centre and the hole farthest from the centre on the elevator.
- More use of the holes is needed to get the correct amount of total movement as specified on the plan.
- Remove the clothespins and use the threaded rod adjusters to get the controls centered and the cords gently tightened.
- An alternative to threaded adjusters is a length of soft wire (straightened paperclip) with loops at each end; adjust by adding zigzag bends.
- Check that the model balances close to the marked balance point. If it balances behind this point it is tail heavy, which may cause unstable flight and snap rolls—add lead to the nose until it is within 1/4 in. of the plan position. You can remove nose weight in stages after flying to test effects. If the balance point is slightly in front of the plan position it is not serious—more up-elevator will be needed in flight.
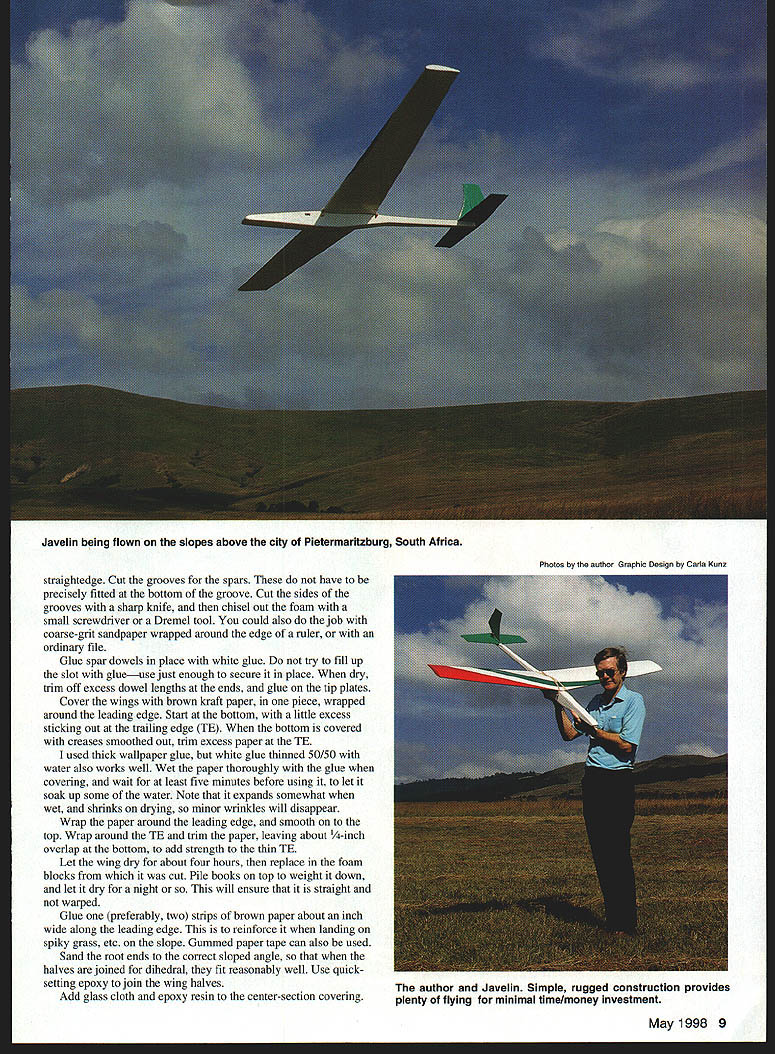
There is little to say about flying performance: the Javelin is easy to control. It launches well off towline, electric winch, or hi-start, and slope-soars superbly, even in gentle winds. You can even hand-launch it—ask your helper to throw it like, well... a javelin!
Neil Allen Box 132 Pietermaritzburg 3200 South Africa
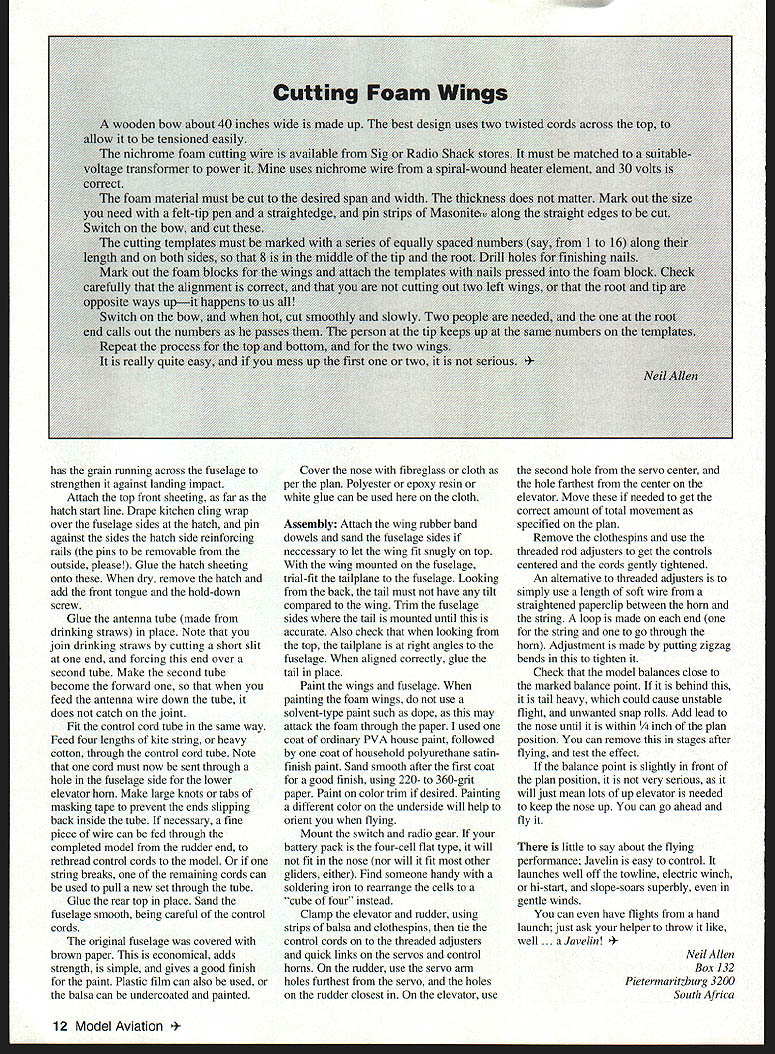
Specifications
- Type: RC slope sport/trainer glider
- Wingspan: 72 inches
- Functions: Elevator, rudder
- Flying weight: 25 ounces
- Construction: Balsa fuselage and tail; Styrofoam wing with dowel spars
- Covering: Kraft paper on wing and fuselage; film on tail
Notes on adhesives and resins
- Use PVA or aliphatic resin glues for foam. Epoxy can be used sparingly for strong joints.
- Do not use solvent-based glues or ordinary CyA on foam. Special CyA for foam is available.
- For fiberglassed center sections or cloth on the nose, use epoxy resin—polyester (normal fiberglass) resin attacks foam.
Transcribed from original scans by AI. Minor OCR errors may remain.

