
Just Imagine
Dr. D.B. Mathews
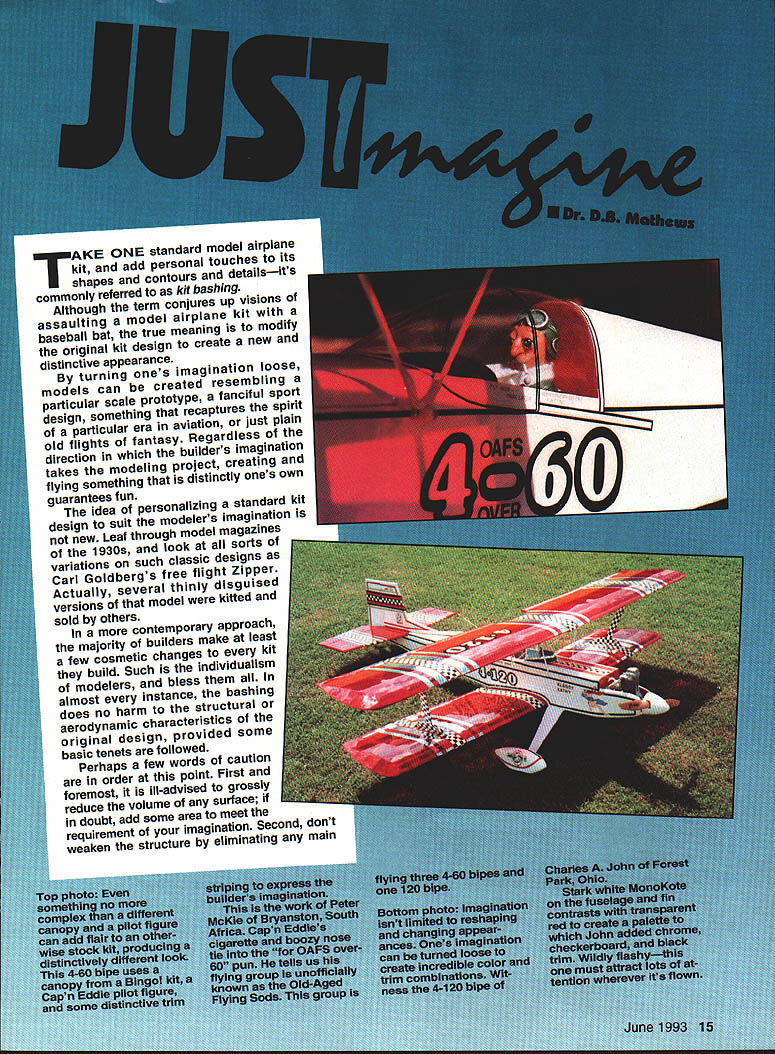
Kit bashing is taking one standard model airplane kit and adding personal touches to its shapes, contours, and details. Although the term conjures images of assaulting a kit with a baseball bat, it actually means modifying the original design to create a new and distinctive appearance.
By turning one's imagination loose, models can be created that resemble a particular scale prototype, a fanciful sport design, something that recaptures the spirit of an era in aviation, or pure flights of fantasy. Regardless of the direction a builder's imagination takes the project, creating and flying something distinctly one's own guarantees fun.
What is kit bashing?
The idea of personalizing a standard kit design is not new. Look through modeling magazines of the 1930s and you'll find all sorts of variations on classic designs (for example, Carl Goldberg's free-flight Zipper). Many thinly disguised versions of popular models were kitted and sold by others.
In contemporary practice, most builders make at least a few cosmetic changes to every kit they build. Such individualism is part of the hobby's appeal. In almost every instance, bashing does no harm to the structural or aerodynamic characteristics of the original design—provided some basic tenets are followed.
Guidelines and cautions
A few words of caution are in order:
- Do not grossly reduce the area of any surface; if in doubt, add area rather than remove it.
- Do not eliminate main structural components; if you must change structure, add original structure rather than remove or weaken existing members.
- Avoid adding large amounts of weight.
- Do not substantially change the balance point, shorten nose‑to‑tail moments, or alter incidence settings of stab/wing/engine without careful consideration. Designers usually optimize these settings through many flights; vary them too much and you may invite problems.
- Do not move landing gear placement relative to the balance point a great deal—ground handling will be affected. Converting a tail‑dragger to tricycle gear (or vice versa) will, of course, require moving the main gear.
Changing the contours of the fuselage or flying surfaces, using different cowls or wheel pants, and adding details will usually not cause major problems. Grossly changing moments, balance points, incidence angles, or greatly increasing power or weight essentially constitutes redesigning rather than bashing; the builder who chooses to redesign must be willing to assume the risks.
Selecting and preparing a kit to modify
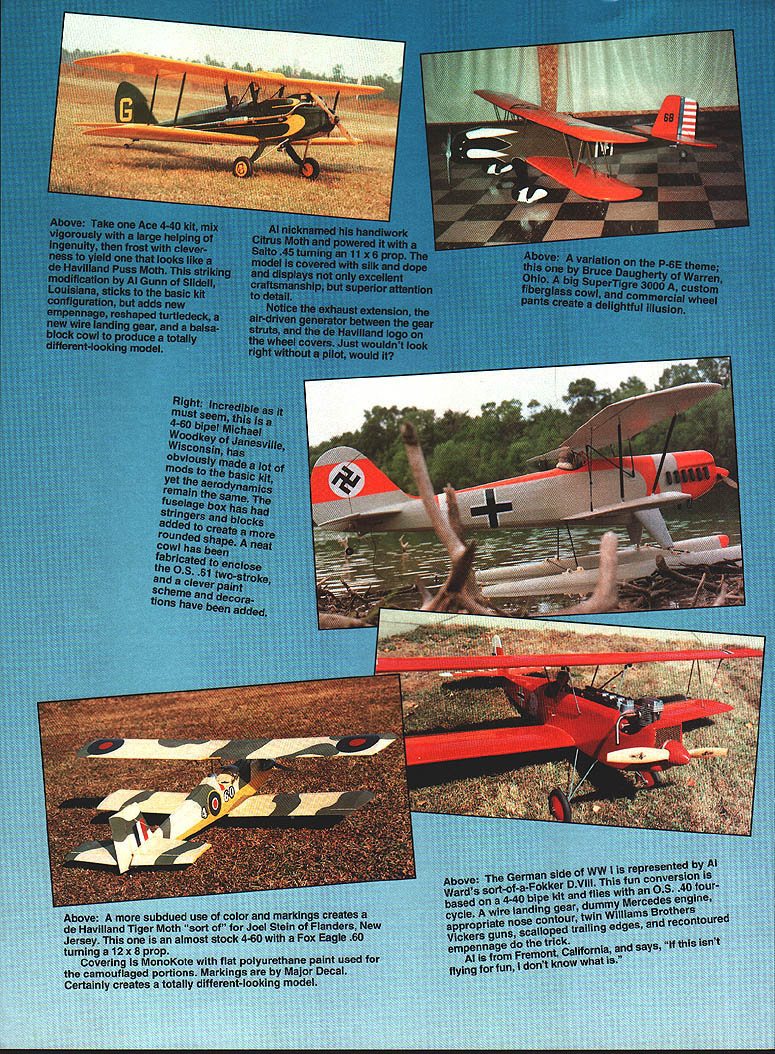
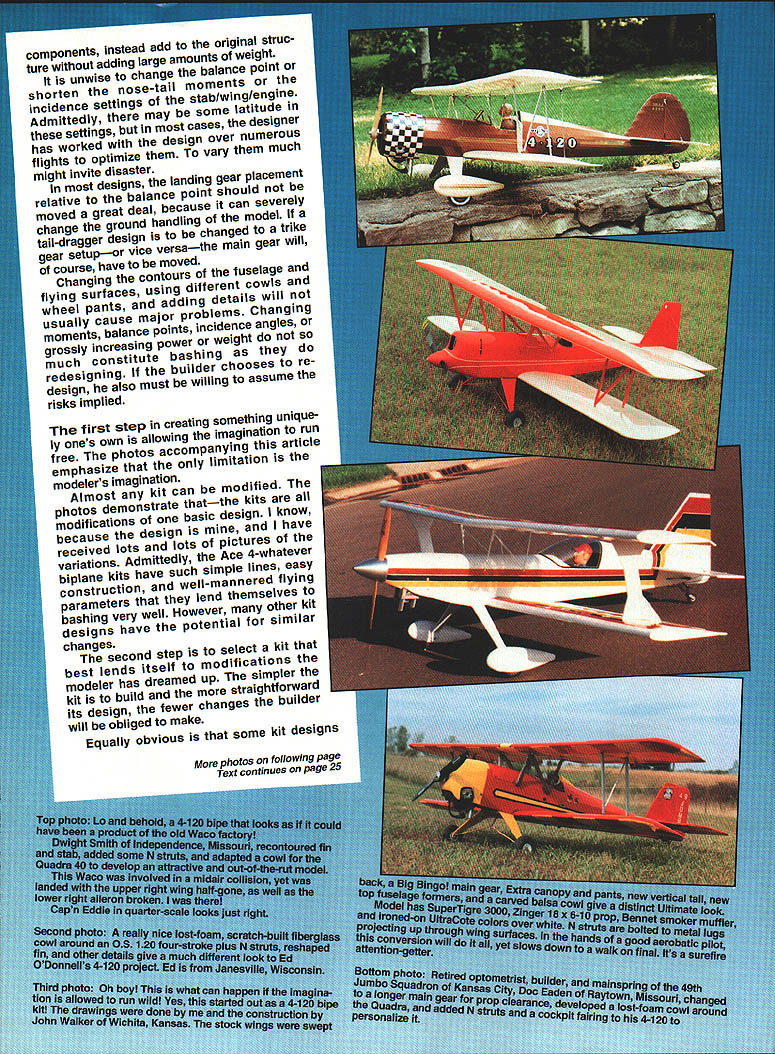
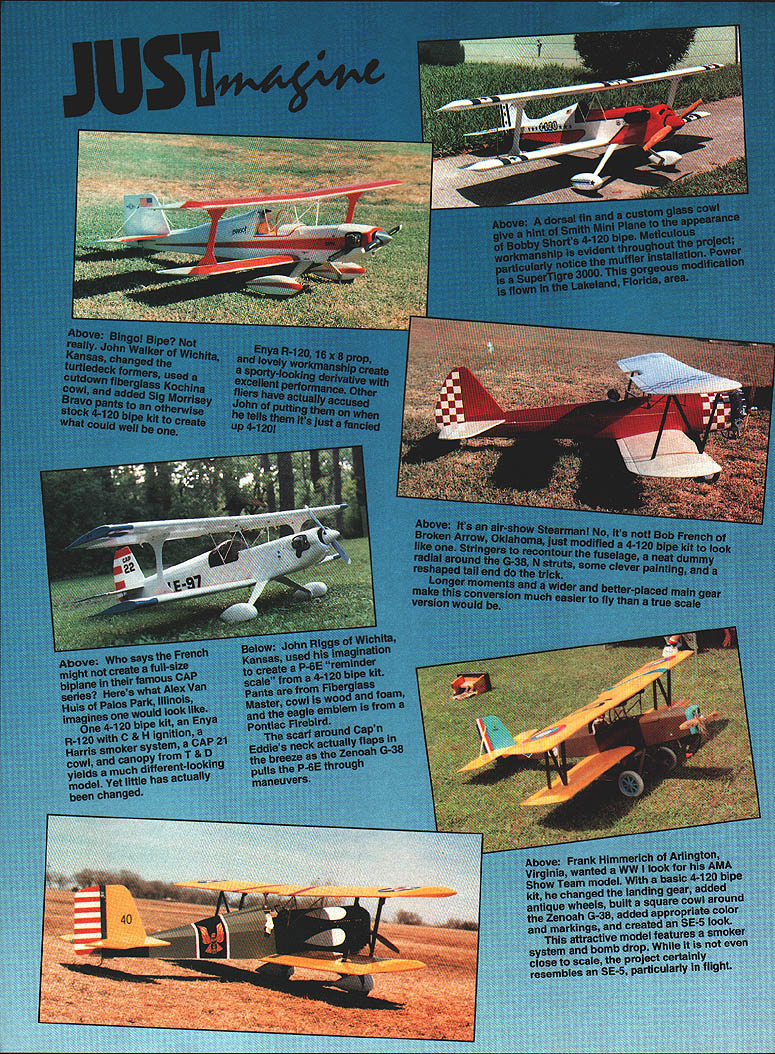
- Allow your imagination to run free. The photos that accompany this article emphasize the limitless imaginations of modelers—almost any kit can be modified.
- Select a kit that best lends itself to the modifications you envision. The simpler the kit and the more straightforward its design, the fewer changes you'll have to make. Some kits (for example, Ace 4‑whatever biplane kits) have simple lines, easy construction, and forgiving flying characteristics that lend themselves to bashing very well; other designs may not be as adaptable.
- Roll out the plans and tape tracing or drafting paper over the areas to be reworked. Start drawing outlines. If they don't look right, start over on a fresh sheet of paper—it’s far simpler and far less expensive than drawing on, then cutting, balsa wood.
Once the desired outline is complete, consider whether adding scrap sheet around the perimeter of the original kit surface will work. If you must construct new pieces, try to stay with the kit's method of construction. For example:
- If the kit's rudder is built‑up, duplicate that technique in the new section to avoid adding excessive weight.
- If rudder and elevator are sheet balsa, cut the new parts from wood of the same thickness.
- New wing tips can often be created the same way.
Designing new fuselage formers and parts
New fuselage formers can be designed by lofting if you have the necessary drafting skills—measure the height and width from the modified drawings. An easier method is to shape paper patterns:
- Fold a measured blank sheet down the center to create exact left and right halves.
- Cut a rough outline with scissors and use these rough patterns to cut the appropriate wood sizes.
- Leave final shaping for assembly and careful sanding.
For cowls: draw and redraw side and top views until satisfied. Use these patterns to create a hollow balsa box that can be carved and sanded to the desired shape. Foam blocks can be carved and the lost‑foam technique used to create a glass-and-epoxy unit (see Model Aviation, February 1982, for an article on this technique).
Ready-made fiberglass cowls and parts are also available from fabricators. For example, one builder adapted a purchased cowl by cutting a one‑inch section out of the center, joining the halves, and reinforcing the seam with the previously removed section.
Balance, ballast, and final checks
If your modifications change the model so it no longer balances at the kit's original center of gravity, add ballast to the tail or nose to compensate. A tail‑heavy model will be uncontrollable and will crash; a nose‑heavy model will not make neat takeoffs and landings, but at least it is less likely to be destroyed. The increase in net weight from adding ballast is unfortunate but sometimes necessary.
Conclusion
By following a few commonsense parameters, you can create a model airplane that expresses your imagination and returns hours of modeling fun. The only limit is your imagination—build it and fly it for fun.
Transcribed from original scans by AI. Minor OCR errors may remain.

