
Letters To The Editor
All letters will be carefully considered; those of general interest will be used. Send to Model Aviation, 1810 Samuel Morse Dr., Reston, VA 22090.
Plan Protection
I have been an avid model plane builder and flier since 1927—rubber free flight to RC. At 67, I'm still going strong.
I have read so many times about how people have a problem protecting the plans during construction. After reading W. T. Bartlett's letter to the editor in the September 1986 MA, I decided I should help carry on the education.
Since 1933 I have used a method that never gets a pinhole or drop of glue on the plan. I have used this for tiny Peanut Scale models to eight-footers. I am surprised no one has ever mentioned it before.
It is so simple. It is glass. I use 1/4-in. window glass over my plan. I have used the same pieces of glass for many years, and they are still good for years to come.
I use drafting tacks or a small drop of model glue to hold down pieces where required. A razor blade will pop loose the dab of glue without harm to the wood. If I have a sharp curve to form (where the weights or a dab of glue will not hold), I pre-form the wood with the aid of a water soaking; naturally I let the wood dry in its formed shape before using it.
I have used this method for over 50 years, and it really works. A big advantage is that it helps to produce warp-free construction. Since I began using glass over the plan, I have never had a misaligned structure.
J. C. Stone Long Beach, CA
1940 Camera Plane
Having recently read of various "camera models" in MA, I thought your readers might wish to know that a kit-version "camera plane" was available in September 1940 for the price of $3.95—and that it included the camera and film! Naturally, glue and dope were also included.
Can there be any doubt that the year 1940 was a year of high tech? Do keep up the good work.
Doug Dahlke EAA-ville (Oshkosh), WI
Note: Decosta Camera Plane, put out by Decosta Models of Brooklyn, N.Y. The picture shows nice lines—shoulder-mounted gull wings on what seems to be a fuselage with an oval cross section, probably planked. It has a wingspan of 52 in. for the recommended Ohlsson .23 engine. Doug sent a photocopy of the advertisement that caught his eye.
Repair Tip
As winter's grasp tightens, we begin to think about repairing parts of this past season's collection of damaged airplanes. For many this means building a new fuselage or wing, but for some the repairs needed are relatively minor. Unfortunately, even minor repairs can become a complicated, time-consuming ordeal if the repair is needed within a structure (like in a built-up wing or the rear half of a fuselage). I have a method for keeping a small repair job small.
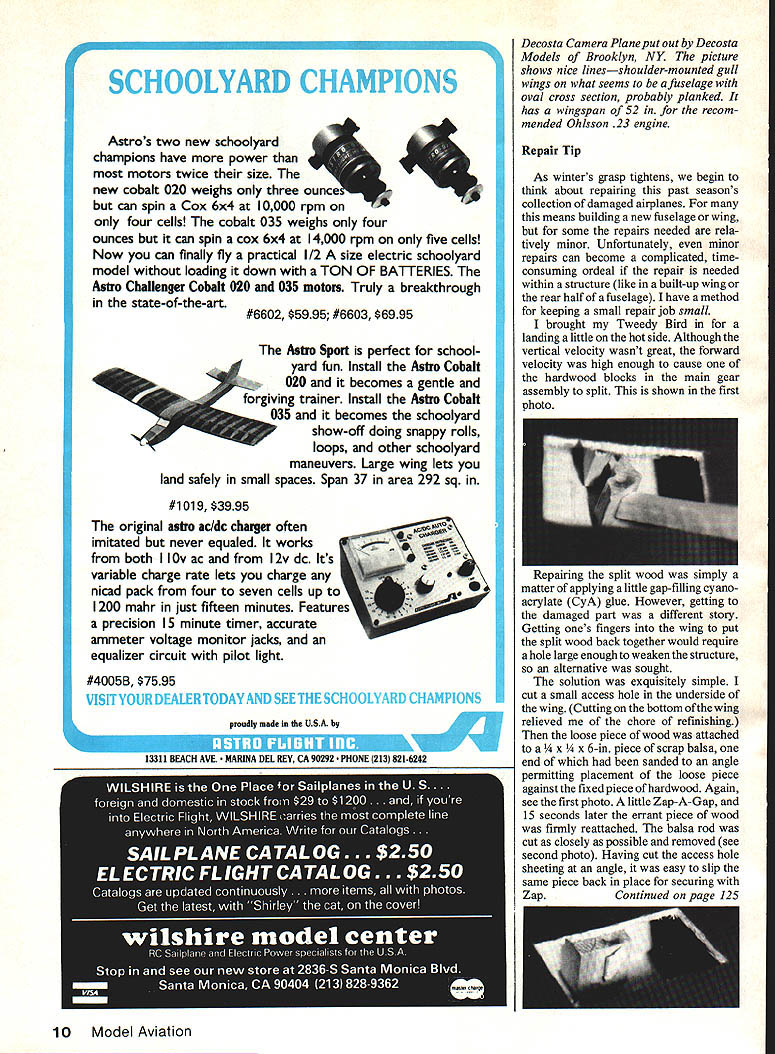
I brought my Tweedy Bird in for a landing a little on the hot side. Although the vertical velocity wasn't great, the forward velocity was high enough to cause one of the hardwood blocks in the main gear assembly to split.
Repairing the split wood was simply a matter of applying a little gap-filling cyanoacrylate (CyA) glue. However, getting to the damaged part was a different story. Getting one's fingers into the wing to put the split wood back together would require a hole large enough to weaken the structure, so an alternative was sought.
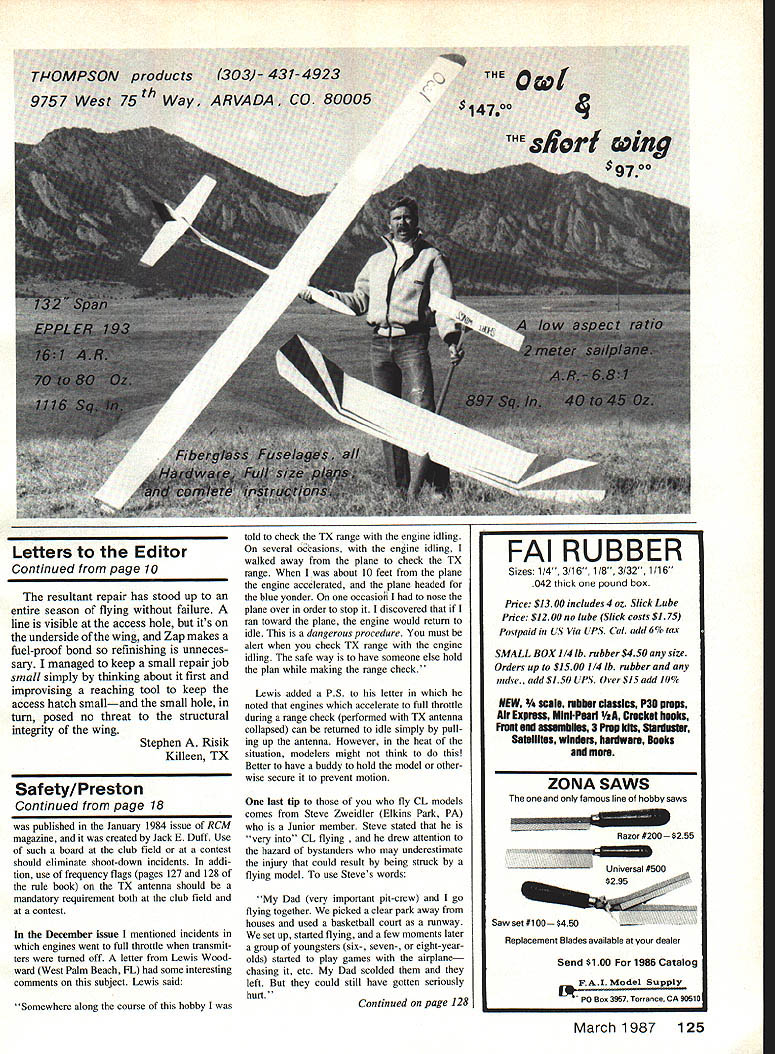
The solution was exquisitely simple. I cut a small access hole in the underside of the wing. (Cutting on the bottom of the wing relieved much of the chore of refinishing.) Then the loose piece of wood was attached to a 1/4 x 1/4 x 6-inch piece of scrap balsa, one end of which had been sanded to an angle permitting placement of the loose piece against the fixed piece of hardwood. A little Zap-A-Gap, and 15 seconds later the errant piece of wood was firmly reattached. The balsa rod was cut as closely as possible and removed. Having cut the access-hole sheeting at an angle, it was easy to slip the same piece back in place for securing with Zap.
The resultant repair has stood up to an entire season of flying without failure. A line is visible at the access hole, but it's on the underside of the wing, and Zap makes a fuel-proof bond so refinishing is unnecessary. I managed to keep a small repair job small simply by thinking about it first and improvising a reaching tool to keep the access hatch small — and the small hole, in turn, posed no threat to the structural integrity of the wing.
Stephen A. Risik Killeen, TX
Transcribed from original scans by AI. Minor OCR errors may remain.

