

Make it with Paper
An alternative to fiberglass and ABS plastic, this method has much going for it in the way of strength, weight, and ease of fabrication.
Roy Day and Marion Mecklenburg
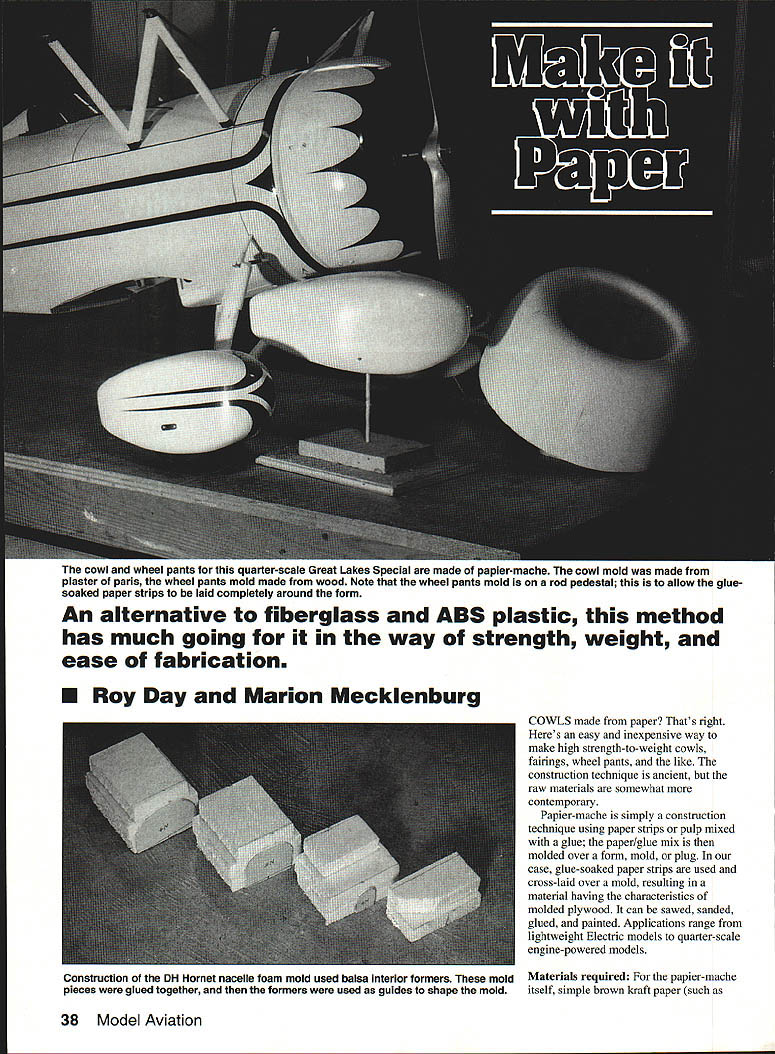
COWLS made from paper? That's right. Here's an easy and inexpensive way to make high strength-to-weight cowls, fairings, wheel pants, and the like. The construction technique is ancient, but the raw materials are somewhat more contemporary.
Papier-mache is simply a construction technique using paper strips or pulp mixed with a glue; the paper/glue mix is then molded over a form, mold, or plug. In our case, glue-soaked paper strips are used and cross-laid over a mold, resulting in a material having the characteristics of molded plywood. It can be sawed, sanded, glued, and painted. Applications range from lightweight electric models to quarter-scale engine-powered models.
Materials required
- Paper: simple brown kraft paper (such as paper grocery bags).
- Glue: an aliphatic carpenter's glue (for example, Elmer's) mixed with varying amounts of water. This glue is an emulsion in water and works well as a water-based adhesive while wet; once dry, it is no longer soluble in water. The finished material is remarkably resistant to severe fluctuations in relative humidity.
- Mold materials: hardwoods, balsa, plaster of Paris, foam, etc.
- Finishes for molds: basic paints and epoxies to provide a smooth, water-resistant surface.
- Release agent: a simple paste wax (floor or auto paste wax).
Mold construction
The molds we use are considered "plugs" to those who lay up fiberglass parts, though female molds can be used. The molds are reusable, which is convenient when making several of the same parts—such as wheel pants, halves of a symmetric piece, or replacement parts.
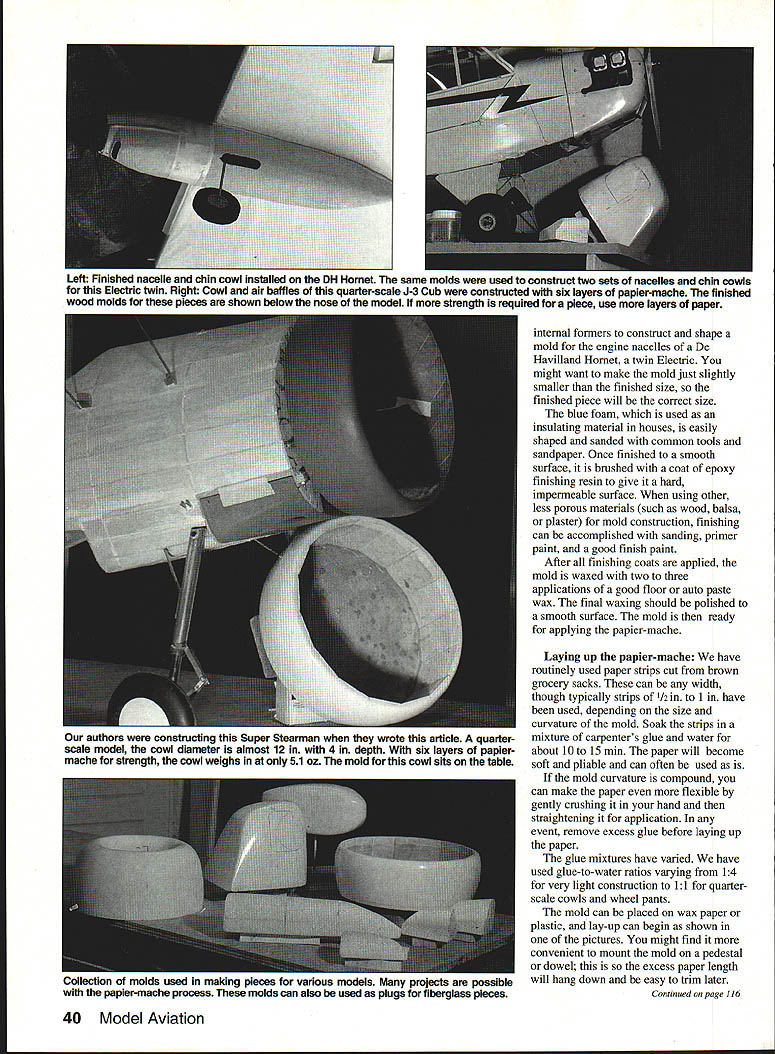
- Internal formers can be used to shape the mold when using foam or plaster of Paris.
- External templates can be used to shape the mold with whatever construction material is chosen.
You might want to make the mold just slightly smaller than the finished size so the finished piece will be the correct size.
Blue insulating foam (used in houses) is easily shaped and sanded with common tools and sandpaper. Once finished to a smooth surface, brush on a coat of epoxy finishing resin to give it a hard, impermeable surface. When using less porous materials (wood, balsa, or plaster), finishing can be accomplished with sanding, primer paint, and a good finish paint.
After all finishing coats are applied, wax the mold with two to three applications of a good paste wax. The final waxing should be polished to a smooth surface. The mold is then ready for applying the papier-mache.
Laying up the papier-mache
We routinely use paper strips cut from brown grocery sacks. Strip width can vary, though 1/2 inch to 1 inch is typical, depending on mold size and curvature. Soak the strips in a mixture of carpenter's glue and water for about 10 to 15 minutes. The paper will become soft and pliable and can often be used as is. For compound curvature, make the paper more flexible by gently crushing it in your hand and then straightening it for application. Remove excess glue before laying up the paper.
Glue-to-water ratios have varied. Ratios from 1:4 (glue:water) for very light construction to 1:1 for quarter-scale cowls and wheel pants have been used.
Mount the mold on wax paper or plastic, and begin lay-up. It can be convenient to mount the mold on a pedestal or dowel so the excess paper length will hang down and be easy to trim later. This mold-mounting technique is essential when constructing wheel pants because you need to cover nearly all sides of the mold.
Each layer of paper strips should be applied in alternating directions. Strips can overlap at the edges, butting the edges actually simplifies the finishing process and results in no significant loss of strength.
The number of layers depends on the application:
- Lightweight parts (nacelles and small parts): 3 layers.
- Large cowls and quarter-scale wheel pants: 6 layers.
Allow the papier-mache to dry thoroughly: about two days for a three-layer construction and at least three days for a six-layer construction. A small clip-on fan can speed up drying. If the piece is removed from the mold and still feels not fully dry, replace it on the mold until completely dry to avoid warping.
Finishing
When dry, the papier-mache is quite tough and can take a lot of abuse. Trim off the edges of the piece and return it to the mold; this provides a good platform for sanding. Dry pieces will have uneven areas from overlapping strips and gaps. Use 50- or 80-grit sandpaper glued to sanding blocks to remove major irregularities, then progress to smoother grits for final finishing.
Fill gaps and hollows with spackle or Model Magic, then resand to reach the desired smoothness.
If constructing wheel pants, cut them along the centerline for removal from the mold. Once removed, rejoin the parts with glue and finish the seams by careful sanding and filling.
At this stage you can prime and paint the finished piece. If you plan to paint or glue the inside, be sure to remove any residual wax from that area.
As the piece continues to dry it will become stiffer and stronger. You do not need to add epoxy for strength, nor special coatings for fuel resistance—the papier-mache is quite resistant to fuel. Papier-mache is also more crack-resistant than fiberglass; its relative lack of brittleness makes drilling holes for mounting screws straightforward.
Applications
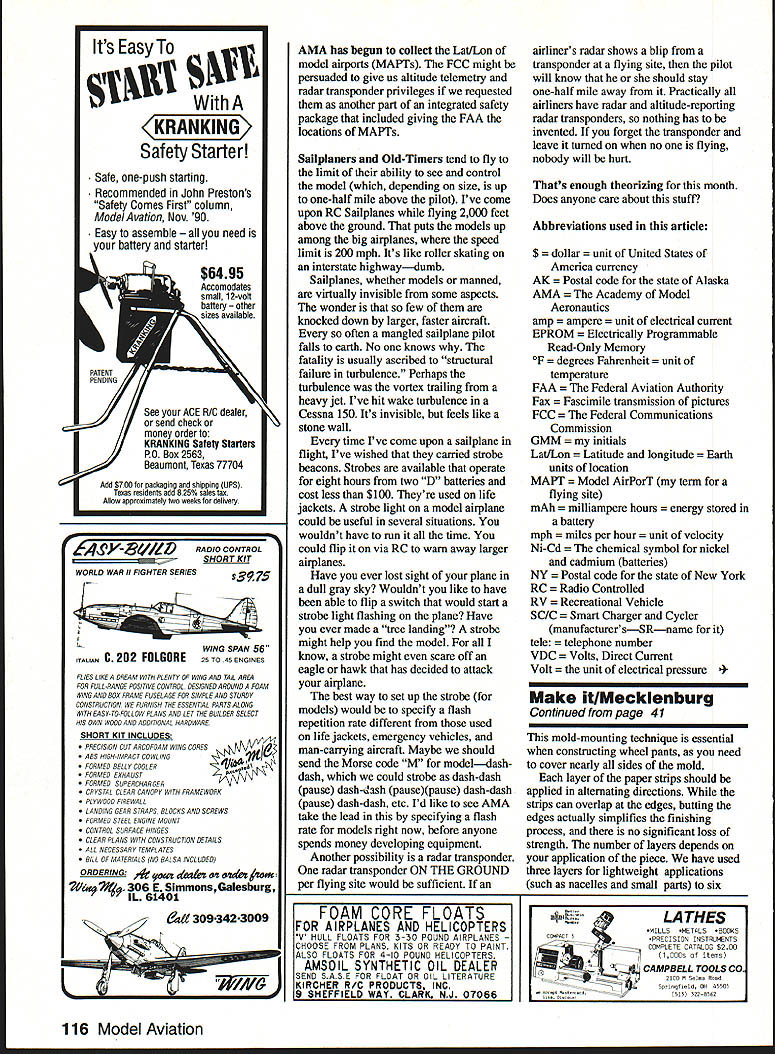
- A three-ply, 12-inch-long engine nacelle weighed only 1 oz.
- In a model Piper J-3, a six-layer cowling, dummy engine, and three-layer air baffles were made; finished hardwood molds are shown beneath the nose of the model.
- A Great Lakes Special used a six-layer cowl and wheel pants. The cowl mold was plaster of Paris; the wheel pants mold was hardwood.
- A Super Stearman cowl under construction: six-layer construction, finished wood mold. This cowl is about 12 inches in diameter and 4 inches deep; it weighs 5.1 oz and is quite rugged.
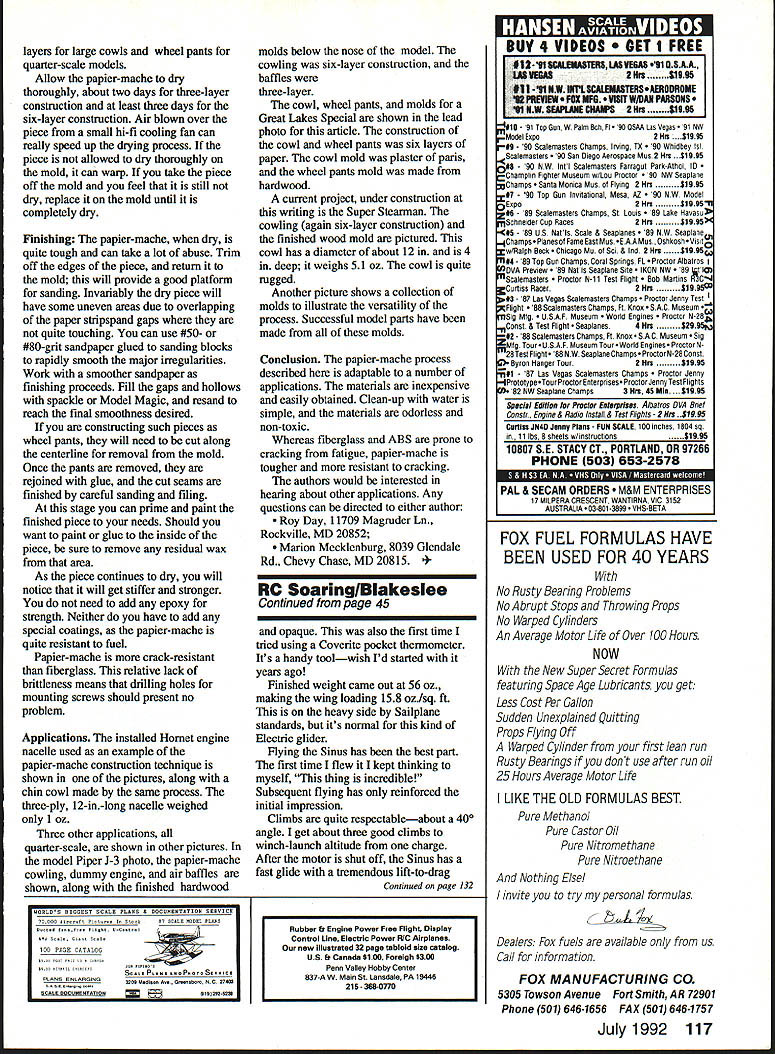
- A collection of molds (wood, plaster, foam) illustrates the versatility of the process; successful model parts have been made from all these molds.
Conclusion
The papier-mache process described here is adaptable to many applications. The materials are inexpensive and easily obtained. Clean-up with water is simple, and the materials are odorless and non-toxic.
Whereas fiberglass and ABS are prone to cracking from fatigue, papier-mache is much tougher and more resistant to cracking.
The authors would be interested in hearing about other applications. Any questions can be directed to either author:
Roy Day 11709 Magruder Ln. Rockville, MD 20852
Marion Mecklenburg 8039 Glendale Rd. Chevy Chase, MD 20815
Transcribed from original scans by AI. Minor OCR errors may remain.

